19.Shuttheengineoff andwait untilthe bladecomesto a
completestopbeforeremovingthe grasscatcheror unclog-
ging thechute.
The cuttingbladecontinuesto rotatefor afewsecondsafter
the engineisshutoff. Neverplaceany partofthe bodyin
the bladearea untilyouaresurethe bladehasstopped
rotating.
20. Neveroperatemowerwithoutpropertrail shield,discharge
cover,grasscatcher,bladecontrolhandleor othersafety
protectivedevicesin placeandworking.Neveroperate
mowerwithdamagedsafetydevices.Failuretodo socan
resultin personalinjury.
21. Mufflerandenginebecomehotandcan causeaburn.Do
nottouch.
22.Onlyusepartsandaccessoriesmadeforthismachineby
manufacturer.Failuretodo socanresultinpersonalinjury.
23. Ifsituationsoccurwhicharenotcoveredinthismanual,
usecareand goodjudgment.Contactyourdealerfor
assistance.Telephone1-800-800-7310forthe nameofyour
nearestdealer.
Slope Operation
Slopesarea majorfactorrelatedto slipandfallaccidents,which
can resultinsevereinjury.Operationonslopesrequiresextra
caution.Ifyoufeeluneasyon aslope,do notmowit.Foryour
safety,usetheslopegaugeincludedaspartofthismanualto
measureslopesbeforeoperatingthisunitonaslopedor hilly
area.Iftheslopeisgreaterthan15degrees,donot mowit.
Do:
1. Mowacrossthefaceofslopes;neverupanddown.Exercise
extremecautionwhenchangingdirectiononslopes.
2. Watchfor holes,ruts,rocks, hiddenobjects,or bumpswhich
can causeyouto slipor trip.Tallgrasscanhideobstacles.
3. Alwaysbesureofyourfooting.A slip andfall cancause
seriouspersonalinjury.If youfeelyouarelosingyour
balance,releasethe bladecontrolhandleimmediately,and
the bladewill stoprotatingwithin3seconds.
Do Not:
1. Donot mowneardrop-offs,ditchesorembankments,you
could loseyourfootingorbalance.
2. Donot mowslopesgreaterthan 15degreesasshownon
the slopegauge.
3. Donot mowon wetgrass.Unstablefootingcouldcause
slipping.
Service
Safe HandlingOf Gasoline:
1. To avoidpersonalinjury orpropertydamageuseextreme
care inhandlinggasoline.Gasolineisextremelyflammable
andthevaporsareexplosive.Seriouspersonalinjurycan
occurwhengasolineisspilledonyourselforyourclothes,
whichcanignite.
2. Washyourskin andchangeclothesimmediately.
3. Useonlyanapprovedgasolinecontainer.
4. Neverfillcontainersinsideavehicleoron atruckor trailer
bedwitha plasticliner.Alwaysplacecontainerson the
groundawayfromyourvehiclebeforefilling.
5. Removegas-poweredequipmentfromthe truckortrailer
andrefuelit onthe ground.Ifthisis notpossible,thenrefuel
suchequipmentonatrailerwitha portablecontainer,rather
thanfroma gasolinedispensernozzle.
6. Keepthe nozzlein contactwiththe rimofthefueltank or
containeropeningat alltimesuntilfuelingis complete.Do
notusea nozzlelock-opendevice.
7. Extinguishallcigarettes,cigars,pipesand othersources
ofignition.
8. Neverfuel machineindoorbecauseflammablevaporswill
accumulatein thearea.
9. Neverremovegascap oradd fuelwhileengineishot or
running. Allowengineto coolatleasttwominutesbefore
refueling.
10.Neveroverfillfueltank. Filltankto nomorethanY2inch
belowbottomoffiller neckto provideforfuelexpansion.
11.Replacegasolinecapandtightensecurely.
12.Ifgasolineis spilled,wipeitoff theengineand equipment.
Moveunittoanotherarea.Wait5minutesbeforestarting
engine.
13.Neverstorethemachineorfuel containernearanopen
flame,sparkor pilotlightas ona waterheater,space
heater,furnace,clothesdryeror othergasappliances.
14.Toreducefire hazard,keepmowerfreeofgrass,leaves,
orother debrisbuild-up.Cleanupoil orfuelspillageand
removeanyfuel soakeddebris.
15.Allowamowertocoolat least5 minutesbeforestoring.
GeneralService:
1. Neverrunanengineindoorsorin apoorlyventilatedarea.
Engineexhaustcontainscarbonmonoxide,anodorlessand
deadlygas.
2. Beforecleaning,repairing,or inspecting,makecertainthe
bladeandall movingpartshavestopped.Disconnectthe
sparkplugwireandgroundagainstthe engineto prevent
unintendedstarting.
3. Checkthe bladeandenginemountingboltsatfrequent
intervalsfor propertightness.Also,visuallyinspectbladefor
damage(e.g.,bent,cracked,worn)Replacebladewiththe
originalequipmentmanufacture's(O.E.M.)bladeonly,listed
inthismanual."Useof partswhichdo notmeetthe original
equipmentspecificationsmayleadto improperperformance
andcompromisesafety!"
4. Mowerbladesaresharpandcancut.Wrapthebladeor wear
gloves,anduseextracautionwhenservicingthem.
5. Keepallnuts,bolts,andscrewstightto besurethe equip-
mentis insafeworkingcondition.
6. Nevertamperwithsafetydevices.Checktheirproperopera-
tionregularly.
7. Afterstrikingaforeignobject,stopthe engine,discon-
nectthesparkplugwireandgroundagainsttheengine.
Thoroughlyinspectthe mowerforanydamage.Repairthe
damagebeforestartingandoperatingthe mower.
8. Neverattemptto makeawheelor cuttingheightadjustment
whiletheengineis running.
9. Grasscatchercomponents,dischargecover,andtrail
shieldaresubjecttowear anddamagewhichcould expose
movingpartsor allowobjectsto bethrown.Forsafety
protection,frequentlycheckcomponentsandreplaceim-
mediatelywithoriginalequipmentmanufacturer's(O.E.M.)
partsonly,listedinthis manual."Useofpartswhichdo
notmeetthe originalequipmentspecificationsmayleadto
improperperformanceandcompromisesafety!"
10.Do notchangetheenginegovernorsettingor over-revthe
engine.Thegovernorcontrolsthe maximumsafeoperating
speedoftheengine.
11.Maintainor replacesafetylabels,asnecessary.
12.Observeproperdisposallawsandregulations.Improper
disposaloffluidsandmaterialscanharmtheenvironment.
5
Operation
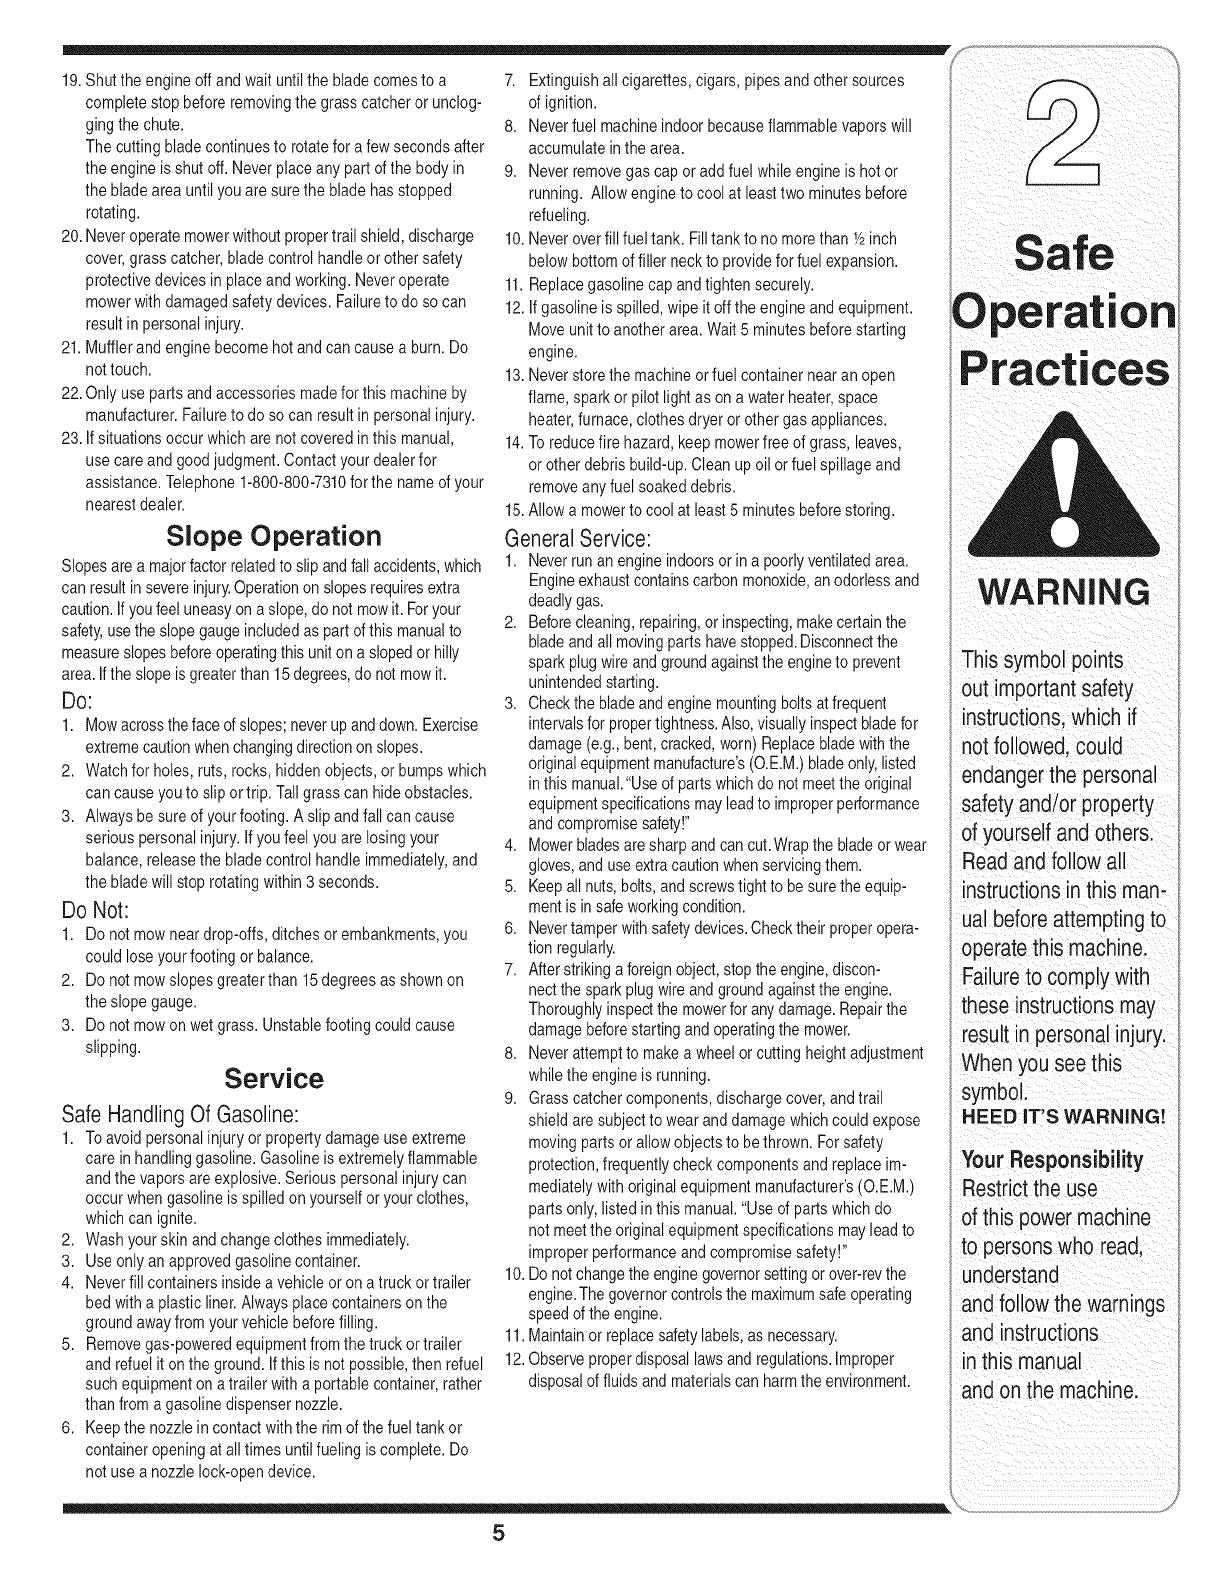
WARNING
Thissymbol points
out importantsafety
instructions,which if
notfollowed,could
endangerthe personal
safety and/or property
of yourselfand others.
Readand followall
instructions inthis man-
ual beforeattemptingto
operatethis machine.
Failureto comply with
these instructionsmay
result inpersonalinjury.
Whenyou seethis
symbol.
HEED IT'S WARNING!
YourResponsibility
Restrictthe use
of this powermachine
to personswho read.
understand
and followthe warnings
and instructions
in this manua
and onthe machine.


