2
1 Overview
1.3 UC Surface Features
Quantum-series
Owner’s Manual
1.3 UC Surface Features
UC Surface is a powerful monitor-mixing application that allows you to control your
Quantum preamps, talkback and monitoring functions.
• Remote control preamp level and 48V phantom power
• Remote control, talkback, dim, and mute
• Remote control over line input sensitivity
1.4 Studio One Artist Features
All PreSonus audio interfaces include PreSonus Studio One Artist recording software,
which comes with more than 4 GB of plug-ins, loops, and samples, giving you everything
you need for music recording and production. All monitor mixing and preamp control
functions for your Quantum-series interface are integrated into Studio One’s unique Cue
Mix feature. The Quick Start Guide in Section 6 of this manual will help you configure
your Quantum interface and provide you with a brief overview of Studio One’s features.
• Cue Mix provides complete integrated control over all Quantum functions
• Unlimited track count, inserts, and sends
• 20 high-quality, Native Effects™ plug-ins; amp modeling (Ampire XT), delay
(Analog Delay, Beat Delay), distortion (RedLightDist™), dynamics processing
(Channel Strip, Compressor, Gate, Expander, Fat Channel, Limiter, Tricomp™),
equalizer (Channel Strip, Fat Channel, Pro EQ), modulation (Autofilter, Chorus,
Flage, Phaser, X-Trem), reverb (Mixverb™, Room Reverb), and utility (Binaural Pan,
Mixtool, Phase Meter, Spectrum Meter, Tuner)
• More than 4 GB of loops, samples, and instruments, featuring: Presence™
XT virtual sample player, Impact virtual drum machine, SampleOne™ virtual
sampler, Mai Tai virtual polyphonic analog modeling synth, Mojito virtual analog-
modeled subtractive synthesizer
• Innovative and intuitive MIDI mapping
• Powerful drag-and-drop functionality for faster workflow
• Available for macOS and Windows
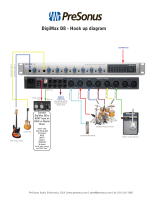
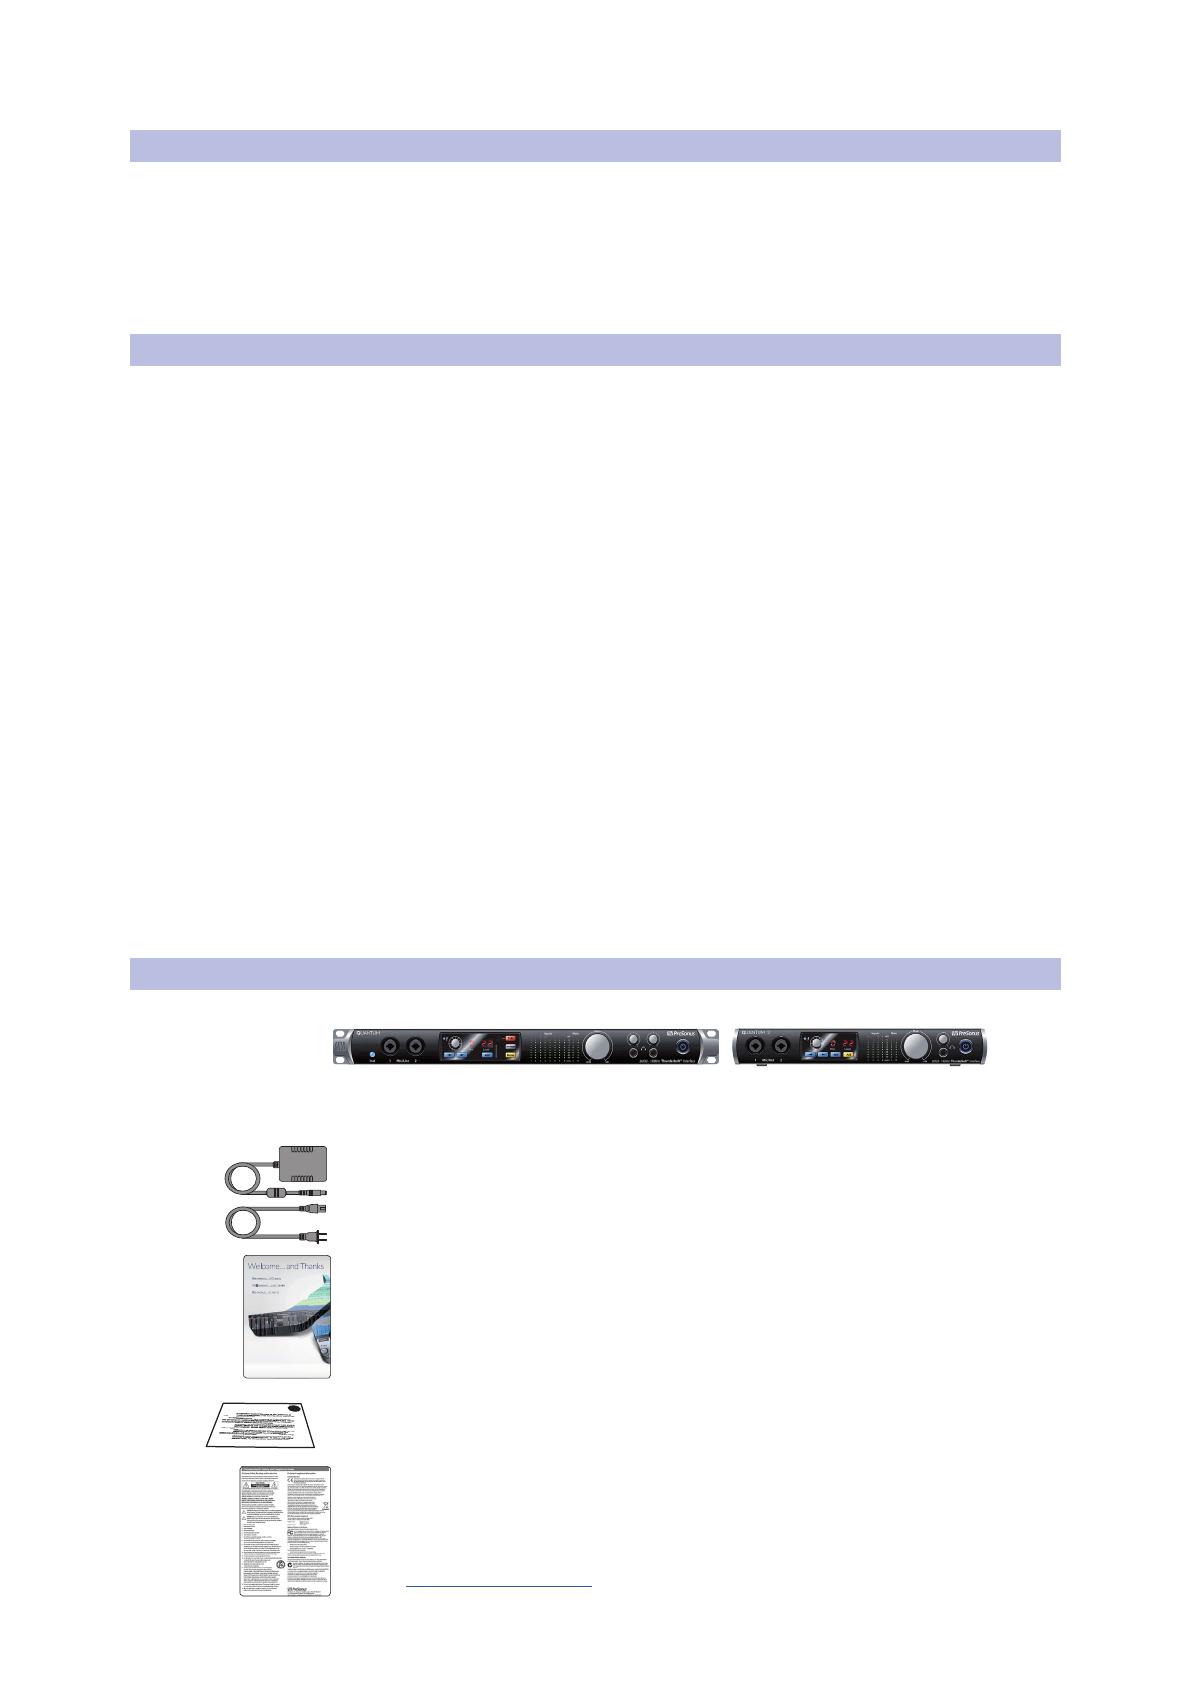
1.5 What is in the Box
You Quantum-series interface package contains the following:
PreSonus Quantum or Quantum 2 Thunderbolt Audio Interface
and Studio Command Center
External power supply
Studio One Key Commands Guide
Product registration and software authorization card
PreSonus Health Safety and Compliance Guide
Power User Tip: All companion software and drivers for your PreSonus Quantum-series
interface are available for download from your My PreSonus user account. Simply
visit http://my.presonus.com and register your Quantum-series interface to receive
downloads and licenses.