English - 2
For more information on how to use e-Manual
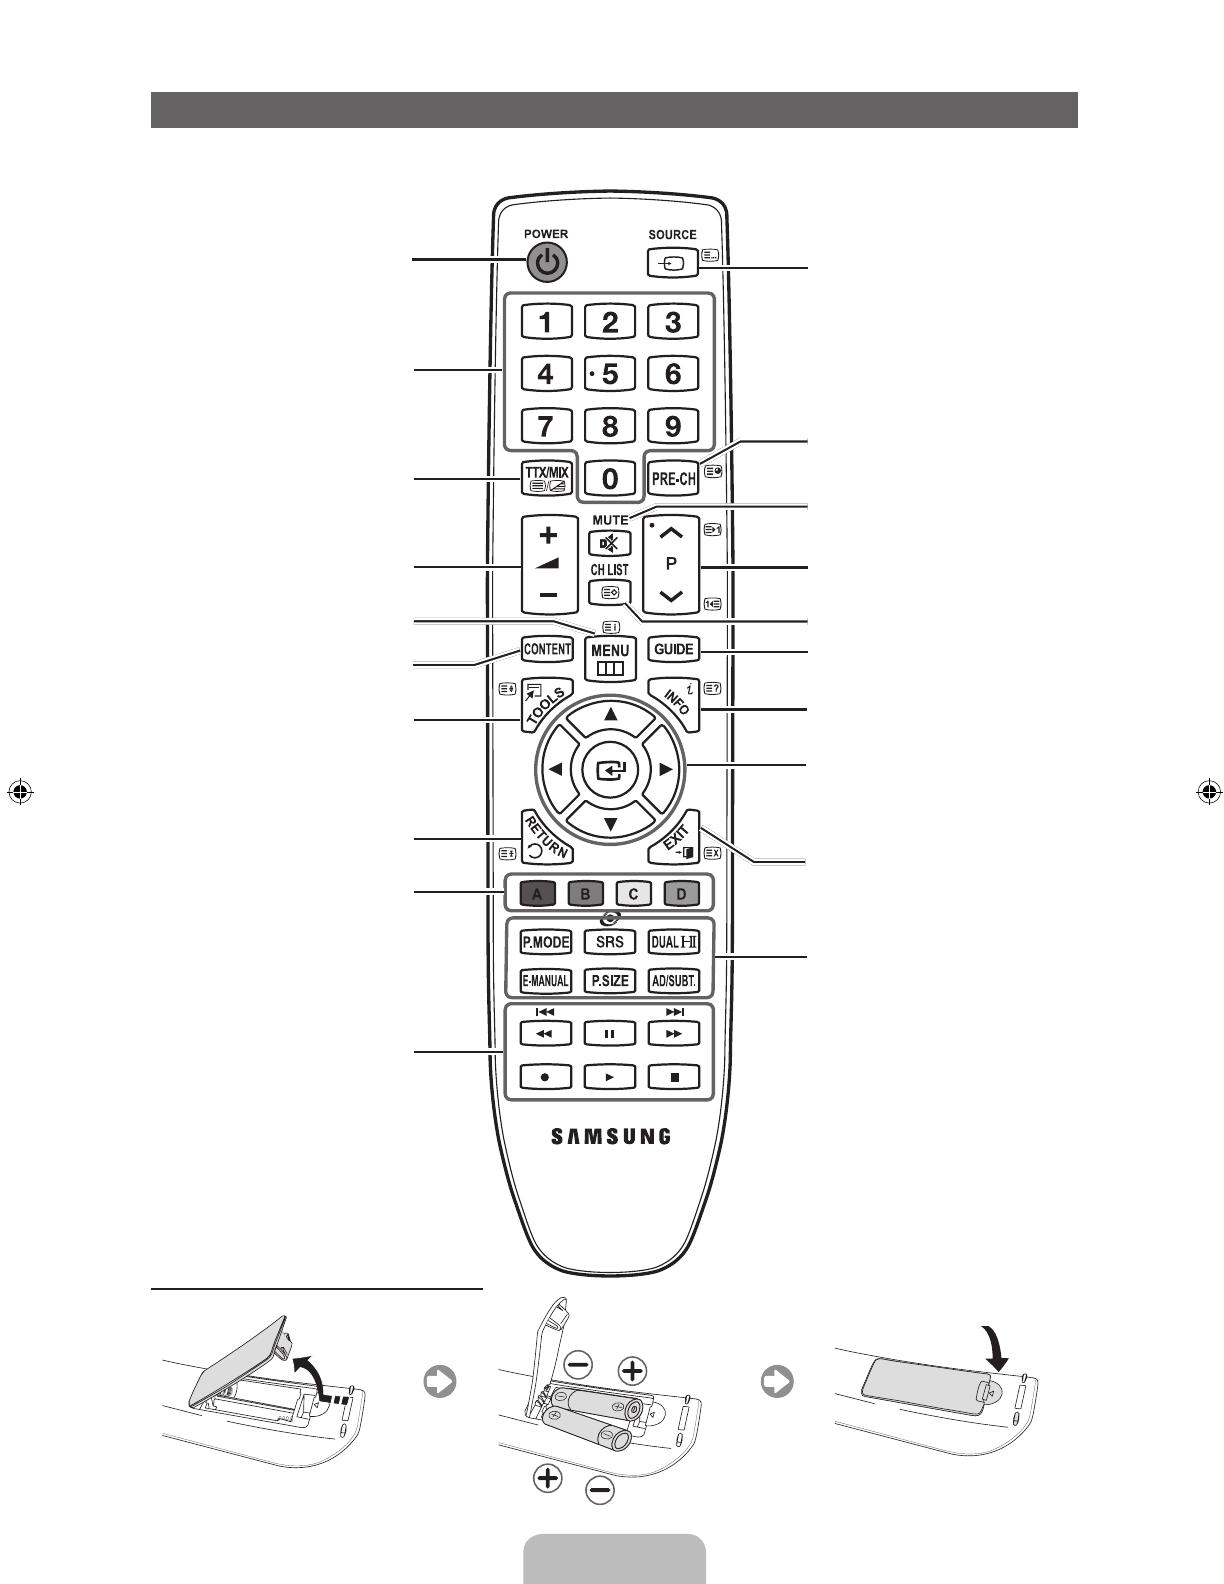
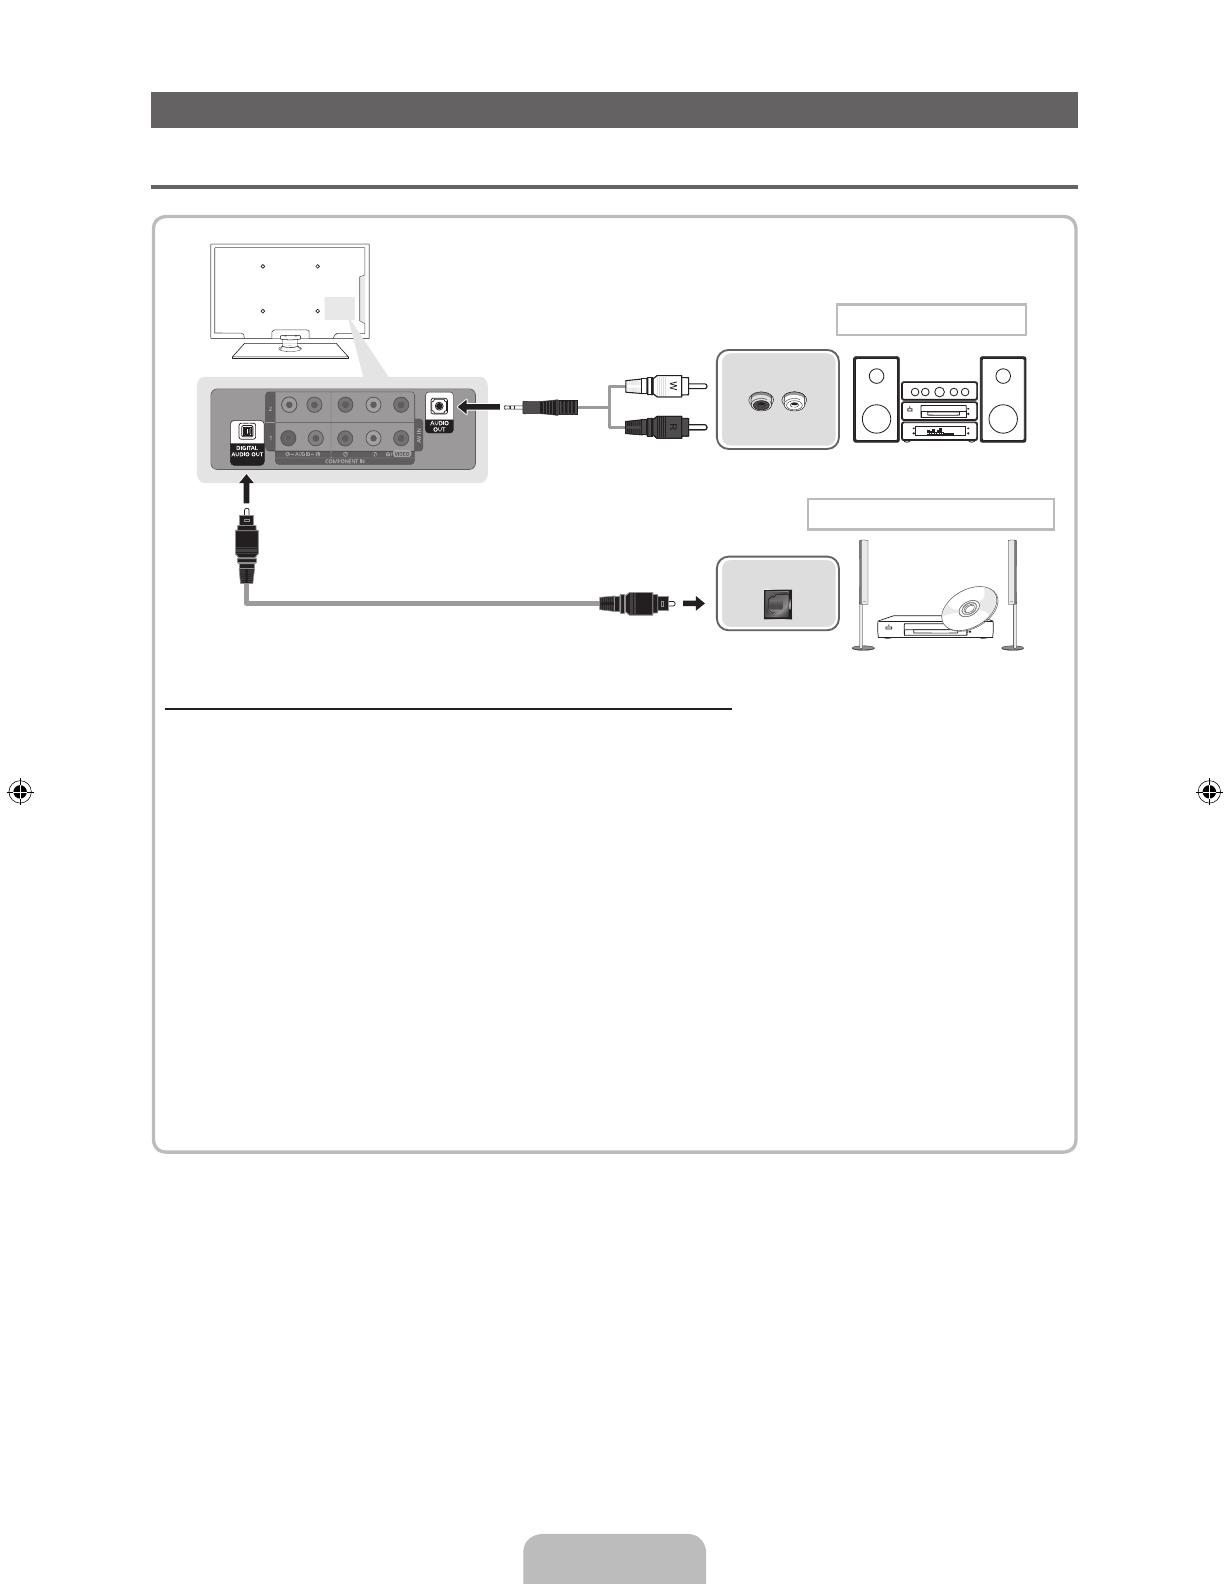
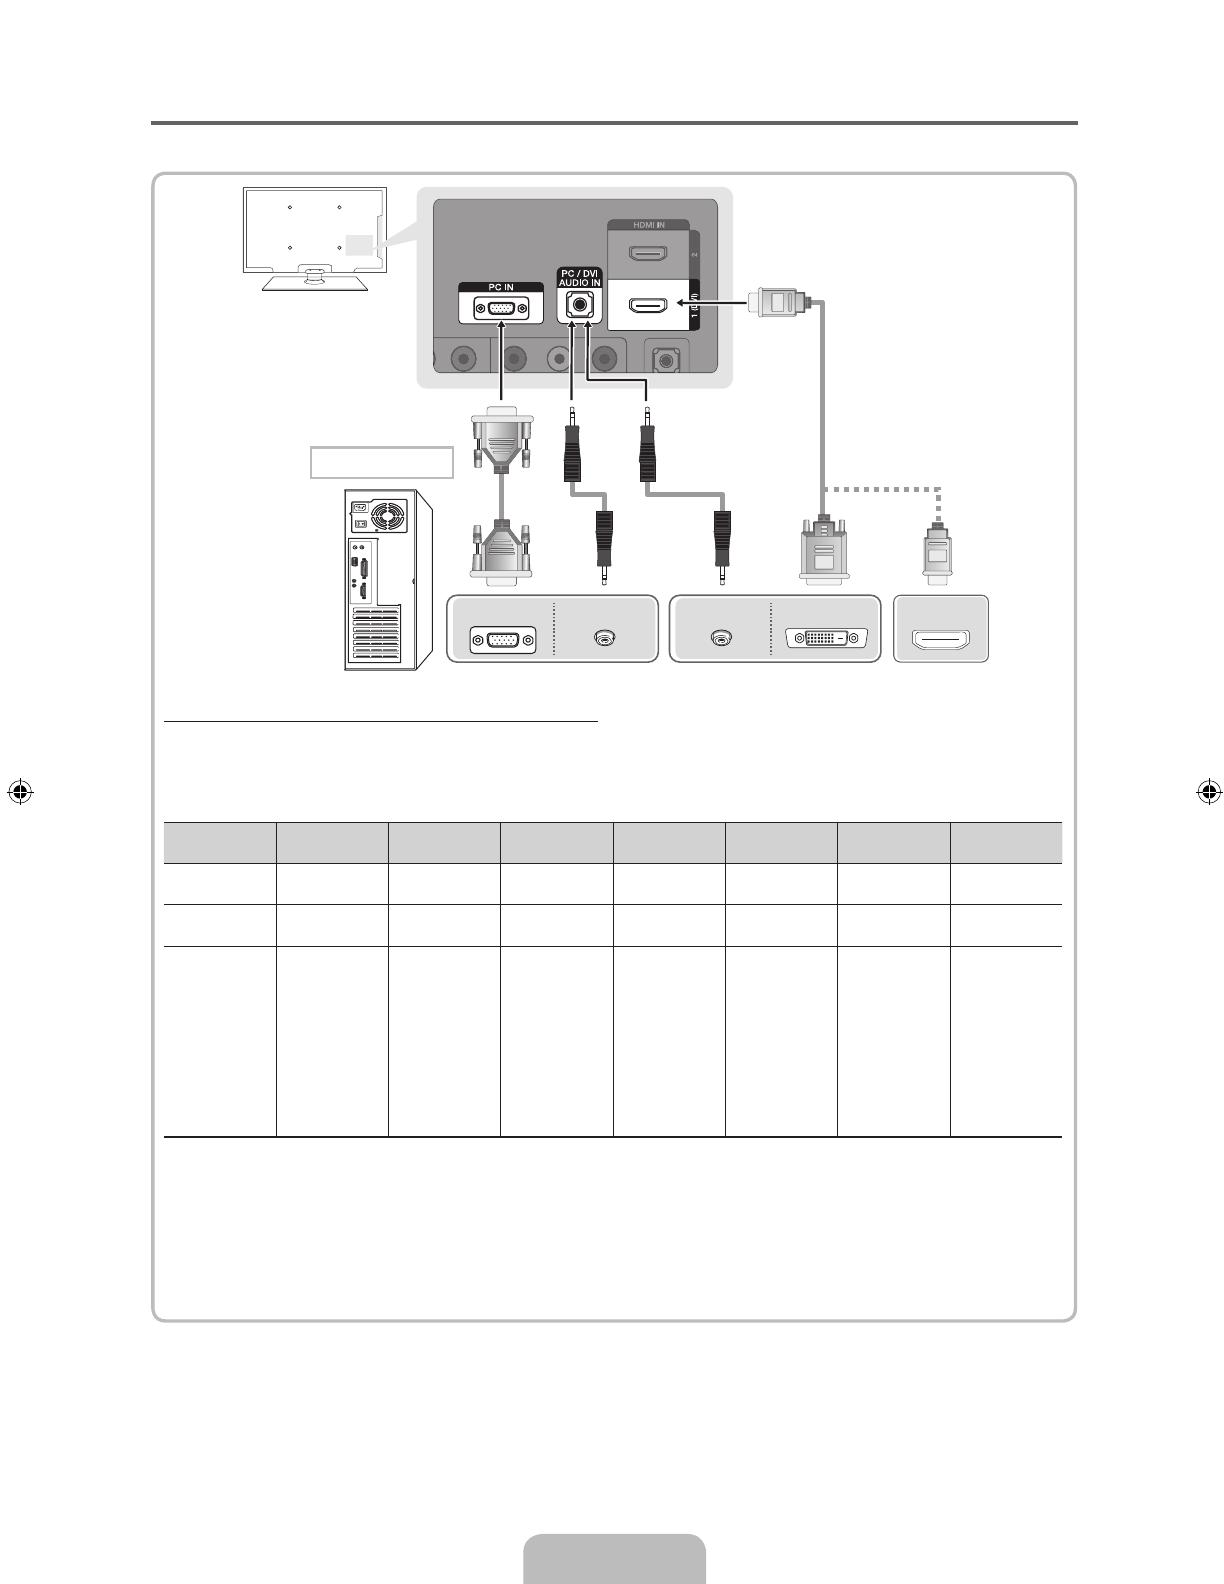
Figures and illustrations in this User Manual are provided for reference only and may differ from actual product
appearance. Product design and specifications may be changed without notice.
User Instructions
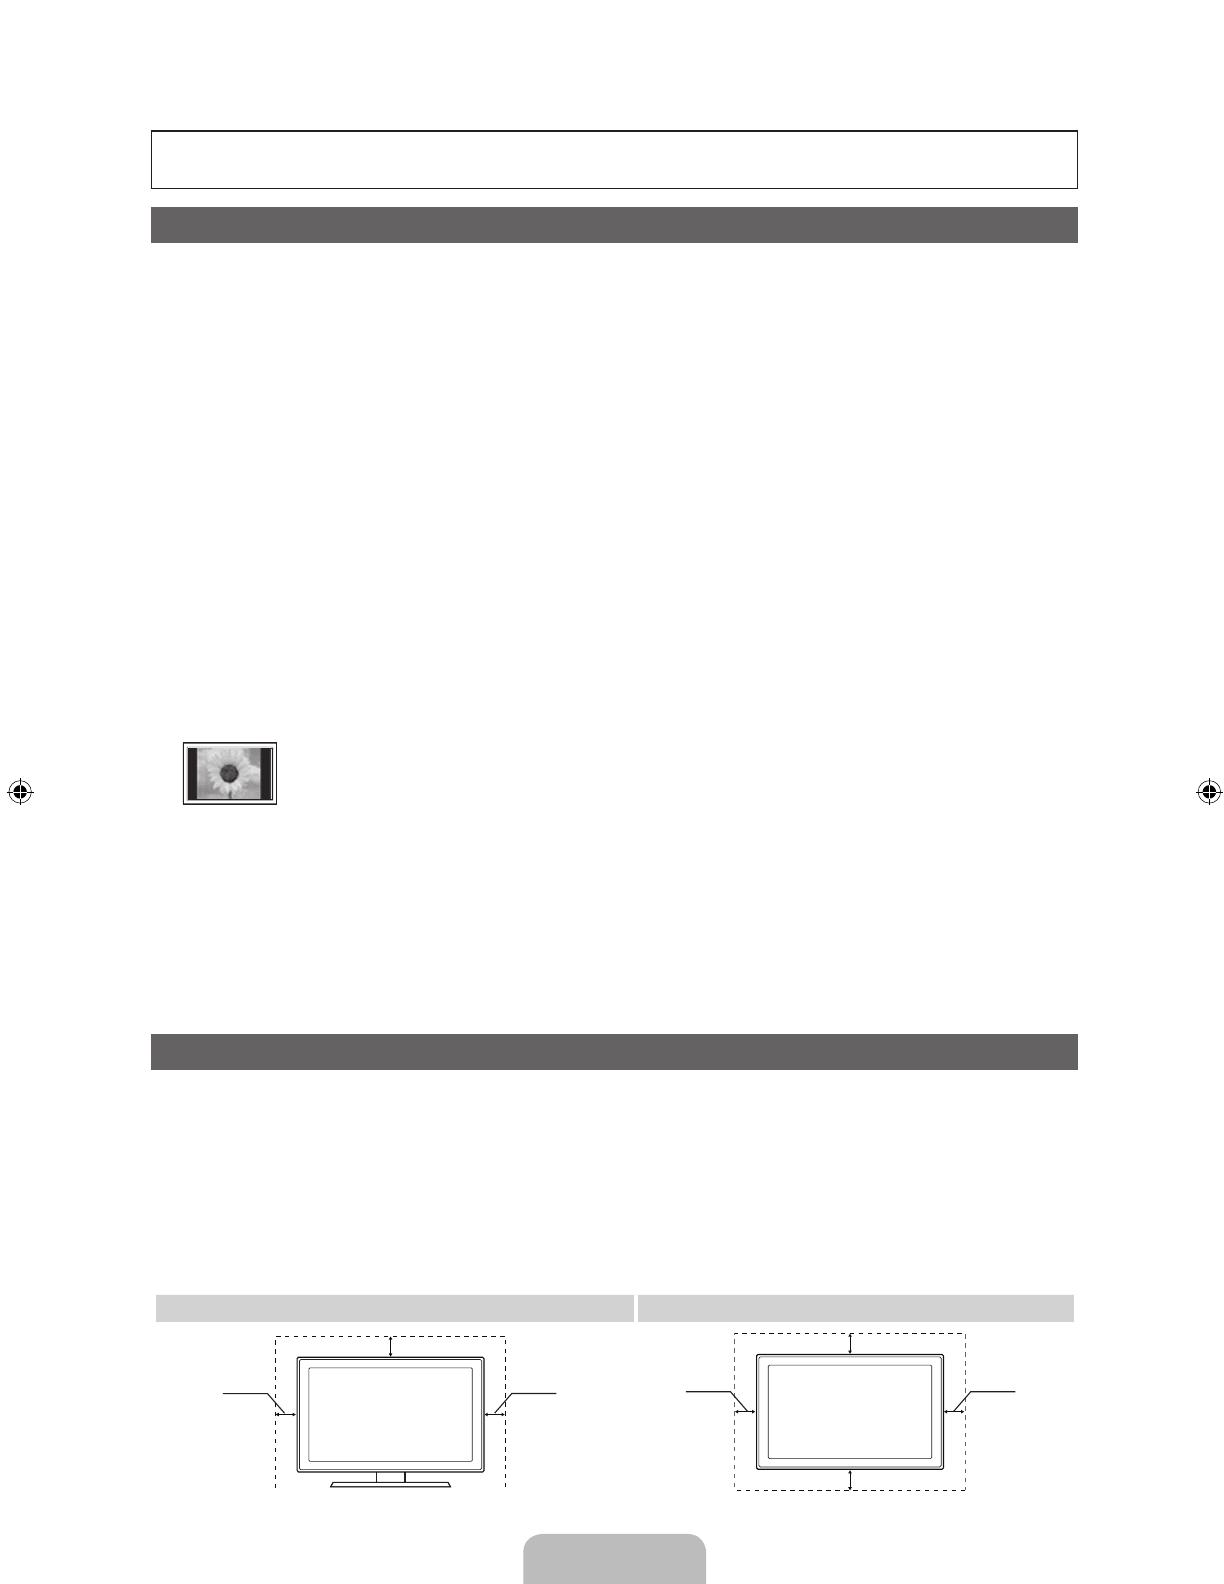
•Screen Image retention
Do not display a still image (such as on a video game) on the plasma display panel for more than several
minutes as it can cause screen image retention. This image retention is also known as “screen burn”. To
avoid such image retention, reduce the degree of brightness and contrast of the screen when displaying a
still image.
•Heat on the top of the Plasma TV
The top side of the product may be hot after long periods of use as heat dissipates from the panel through
the vent hole in the upper part of the product.
This is normal and does not indicate any defect or operation failure of the product.
However, children should be prevented from touching the upper part of the product.
•The product is making a “cracking” noise.
A “cracking” noise may occur when the product contracts or expands due to a change in the surrounding
environment such as temperature or humidity. This is normal and not a defect of the unit.
•Cell Defects
The PDP uses a panel consisting of 2,360,000(HD-level) to 6,221,000(FHD-level) pixels which require
sophisticated technology to produce. However, there may be a few bright or dark pixels on the screen.
These pixels will have no impact on the performance of the product.
•Avoid operating the TV at temperatures below 41°F (5°C)
•A still image displayed too long may cause permanent damage to the PDP Panel.
Watching the Plasma TV in 4:3 format for a long period of time may leave traces of borders
displayed on the left, right and centre of the screen caused by the difference of light emission on
the screen. Playing a DVD or a game console may cause similar effects to the screen.
Damages caused by the above effect are not covered by the Warranty.
•After-images on the Screen.
Displaying still images from Video games and PC for longer than a certain period of time may produce partial
after-images.
To prevent this effect, reduce the “brightness” and “contrast” when displaying still images for a long time.
•Warranty
Warranty does not cover any damage caused by image retention.
Burn-in is not covered by the warranty.
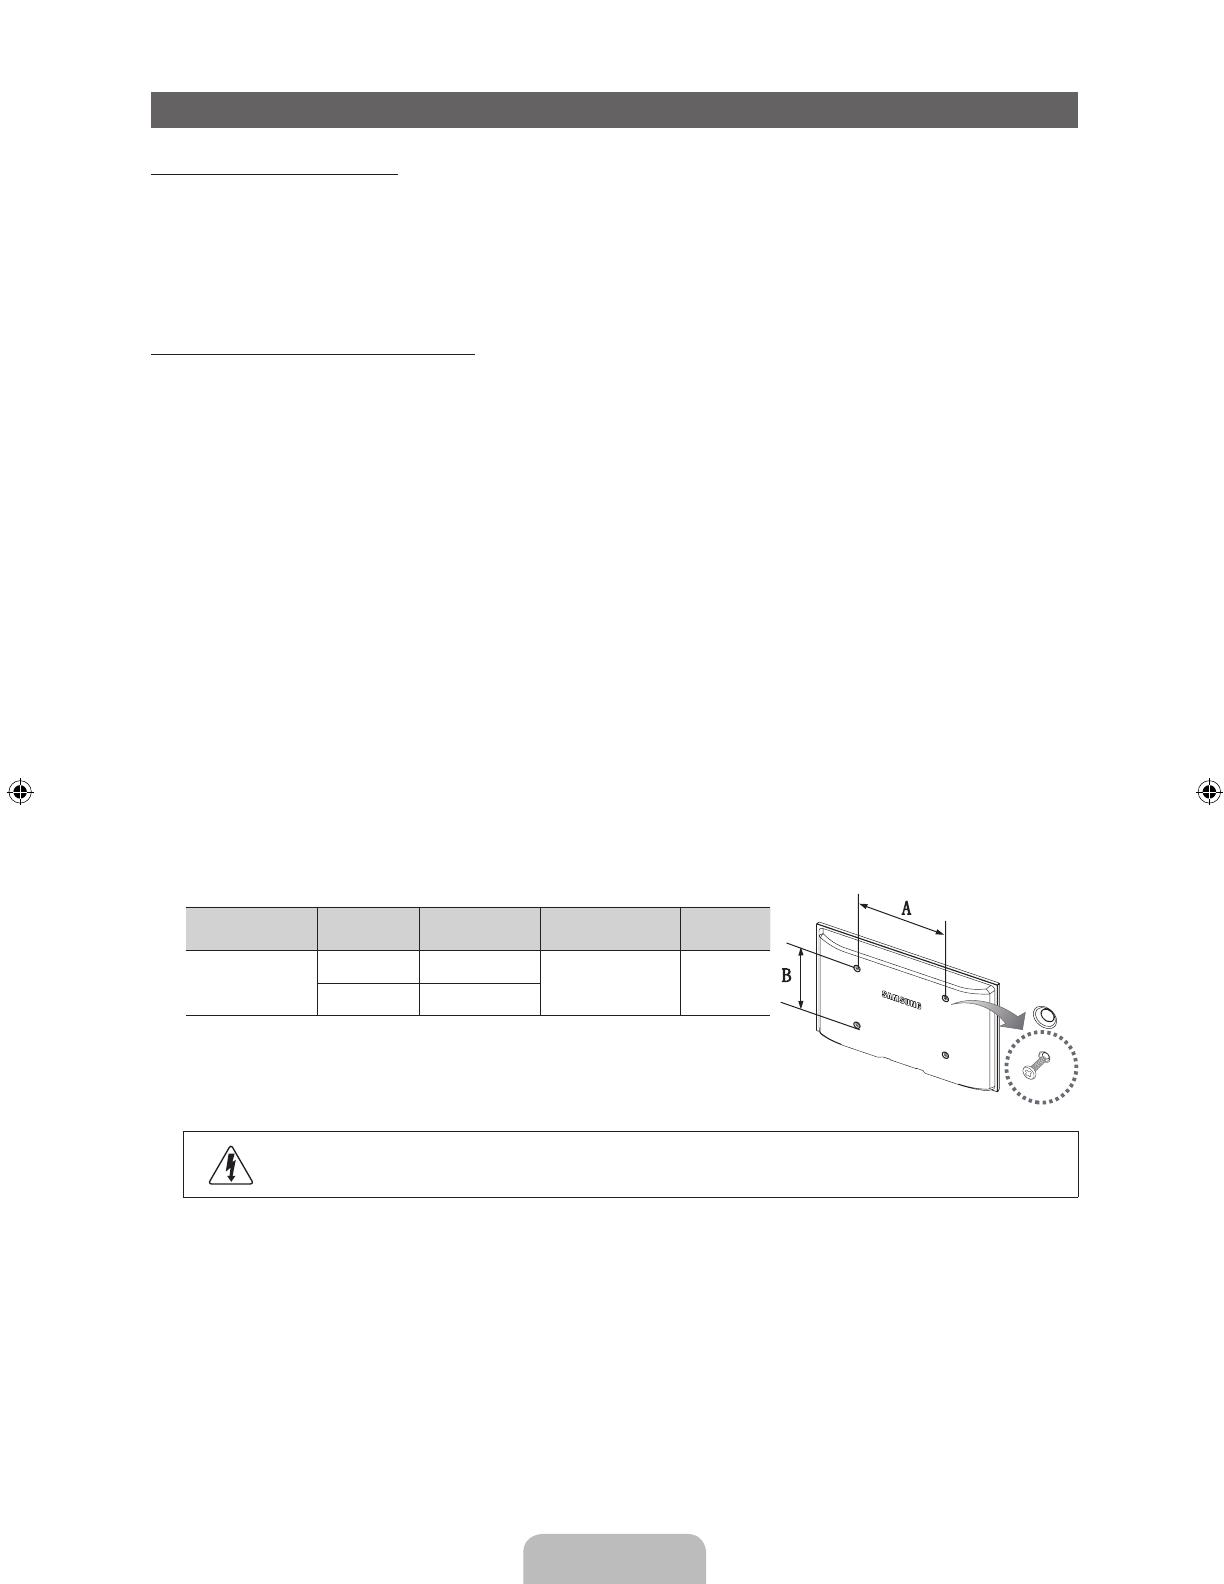
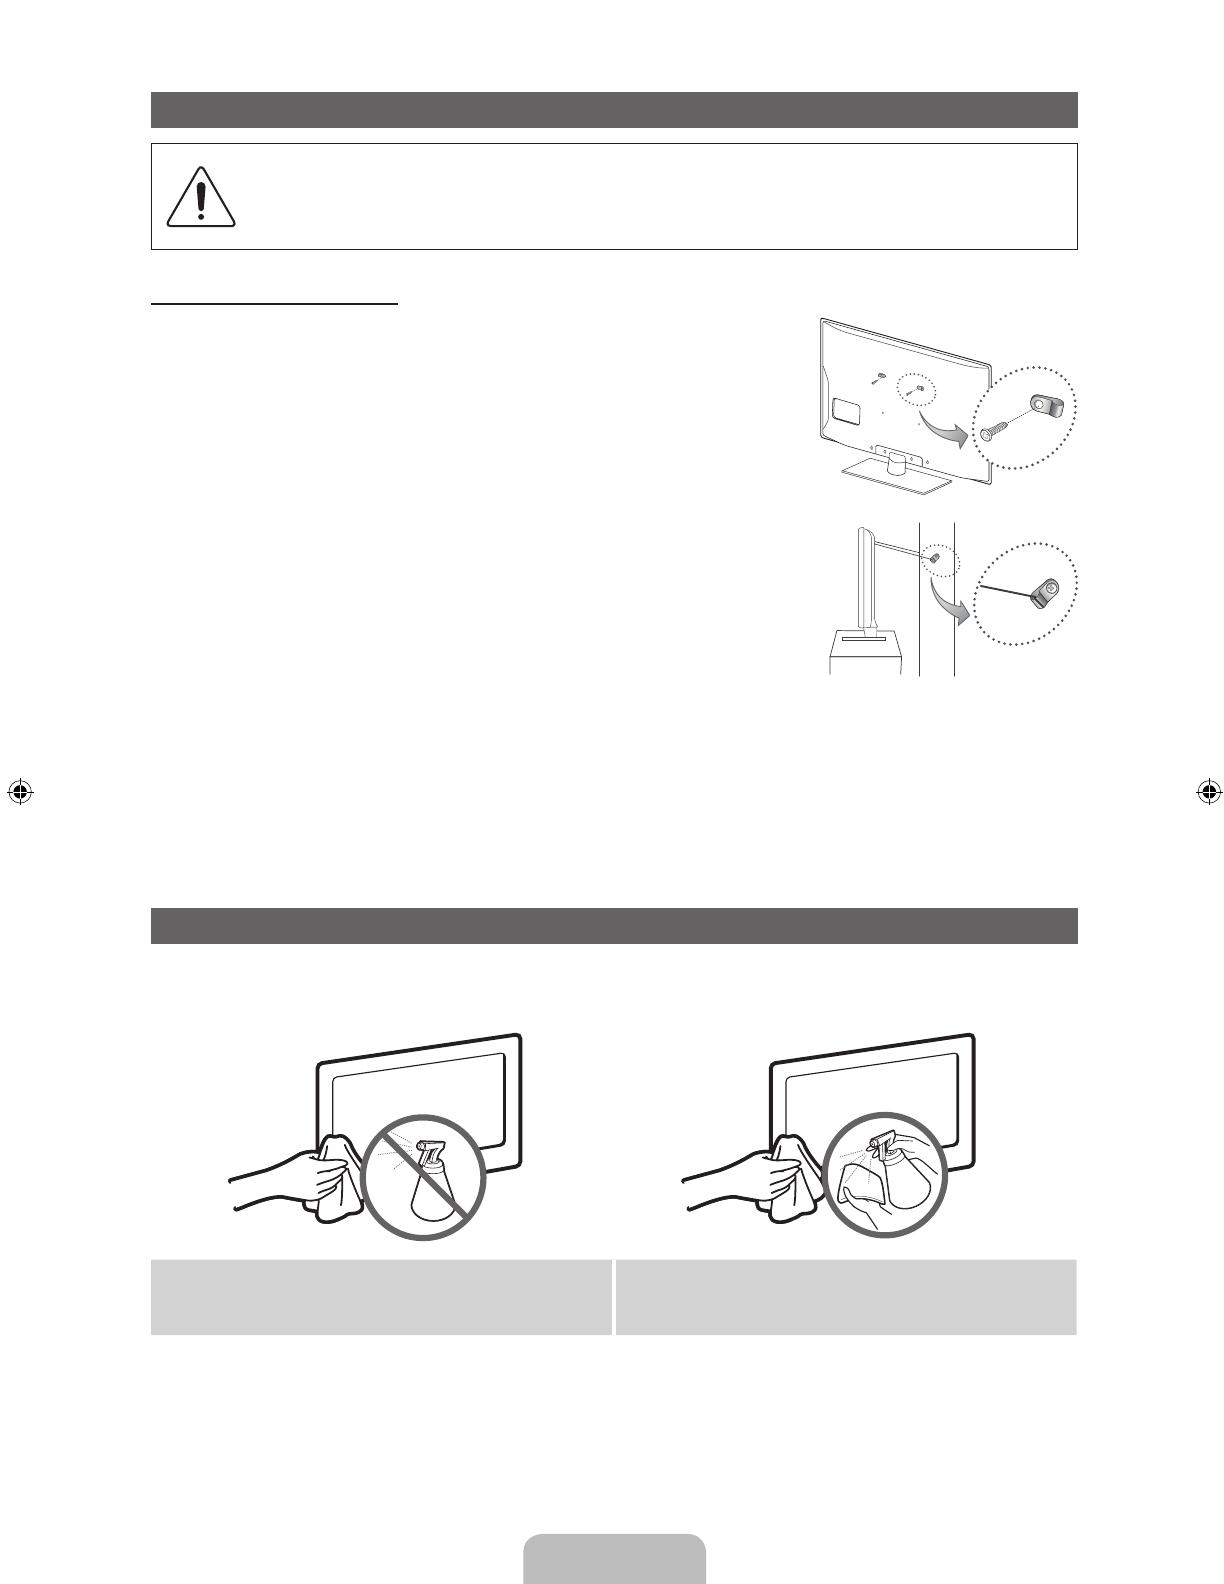
Securing the Installation Space
Keep the required distances between the product and other objects (e.g. walls) to ensure proper ventilation.
Failing to do so may result in fire or a problem with the product due to an increase in the internal temperature of
the product.
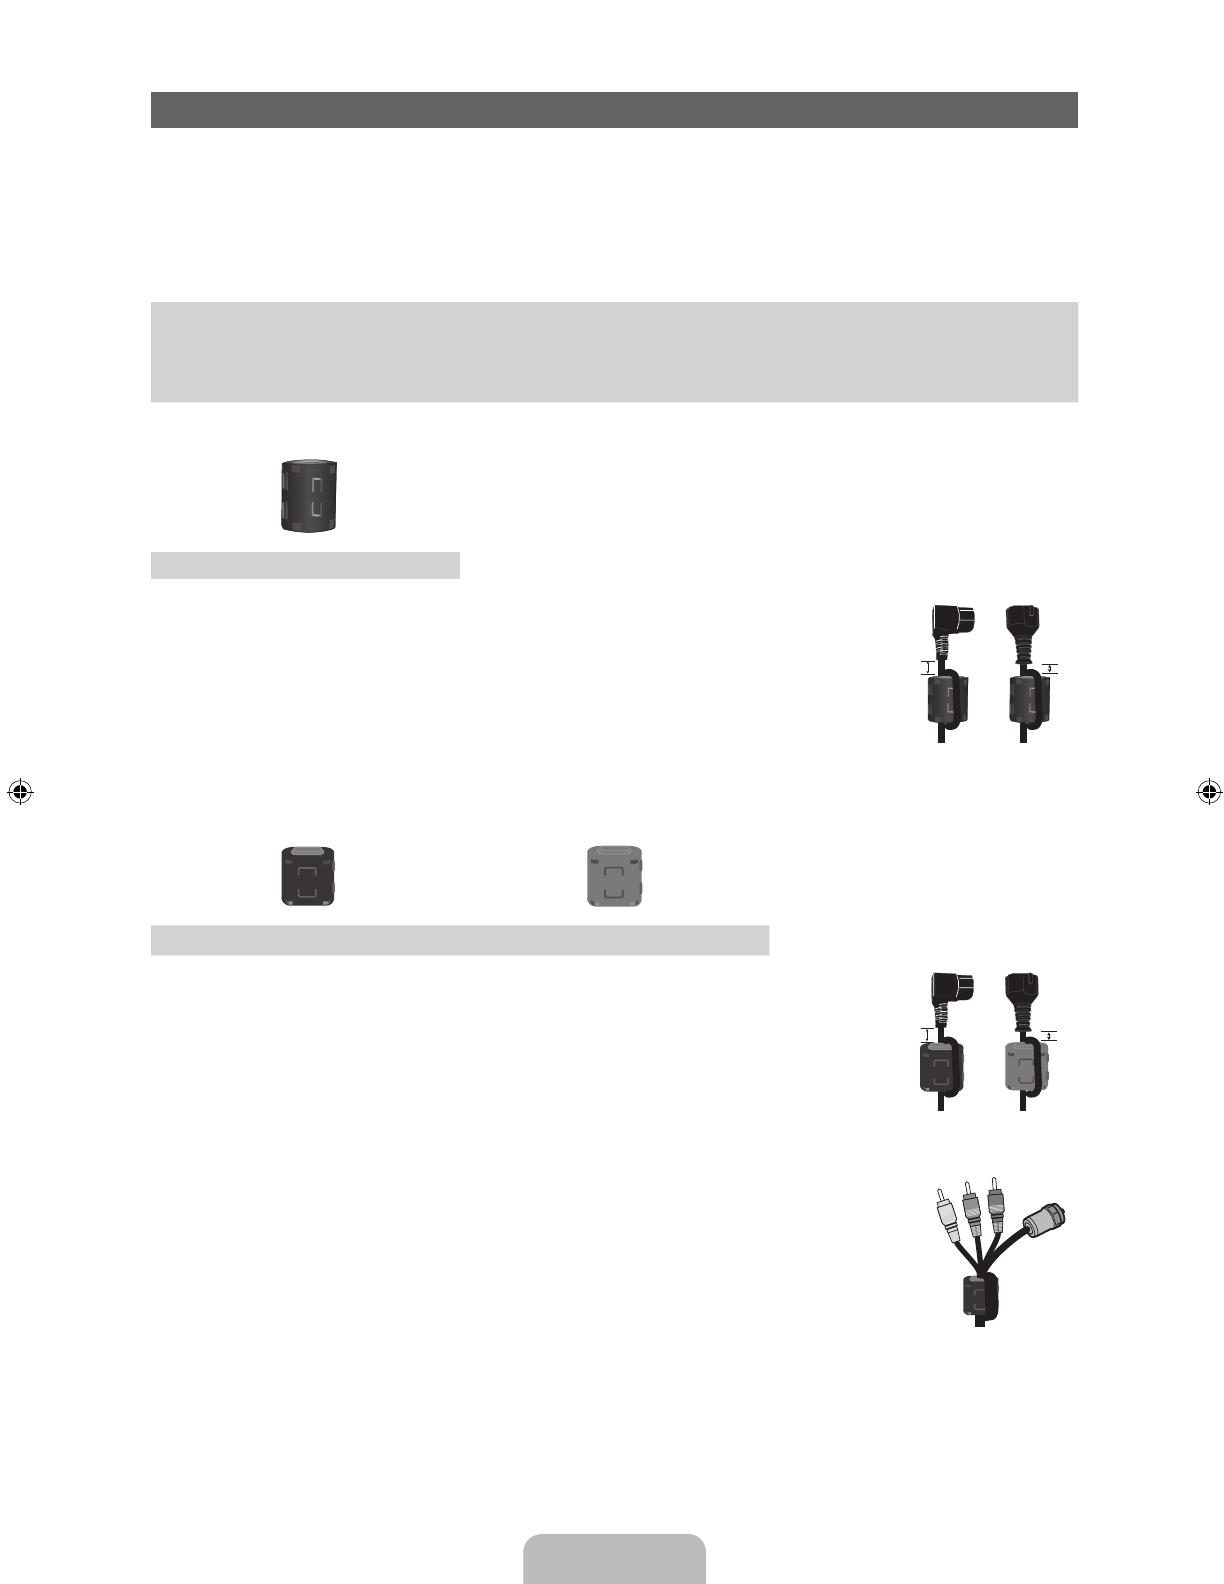
✎
When using a stand or wall-mount, use parts provided by Samsung Electronics only.
x
If you use parts provided by another manufacturer, it may result in a problem with the product or an injury
due to the product falling.
✎
The appearance may differ depending on the product.
✎
Be careful when you contact the TV because some parts can be somewhat hot.
Installation with a stand. Installation with a wall-mount.
10 cm10 cm
10 cm
10 cm
10 cm
10 cm
10 cm
[PD450-XY]BN68-03493A.indb 2 2011-01-27 오전 12:04:04