1
ACRYLIC TUB WITH INTEGRAL DRAIN
INSTALLATION INSTRUCTIONS
REVISED 02/07/2019
BEFORE YOU BEGIN
We recommend consulting a professional if you are
unfamiliar with installing bathroom fixtures and
plumbing. Signature Hardware accepts no liability for
any damage to the floor, walls, plumbing, or personal
injury during installation.
Observe all local plumbing and building codes.
Unpack and inspect the tub for damage. If any
damage is found, contact our
Customer Relations team at 1-866-855-2284.
IMPORTANT: If you purchased your tub with a Quick
Connect Drop-In Drain Kit. make sure to reference
page 8 throughout your installation.
GETTING STARTED
Ensure that you have gathered all of the required
materials that are needed for the installation.
Ensure that your bathroom floor is adequately
supported, and the finished floor is level.
Keep the plumbing connections around the tub
easily accessible for any future maintenance that
may be necessary.
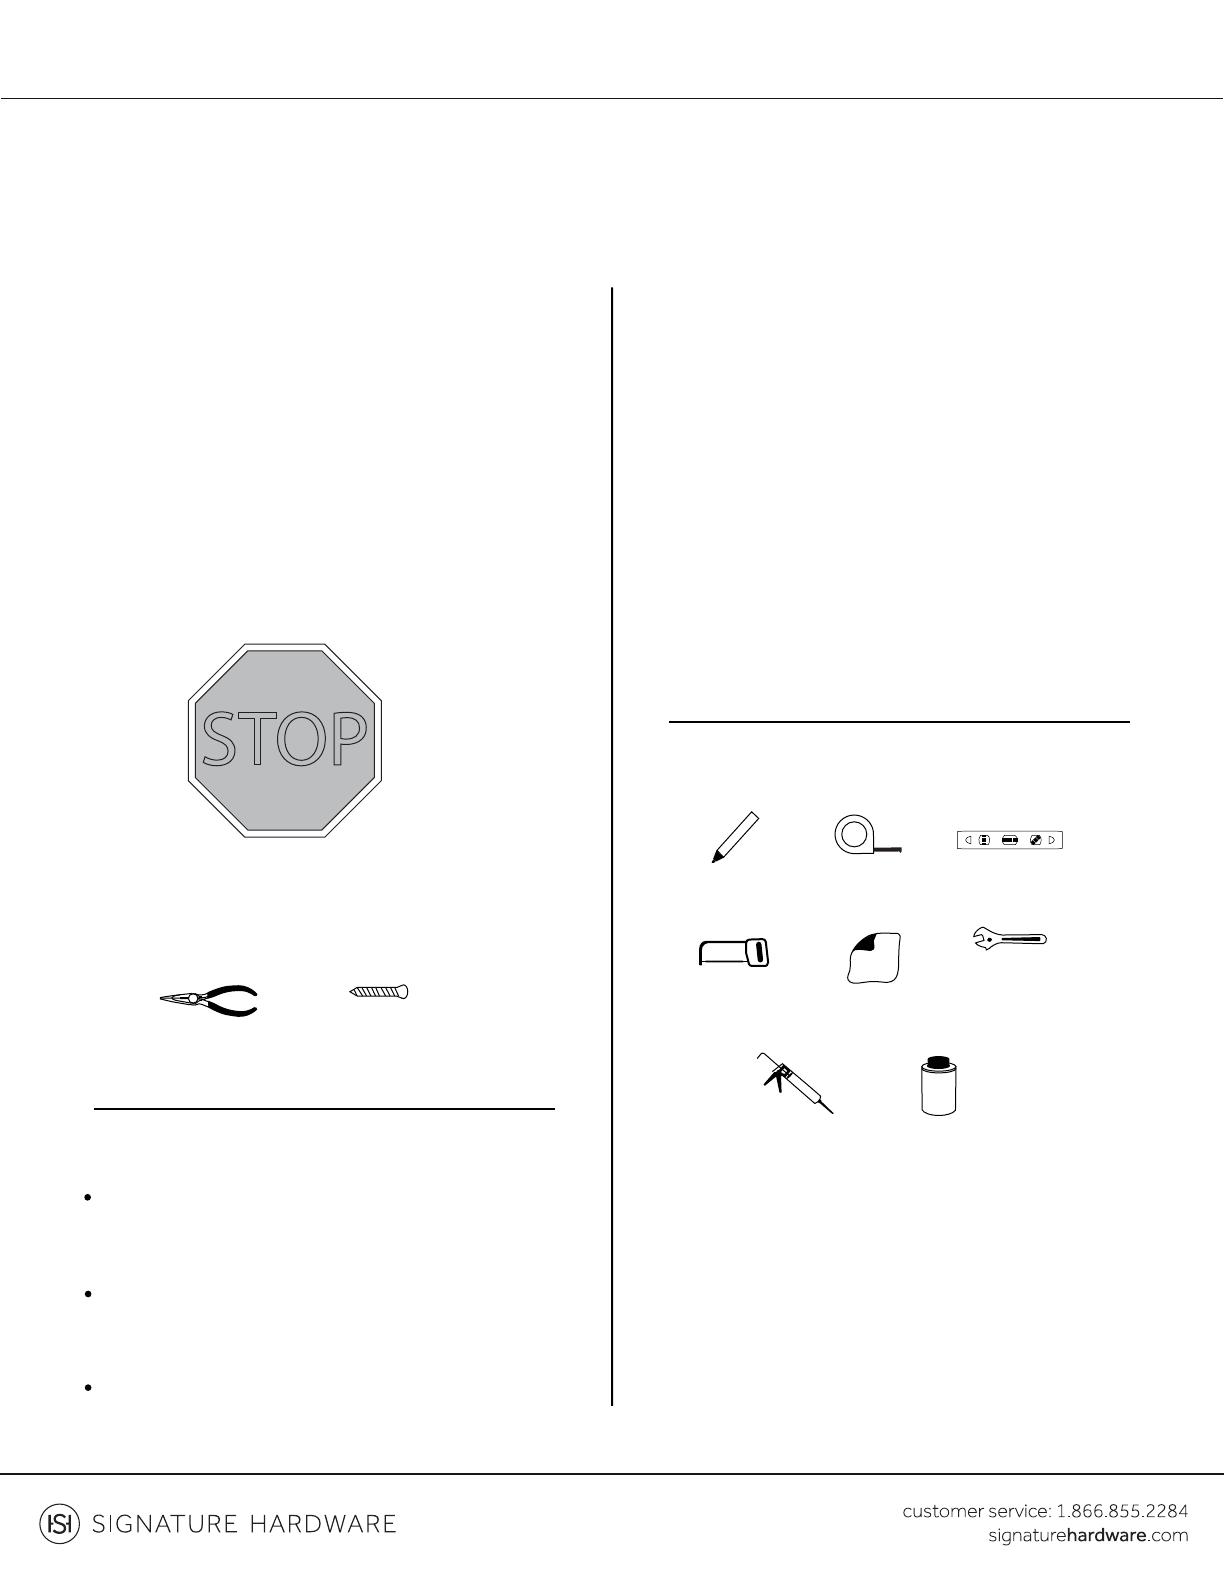
Long-nose Pliers
1-3/4” Screws
(x5)
STOP
Tape Measure
Adjustable
Wrench
Neutral Cure
Silicone Sealant
Marker
Metal Blade
Hacksaw
PVC Primer
and Cement
Damp Cloth
Level
TOOLS AND MATERIALS:
PLANNING
Use the tub’s PDF specification sheet as a
reference when planning your layout. The
specification sheet can be found and
downloaded from the product page on our
website.
Because the tub specification
measurements are approximate and slight
variations may occur, we highly recommend
performing any rough-in procedures with
the faucet on site. For rough-in information,
go to the appropriate drain installation
section.