Page is loading ...

2004 - 2012 Chevy Colorado/GMC Canyon Front Bumper
Installation Instructions
PREPARATION
1. Disconnect the negative terminal on the battery. Park the vehicle on level ground and set the
emergency brake.
2. We recommend reading through the installation instructions in whole before performing the work.
3. Estimated Installation Time: 2 Hours
4. You will need the following tools:
a. Ratchet
b. Drill
c. 1/2” Drill Bit
d. 3/4” Socket & Wrench
e. Sharpie
Note: this installation requires 2 people for best results
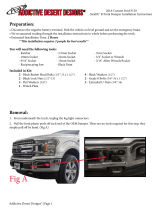
5. Included in Kit:
4 – Hex Head Bolts – 1/2”-20 x 4”
8 – Flat Washers – 1/2”
4 – Metal Lock Nuts – 1/2”-20
REMOVAL
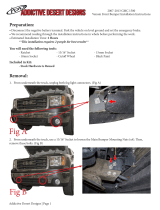
1. Remove the clips that hold on the OEM grille. Then, remove the grille by pulling it forward and off the
truck.
2. Remove the four upper mounting bolts that can be seen by looking down from the top of the bumper.
3. Remove the two lower mounting bolts (per side). These bolts can be accessed from underneath the
vehicle and are at each side of the bumper, near the fog lights.
4. Pull the OEM bumper off the truck.
5. Reinstall your grille by pressing it back onto the truck and reinstalling the plastic clips.
6. Prepare to install your new ADD Front Bumper.
INSTALLATION
1. Hold your new ADD Bumper in place on the frame rails, then mark where the mounting holes meet the
frame rails. (Fig A)

2. Move the bumper away from the vehicle and use a 1/2” Drill Bit to drill through the frame rails where
you marked them. (Fig B)
3. Hold the bumper in place and loosely install the bumper using the supplied 1/2” Bolts (x4), 1/2”
Washers (x8), and 1/2” Nuts (x4). (Fig C)

4. Align the bumper so that it sits straight in relation to the grille.
5. Torque the bumper mounting bolts to 70 foot pounds.
6. Stand back and enjoy your new ADD Stealth Front Bumper.
7. Check and re-tighten if needed, all mounting bolts after 100 miles and periodically thereafter.
For Additional Support or Technical Questions,
Please Call 480.671.0820 or
Email info@addictivedesertdesigns.com
/

