Epson C11C559001 User manual

Category
Print & Scan
Type
User manual
1
EPSON Remote
Configuration Manager
The EPSON Remote Configuration Manager lets you change the
printer’s default settings, update the printer with the new settings,
and save them in a configuration file which you can use any time.
This is especially convenient in a multi-printer network environment;
individual configuration files can be created for each printer’s specific
application requirements. The program works on these printers:
FX-880+
FX-880+ in Okidata
®
mode
FX-1180+
FX-890
FX-890 in Okidata mode
FX-2190
FX-2190 in Okidata mode
LQ-590
LQ-2090
Note:
If you are using Windows 2000 and the printer is connected to the parallel
port, Remote Configuration Manager may not work. In this case, do one of
the following:
Before running the program, set the printer driver to the LPT2 port.
Then use Remote Configuration Manager to check or change the default
settings as described in this book. After you finish using the program,
remember to return the setting to LPT1.
Connect the printer to the USB port instead.
®
2
Starting the Program
1. From the Start menu, select Programs (or All Programs),
Epson Remote Configuration Mgr, and then click
Epson Remote Configuration Manager.
You see this window:
2. Select
Create New Configuration and click OK. (If you want to
make changes to a configuration file that was created earlier, see
“Using an Existing Configuration File” on page 9.)
You see the printer model window:
3
3. Turn the printer off, wait a moment, and turn it back on.
4. Choose your printer from the list and click
Select. If you are
using your printer in Okidata mode, be sure to select the Oki
version for your printer.
You see the Remote Configuration Manager screen:
You can change settings in the Basic tab (shown above) and the
Advanced tab. If you select the Advanced tab, you see this
message:
4
5. Click OK to display the Advanced tab settings:
See the following section to change the settings.
5
Changing the Printer Settings
1. Double-click the setting you want to change or select it from the
list and click the
Change Setting button. You see a window like
this:
2. Select the value you want from the pull-down list or enter the
setting you want and click
OK.
If you decide not to change a setting, click
Cancel.
Note:
For more information about printer settings and options, see your printer
documentation.
When you finish making changes to the settings, you can either
update the printer now with the new settings, as described below,
or save the settings in a configuration file to be used in the future
(see page 8).
Important: You must update the printer for the settings to take
effect.
6
Updating the Printer With the New Settings
When you want the printer to use the new settings, you must update
it as follows:
1. If the configuration file you want to use is not already open,
open it now as described on page 9.
2. Click the
Update Printer button. If the file has not been saved,
you see this message:
If you want to save your changes, click
Yes. Enter a name for
the file (keeping the extension
.cfg), and click Save. (See “Saving
the Configuration File” on page 8 for more information.)
If you don’t need to save your changes, click No.
You see this window:
7
3. Make sure the correct interface is selected for your printer
(
Parallel, USB, TCP/IP, or Serial) and click Update.
If you did not select the correct interface, or if the printer is not
turned on or connected properly, you see one of these messages:
Make sure the printer is connected properly and turned on. Then
click
Yes or OK to update the printer.
Note:
You may need to click the
Update button again (step 2).
You see this window:
4. Click
OK. The control panel lights flash and the print head
moves to show that the settings have been changed.
The new settings remain in effect until you select another
configuration file or restore the default settings.
8
Saving the Configuration File
If you want to save the changes you have made to the printer settings
in a configuration file, do one of the following:
To save a new configuration file or overwrite the current one
with the new settings, click
Save Configuration. If you are
making changes to an existing file, the new settings overwrite
the original ones.
If this is a new file, you see this message:
Enter a new name for the configuration file and a description
of it, if desired. Then click Save. Make sure the extension
remains
.cfg.
To save the file with a new name so you don’t overwrite the
open one, select
Save As from the File menu. Enter a new name
for the configuration file and click
Save. Make sure the
extension remains
.cfg.
Configuration files are saved in this directory:
Program Files\Epson Remote Configuration\Setting
Note:
If you want to remove a configuration file, delete it from the \Setting
directory.
Type a file name with
the extension .cfg
Type a description of
the file, if desired
9
Using an Existing Configuration File
If you already created a configuration file, you need to open it to:
Check its settings
Change one or more settings
Update the printer with the configuration file settings
Follow these steps:
1. Start the Remote Configuration Manager.
2. When you see the first screen (shown below), click the
Open Existing Configuration button and click OK.
You see a window like this:
10
3. Choose the file you want to open and click Select. You see the
EPSON Remote Configuration Manager screen, shown on
page 3.
Now you can change any settings, if necessary. If you want to
save your changes, click the
Save Configuration button or select
Save As from the file menu.
4. When you are ready to update the printer with the current
settings, click the
Update Printer button.
Restoring Original or Default Settings
If you made changes in the open configuration file but then change
your mind, you can restore the original settings or the factory default
settings:
To restore the original saved settings, click the
Restore Setting
button or select
Restore Setting from the File menu. You see this
message:
Click
OK.
If you want to restore the factory default settings for all the
options, select
Factory Setting from the Option menu. When you
see the confirmation message, click
OK.
11
Creating a Binary File
If you need to be able to change the printer’s settings from a DOS
system, you can create a binary file. First make the changes to the
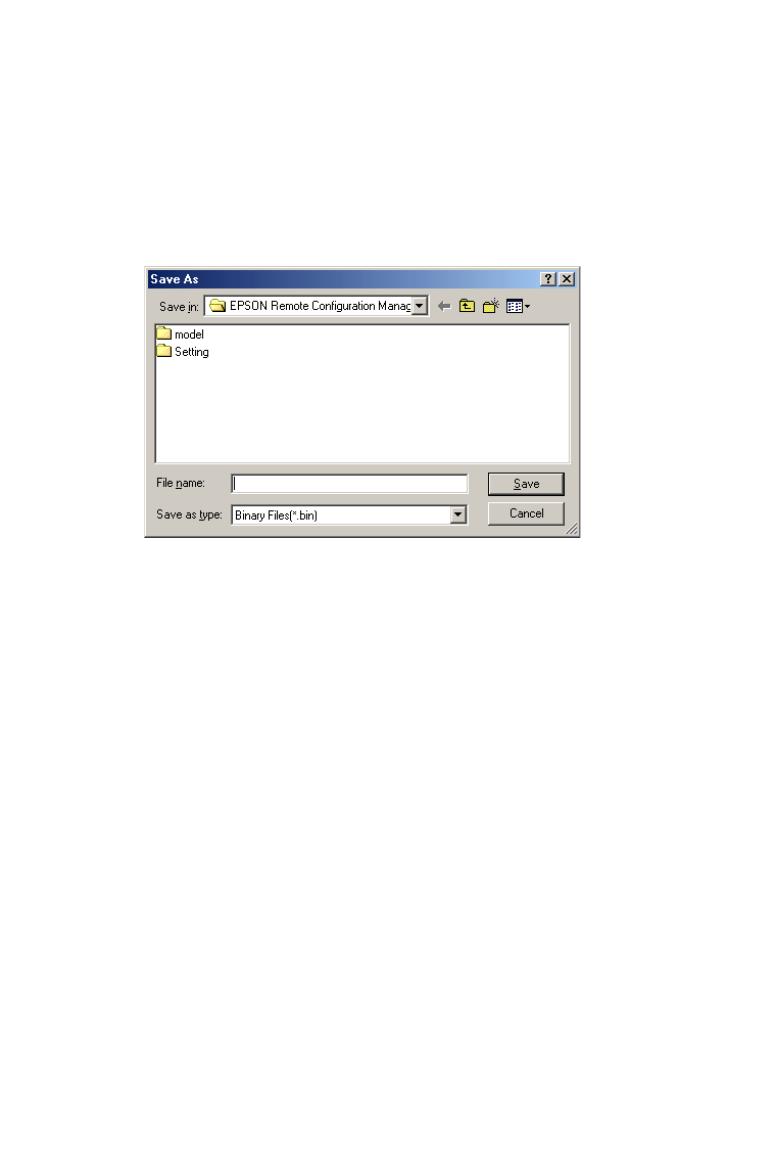
printer settings that you want saved in the binary file. Then click the
Create Binary File button. You see this window:
Make sure Binary Files is selected as the file type and choose where
you want to save the file. Type the name and the extension
.bin.
Then click
Save.
Copyright Notice
All rights reserved. No part of this publication may be reproduced, stored in a retrieval
system, or transmitted in any form or by any means, electronic, mechanical, photocopying,
recording, or otherwise, without the prior written permission of SEIKO EPSON
CORPORATION. The information contained herein is designed only for use with these
EPSON printers. EPSON is not responsible for any use of this information as applied to
other printers.
Trademarks
EPSON is a registered trademark of SEIKO EPSON CORPORATION.
General Notice: Other product names used herein are for identification purposes only and
may be trademarks of their respective owners. EPSON disclaims any and all rights in those
marks.
© 2003 by Epson America, Inc. 12/03
  • Page 1 1
  • Page 2 2
  • Page 3 3
  • Page 4 4
  • Page 5 5
  • Page 6 6
  • Page 7 7
  • Page 8 8
  • Page 9 9
  • Page 10 10
  • Page 11 11

Epson C11C559001 User manual

Category
Print & Scan
Type
User manual

Ask a question and I''ll find the answer in the document

Finding information in a document is now easier with AI