Heritage Mill PF9733 Installation guide

Type
Installation guide
GENERAL INFORMATION
ATTENTION INSTALLERS
WARNING: Installation of wood product may create wood dust, which is
known to the state of California to cause cancer. Avoid inhaling wood dust or
use a dust mask or other safeguards for personal protection.
Sawing, sanding and machining wood products can produce
wood dust. Airborne wood dust can cause respiratory, eye and
skin irritation. The International Agency for Research on Cancer
(IARC) has classied wood dust as a nasal carcinogen in humans.
Precautionary Measures: If power tools are used, they should be equipped
with a dust collector. If high dust levels are encountered, use an appropriate
NIOSH-designated dust mask. Avoid dust contact with eye and skin.
First Aid Measures in Case of Irritation: In case of irritation, ush eyes
or skin with water for at least 15 minutes.
All Engineered wood products meet and exceed CARB Phase2
compliance requirements. Certied by the HPVA (TPC-8)
Always wear appropriate personal protective equipment (PPE) which include
NIOSH or OSHA approved dust masks, safety goggles and work gloves.
WARNING: EXISTING IN-PLACE RESILIENT FLOOR COVERING AND
ASPHALTIC ADHESIVES. DO NOT SAND, DRY SWEEP, DRY SCRAPE, DRILL,
SAW, BEADBLAST, OR MECHANICALLY CHIP OR PULVERIZE EXISTING
RESILIENT FLOORING, BACKING, LINING FELT, ASPHALTIC “CUTBACK”
ADHESIVE, OR OTHER ADHESIVE.
These existing in-place products may contain asbestos fibers and/or crystalline silica.
Avoid creating dust. Inhalation of such dust is a cancer and respiratory tract hazard.
Smoking by individuals exposed to asbestos fibers greatly increases the risk of serious
CLICK WOOD INSTALLATION
READ THESE INSTRUCTIONS COMPLETELY BEFORE BEGINNING INSTALLATION.
bodily harm. Unless positively certain that the existing in-place product is a non-
asbestos-containing material, you must presume it contains asbestos. Regulations
may require that the material be tested to determine asbestos content and may
govern removal and disposal of material. See current edition of the Resilient Floor
Covering Institute (RFCI) publication Recommended Work Practices for Removal
of Resilient Floor Coverings for instructions on removing all resilient oor covering
structures.
If you have technical or installation questions please call 1-800-258-5758
IMPORTANT HEALTH NOTICE FOR RESIDENTS OF MINNESOTA ONLY:
THESE BUILDING MATERIALS EMIT FORMALDEHYDE. EYE, NOSE, AND
THROAT IRRITATION, HEADACHE, NAUSEA AND A VARIETY OF ASTHMA-
LIKE SYMPTOMS, INCLUDING SHORTNESS OF BREATH, HAVE BEEN
REPORTED AS A RESULT OF FORMALDEHYDE EXPOSURE. ELDERLY
PERSONS AND YOUNG CHILDREN, AS WELL AS ANYONE WITH A HISTORY
OF ASTHMA, ALLERGIES, OR LUNG PROBLEMS, MAY BE AT GREATER RISK.
RESEARCH IS CONTINUING ON THE POSSIBLE LONG-TERM EFFECTS OF
EXPOSURE TO FORMALDEHYDE.
REDUCED VENTILATION MAY ALLOW FORMALDEHYDE AND OTHER
CONTAMINANTS TO ACCUMULATE IN THE INDOOR AIR. HIGH INDOOR
TEMPERATURES AND HUMIDITY RAISE FORMALDEHYDE LEVELS. WHEN
A HOME IS TO BE LOCATED IN AREAS SUBJECT TO EXTREME SUMMER
TEMPERATURES, AN AIR-CONDITIONING SYSTEM CAN BE USED
TO CONTROL INDOOR TEMPERATURE LEVELS. OTHER MEANS OF
CONTROLLED MECHANICAL VENTILATION CAN BE USED TO REDUCE
LEVELS OF FORMALDEHYDE AND OTHER INDOOR AIR CONTAMINANTS.
IF YOU HAVE ANY QUESTIONS REGARDING THE HEALTH EFFECTS
OF FORMALDEHYDE, CONSULT YOUR DOCTOR OR LOCAL HEALTH
DEPARTMENT.
PRE-INSTALLATION GUARANTEE
ATTENTION! Inspect ALL materials carefully BEFORE installation. Warranties
DO NOT cover materials with visible defects once they are installed.
It is the responsibility of the installer/owner to determine if the job site suboor
and jobsite conditions are environmentally and structurally acceptable for wood
oor installation.
Manufacturer declines any responsibility for wood oor failure resulting from or
connected with suboor, subsurface, job site damage or deficiencies after hardwood
ooring has been installed.
JOBSITE CONDITIONS
Structure must be completely enclosed (including exterior windows and doors).
Gutters, downspouts, and exterior grading should direct drainage away from the
structure’s foundation.
Basements and crawl spaces must be dry and well ventilated. Crawl spaces
must be covered at ground level with a 6 mil polyethylene (poly) film with seams
overlapped and taped completely.
Before installation begins, heating and cooling systems must be in operation for
a minimum of 14 days, maintaining a room temperature of 60-80°F degrees, and 35-
55% Relative Humidity. A humidifier or a dehumidifier may be required in some areas
to maintain these levels. Gapping and cupping are only a few of the conditions that
can develop if these conditions are not maintained.
FLOORING ACCLIMATION & STORAGE
If the ooring needs to be stored on the jobsite:
- Leave in package, store laying at, packages raised off of suboor (adequately
supported to prevent sagging).
- Store in a climate controlled area, 60-80°F degrees room temperature, between
35-55% RH.
Our Click-Lock Engineered wood ooring does not require jobsite acclimation.
INSTALLATION METHODS
Click-Lock Engineered wood ooring features a glue-less locking tongue & groove
system designed for oating installation.
Click-Lock Engineered wood ooring can also be glued directly to the suboor
(call 1-800-258-5758 for instructions).
Click-Lock Engineered wood ooring cannot be stapled/nailed down to the
suboor.
RADIANT HEATING SYSTEMS
Only Oak, American Cherry and Walnut species are approved for use over in-
oor radiant heat systems.
The radiant heat system must be designed and installed correctly according to the
manufacturer’s specifications.
The suboor should never exceed 80°F. The overall layout and internal tubing
must remain consistent in heat range throughout the entire oor. “Hot” and “Cold”
spots within the system can alter oor performance, and void the warranty.
Prior to beginning any installation, concrete suboors with radiant heat installed
should not exceed 2 lbs. using a standard calcium chloride test.
Plywood suboors should not exceed a 3% difference in moisture content prior
to installation.
To ensure a successful installation and allow excess moisture to evaporate, the
heating system should be operational and running for a minimum of 14 days prior
to installation.
Three to four days prior to installing the oor, the system should be reduced or
shut off. At time of installation, the suboor must be between 64-68ºF.
Radiant heat setting temperature should be adjusted gradually in increments
and never vary more than 15º F seasonally. Never exceed 80ºF.
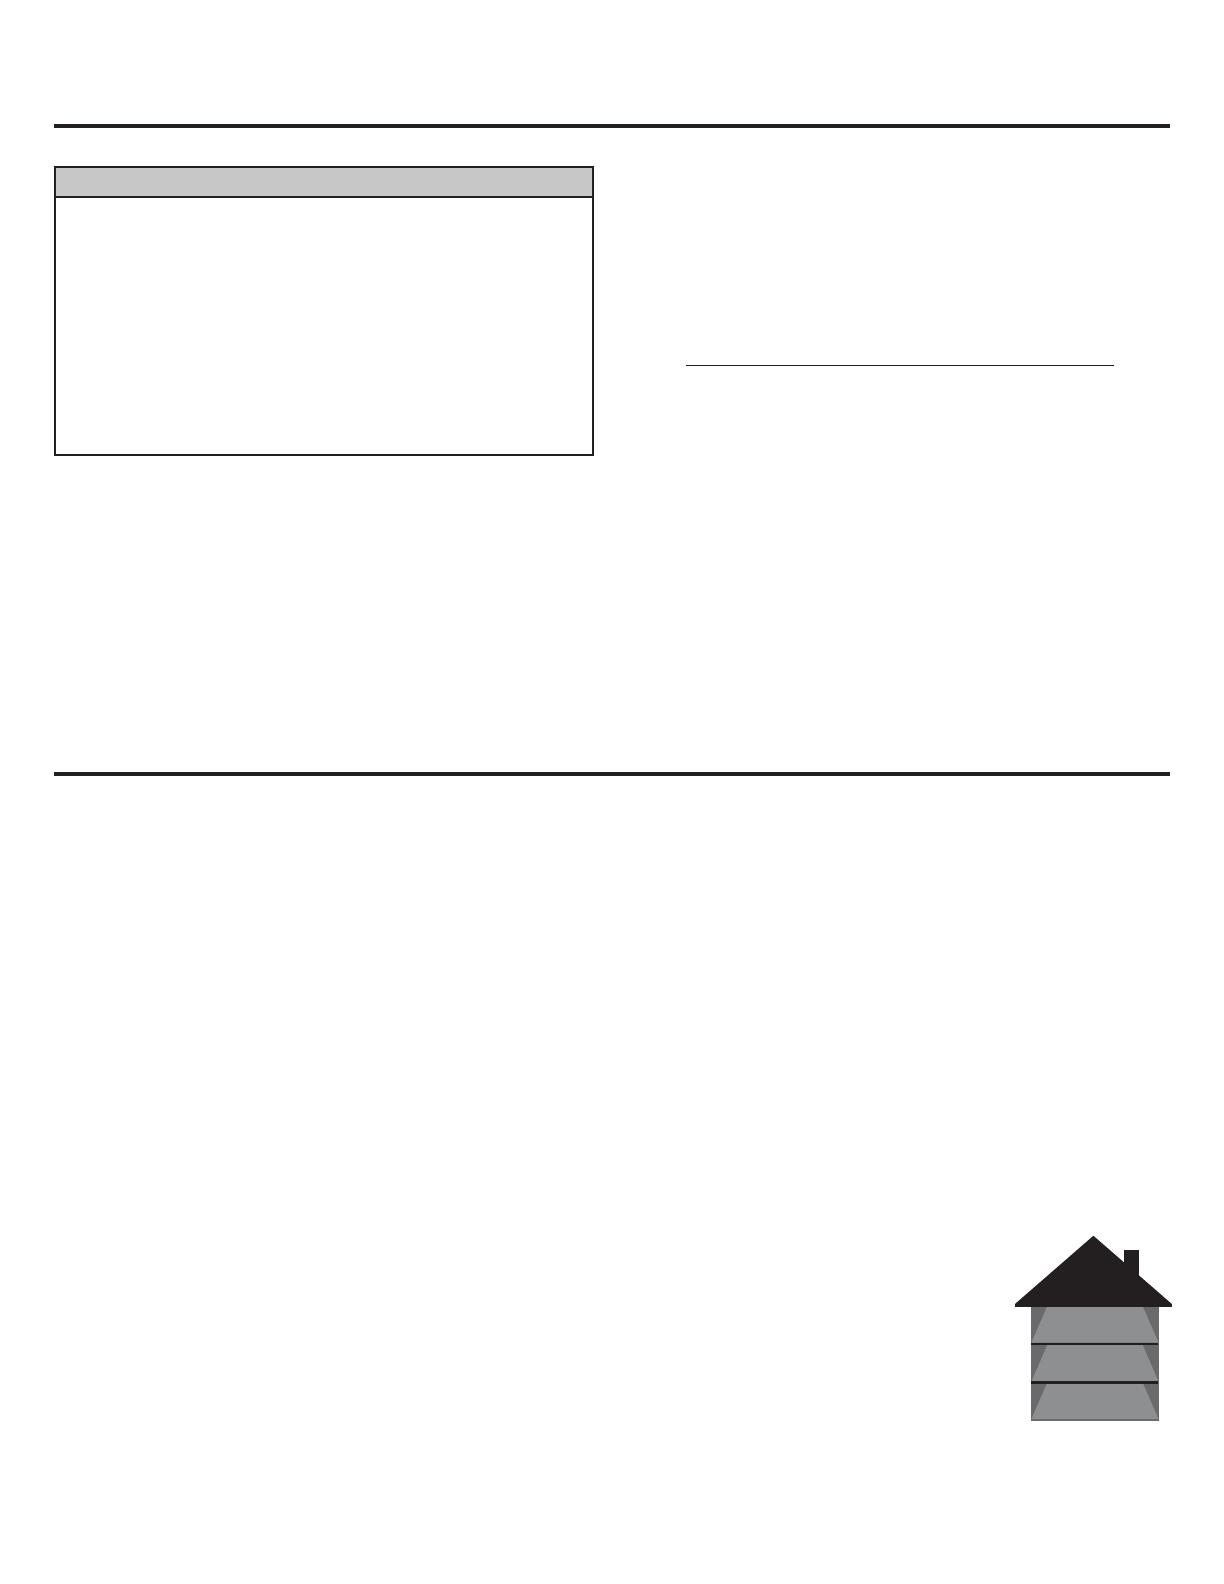
INSTALLATION LOCATIONS
Can be installed ON, ABOVE, and BELOW GRADE
Can be installed on most any dry, at, clean, and structurally
sound solid surface including ooring grade plywood &
OSB board, concrete, and soundly secured existing oors
(linoleum, vinyl, tile, etc.). When doing oating installation
only, also over particle board and lightweight concrete.
Not warranted for installing in full bathrooms.
PRE-PLANNING
Slightly bowed (curved) boards can be installed and are
not considered to be defective (See Installation Tip 1).
When cutting or sanding wood ooring it is recommended
that you wear a protective dust mask to avoid inhaling wood dust, and safety glasses
for eye protection.
A oating oor expands and contracts with the seasons and should never be
restricted in any way. Be careful not to put fasteners (nails, screws, etc.) through the
PRE-INSTALLATION PLANNING
ABOVE GRADE
ON GRADE
BELOW GR ADE
GRADE LEVEL
SUITABLE
APPLICATIONS:
O2015-9792
oor or “pinch” the oor under doorways, cabinets, etc. This could cause the oor
to pull apart or buckle because it is not allowed to oat freely. Be especially careful
when installing moldings and trim not to nail into the oating oor.
While installing ooring, it is best to work from several cartons of material to
properly blend the naturally occurring lighter and darker boards to achieve a more
uniform oor appearance. In addition, this will help distribute the random length
planks.
Decide the direction the ooring will be installed in the room. If possible, it is
best to install perpendicular to the direction of the ooring joists. Flooring will be
accented best if installed parallel to the largest windows in the room.
This oating wood oor requires a minimum 3/8” expansion space around the
perimeter of the room to allow for normal expansion and contraction, as well as
around any other vertical objects in the room (cabinets, columns, etc.).
Extra expansion space is required in large areas (i.e. one room; two rooms with
adjoining archways or a room with an extended hallway) measuring more than 24
linear feet in either direction (width or length). Either install a T-molding across the
width of the room, archway or use an additional 1/4” expansion for each additional
12 linear feet (i.e. for a 3/8” product in a room that measures 36’ x 36’ you would
PRE-INSTALLATION PLANNING CONTINUED
leave 5/8” expansion around all vertical surfaces which can be covered by your
choice of molding).
Pre-plan the number of rows (based off of board face width). Often the last row
will need to be ripped lengthwise to fit. If the measurement for the last row is less
than 2” (allowing for required expansion space), it would best to rip the boards in
the first and last rows to balance the installation. If the ripped boards have to be
narrower than 2”, use a high quality carpenter’s glue in the tongue and groove to
secure the narrower boards to the wider adjoining planks.
Remove any base, shoe, or threshold moldings prior to beginning installation.
These can be replaced at the end of the install.
Under cut door jambs to allow for expansion space and to avoid difficult scribe
cuts. This can be done by using a small piece of the ooring as a guide/rest for your
jamb saw.
The use of putty to fill small gaps or correct minor defects should be considered
normal in any wood ooring installation. When using putty on low sheen (gloss)
wood oors, use a plastic putty knife and remove excess immediately with a soft
cloth to prevent gloss-up of the finish.
CHECKING SUBFLOOR FLATNESS
Use a straight edge to determine suboor atness (throughout oor). The
suboor should be at to within 3/16” in an 8’ area.
High areas need to be sanded and low areas filled. NEVER SAND ANY EXISTING
FLOOR OR ADHESIVE SUSPECTED TO CONTAIN ASBESTOS OR CRYSTALLINE
SILICA (such as resilient vinyl or linoleum, or the adhesives used to bond them).
High or low areas in the suboor could cause the oated oor to ex causing
squeaking, popping, or other noises. Over time this exing could also cause the
locking system to weaken resulting in gaps or loose boards in the oor.
CHECKING SUBFLOOR MOISTURE
WOOD SUBFLOORS:
The moisture content of the suboor must be checked using a reputable
manufacturer’s moisture meter. Wood suboors should not exceed a 14% moisture
content, and the moisture variance between the wooden suboor and the new
ooring to be installed should not exceed 4%.
CONCRETE SUBFLOORS:
When ooring is installed directly to a concrete suboor, one of the following
moisture tests is recommended:
Calcium Chloride Test (maximum 3.0 pounds)
Tramex Moisture Meter (maximum reading of 4.5)
Delmhorst BD2100 Moisture Meter (reading of green/dry)
RH (Relative Humidity) should not exceed 75% in slab
Keep documentation of all moisture readings. If results indicate a moisture
problem exists, DO NOT INSTALL THE FLOORING! Most moisture issues can
be corrected easily (sealing, etc.). When corrected, retest the suboor to assure
moisture guidelines have been met.
SUBFLOOR REQUIREMENTS
Foam Underlayment
6-mil Polyethylene film
(if going over concrete)
Roberts #1406 T&G Adhesive
Chalk Line
3/8” Wood or Plastic Spacers
T-square
Tapping Block
Pencil
Measuring Tape
Wood Chisel
Safety Glasses
Circular or Rip Saw
Jamb Saw
Dust Mask
Knee Pads
Pull Bar
TOOLS NEEDED
OVER WOOD SUBFLOORS
Roll out underlayment butting the edges following manufacturer’s instructions.
The underlayment used over wood suboors does not require an attached moisture
vapor barrier, nor is a separate layer of 6-mil polyethylene film required.
OVER CONCRETE SUBFLOORS
Loose-lay 6-mil polyethylene film as a moisture vapor barrier. Overlap the seams
of the poly by 8” and tape the seams with clear packaging tape. Poly should be lapped
up the wall but not touching the sheetrock. Roll out underlayment butting the edges
over the poly film following manufacturer’s instructions.
NOTE: IF YOU ARE USING AN UNDERLAYMENT THAT CONTAINS A
MOISTURE VAPOR BARRIER ATTACHED, THE SEPARATE 6-MIL POLY LAYER IS
NOT REQUIRED.
LAYING THE FLOOR
ALL BOARDS SHOULD BE
INSTALLED WITH THE TONGUE
SIDE FACING THE WALL.
Begin installing the first row in the left corner of the room by laying a board at
on the underlayment. Apply a thin bead of glue in the groove end of the first board.
Align the end of the second board with the first and join these two boards together
by simply pushing straight down on top of the
first board. Repeat these steps to complete
the boards in the first row. Usually the last
board in the row will need to be cut to size.
If leftover cut pieces are longer than 12”, they
can be used as starter boards for future rows.
It is recommended to weigh down the boards
in the first row until the glued ends have time to set. Subsequent rows do not have
to be glued as they are installed.
Insert wood or plastic spacers between the wall and the boards in the first row
to maintain the required expansion space for the oating oor. Additional spacers
will need to be added along all walls as the installation progresses to assure that the
proper expansion space is allowed around the perimeter of the room.
Start the second row by holding the long side of the
board at approximately a 45 degree angle to the first
board in the first row. Engage the board sides by rotating
the board downward toward the oor while pushing it
against the edge of the first board. Repeat this step for
the other boards in the second row, cutting the last board to size if necessary. (Note:
A tapping block can be helpful when engaging ooring boards.)
Install the third row and subsequent rows in the same manner as described above.
Once three rows have been installed, recheck the spacers to be sure they are tight
against the wall. If necessary, adjust the oor to ensure the installation is square.
The boards in the last row often need to be ripped lengthwise to the needed
width (be sure to allow for the required expansion space). Mark the boards to
be ripped to the correct width including the contours/irregularities of the wall as
needed.
After the oor is completely installed, remove spacers, install moldings, vacuum
to remove grit and thoroughly clean the oor with an approved hardwood oor
cleaner. If the oor needs to be covered for protection, use a breathable material
like craft paper or clean, uncoated and unprinted cardboard. Never cover a newly
installed wood oor with plastic, coated materials or adhesive backed films that can
trap moisture.
INSTALLING FLOOR
Tongue Side
INSTALLATION TIP 1
Note that slightly bowed (curved) boards can be installed and are not considered
defective. There are a few tips that can help make installing these boards easier:
1. Place the bowed board at a 45 degree angle into the groove area of the
assembled boards on the oor as you would normally. Apply forward and
downward pressure to engage the boards as usual.
2. As you meet resistance, use you left hand placed near to the center of the
bowed board to apply downward pressure in the bowed area.
3. With your right hand, use a tapping block and tap against the long edge of
the bowed board as you apply downward pressure. The tapping action on
the bowed board helps it to engage and lower into the proper at position.
Do not tap too hard as this can damage the groove edge of the board.
NOTE: DO NOT INSTALL FLOORING USING A RUBBER MALLET. STRIKING
THE FLOORING SURFACE WITH A RUBBER MALLET MAY PERMANENTLY
MAR THE FINISH CAUSING DAMAGE THAT CANNOT BE REPAIRED.
4. If the bowed board cannot be installed using this method, this board often
can be cut and used as a starter or ending board elsewhere in the installation.
INSTALLATION TIP 2
To assist with the stability of the first few rows, we recommend that you install
the first row, then 2 to 3 boards in the second row, then 1 to 2 boards in the third
row. Go back to the second row and install another 2 boards, then 1 board in the
third row. Complete this “stepping” arrangement until the three rows are complete.
Always stagger the end joints of adjacent rows a minimum of 12”. Try to avoid a
“stair-step” pattern when looking across several rows, and try to avoid “H” patterns
in the installation.
1
9
8
7
6
54
32
10
Maintain a 12”
Stagger
INSTALLATION TIP 3
You cannot force the boards to go together. If they are not laying at when
engaged they are not fully seated. If the boards are not laying at, disengage the
boards and start the step over (to disengage a board, lift long side of the board to
INSTALLATION TIPS:
a 45 degree angle and remove). Insure the edges of both boards meet evenly by
applying equal pressure while rotating the board down. Using a tapping block to
help the boards to go together as they are being engaged in this manner often is the
answer to fully seating the boards together.
INSTALLATION TIP 4
When working under door jambs or the toe kicks of
cabinets, there will not be enough clearance to achieve the
45 degree angle necessary to engage the board sides. It will
be necessary to trim away the raised portion on the groove
side using a wood chisel and then glue the tongue and groove
together using a high quality carpenter’s glue. A pull bar may be
used to engage these boards.
INSTALLATION TIP 5
In narrow areas (i.e. hallways) where planks will be installed width wise, the planks
must be staggered to incorporate at least one end joint in every other row. Installing
same length boards side by side without this stagger could cause the ooring to bow
upward or weaken the joints.
INCORRECT CORRECT
INSTALLATION TIP 6
Transition pieces (moldings), and the oor itself, are made from real wood and
will exhibit all the natural variations of the particular species. Every transition piece
will not match every board of ooring. Therefore, the best results will be achieved
by identifying boards that are complimentary to the transition prior to installation,
setting the boards aside to be installed next to the transition.
FLOOR CARE AND PREVENTIVE MAINTENANCE
With today’s finishes, maintenance of your wood oor could not be easier. Normal
maintenance consists of regular sweeping or vacuuming to collect dirt and grit that
can dull your finish, along with periodic use of an approved no-wax hardwood oor
cleaner. For Handscraped/Distressed oors, the uneven surface may trap dirt and
dust so we recommend vacuuming more often. Always vacuum thoroughly prior to
the use of approved oor cleaner. Be certain the wheels of the vacuum are clean and
do not damage the finish. Scrubbing machinery, power scrubbers and steam cleaners
are not recommended to clean the oor.
PREVENTIVE MAINTENANCE
Aside from those mentioned above, other steps can also be taken to minimize wear
and tear and keep your oor looking new for years to come.
DO NOT USE liquid or paste wax, oil soaps, or any other cleaners that contain
silicon, lemon oil, tung oil, acrylics or ammonia. Furthermore, avoid ‘home recipes’
found on the internet or other sources. These products and techniques can cause
your oors to become slippery, or cloud and dull the finish. Use of these and similar
products can harm the performance of your oor and may also affect its re-coat
ability.
DO NOT USE A VACUUM WITH A BEATER BAR HEAD
Use throw rugs inside and outside of entryways to prevent dirt and grit from
being tracked in and scratching your finish. Rugs, mats or backings should not be
abrasive to prevent scratching to the wood oor. Material should be breathable to
avoid trapping moisture underneath.
Wood and water don’t mix! Never damp mop your oor. Clean up spills promptly
with a soft cloth and recommended cleaning products.
Place felt-type protectors on the bottom of all furniture and fixture legs to assist
in preventing denting and scratching.
High heels and sports cleats will likely dent, gouge or scratch hardwood oors,
which is not covered by our warranty.
Keep pet’s nails trimmed and clean of dirt and debris.
Avoid sliding or rolling heavy furniture or appliances across the oor. Whenever
possible, lift the item to be moved. If it must be rolled, protect the oor with plywood
or other hard sheeting to prevent dents.
Use a humidifier/dehumidifier to maintain a consistent year round climate,
keeping wood shrinkage and movement to a minimum.
The exposure of sun, UV rays and artificial lighting accelerate the oxidation and
aging of wood. This can cause the wood and/or stain to change color and/or fade
over time. If possible, we recommend that you rearrange fixtures, rugs and furniture
periodically to ensure the ooring ages evenly. Our warranties do not cover damage
from the sun, UV rays or artificial light. Note: American Cherry and Walnut species
are especially susceptible to the effect of light and may darken or lighten due to
UV or artificial light exposure. These species change color more rapidly than other
Domestic Species.
Furniture casters should have wheels constructed with soft, non-marring/marking
material such as soft rubber, or covered with felt. Hard wheeled casters such as
plastic, vinyl or hard rubber can mark or dent hardwood oors. Caster wheel width
and diameter should comply with load guidelines.
  • Page 1 1
  • Page 2 2
  • Page 3 3

Heritage Mill PF9733 Installation guide

Type
Installation guide

Ask a question and I''ll find the answer in the document

Finding information in a document is now easier with AI