Parts Included
A. Upper Basket (1)
B. Lower Basket (1)
C. Upright Brackets (2)
D. Left Hand Slides (2)
E. Rear Slide Brackets (2)
F. Right Hand Slides (2)
G. #6-32 x 5/16" Screws (16)
H. #8 x 3/4" Wood Screws (4)
I. #6 x 1/2" Wood Screws (7)
DOUBLE-TIER, MULTI-USE BASKETS
Installation Instructions
Inspect all parts and read all instructions prior to beginning assembly and installation.
310516_1115
2700 Oak Industrial Drive NE , Grand Rapids, MI 49505 USA
800.253.1561 • 616.459.3311 • www.kv.com
©2015 Knape & Vogt. All rights reserved. Made in USA. Knape & Vogt
®
reserves the right to change specifications without notice.
Tools Required
• Phillips Head Screwdriver
• Tape Measure
Product Assemblies:
DBLMUB-11-R-FN
DBLMUB-14-R-FN
DBLMUB-17-R-FN
DBLMUB-20-R-FN
A
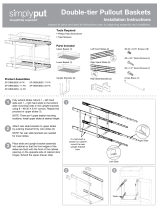
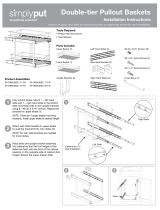
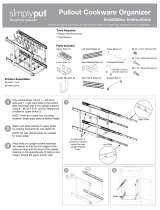
1. Fully extend slides. Mount 1 – left hand slide and 1 – right hand slide to the bottom slide
mounting holes in the upright brackets using 8 – #6-32 X 5/16" slide mounting screws.
Repeat this process for upper slides (1).
NOTE: There are 4 upper basket mounting locations. Install upper slides at desired height.
2. Attach rear slide brackets to upper slides by pushing bracket firmly onto slides (2).
NOTE: No rear slide brackets are needed for lower slides.
3. Place slide and upright bracket assembly into cabinet so that the front edge of the slides are
flush with the front of the cabinet opening on the opposite side of cabinet door hinges.
Extend the upper drawer slide.
1
Right Slide
Left Slide
2 3
Flush
B
C
D E
G H I
F
Optional for 1/2
shelf installation.

4. Holding the middle cabinet member,
push the slide back approximately 1/2"
so that the mounting hole is accessible.
Install 1 – #6 x 1/2" wood screw (4).
5. Ensure that upright brackets are parallel
to the front of the cabinet then attach to
the base of the cabinet with 4 –
#8 x 3/4" wood screws (5A).
NOTE: Screws can be placed in slotted
holes for future adjustment or in round
holes to ensure the unit does not move.
6. Push rear slide brackets back until they
are against the back of the cabinet.
Attach to the back of the cabinet with
3 – #6 x 1/2" wood screws per bracket
(5B).
7. Fully extend slides. Install lower basket
to left hand slides by placing tabs
through the wire basket. Next push
basket into hooks on right hand slides
while supporting the slide member.
Repeat process for upper basket (6).
Installation is now complete.
4
5
5B
5A
6
Left Slide
Right Slide
Align as Shown
Page is loading ...
Page is loading ...
Page is loading ...
Page is loading ...
/


