Denver IR-110 User manual

Category
Alarm clocks
Type
User manual
ENGLISH
GETTING STARTED
Powering ON/OFF
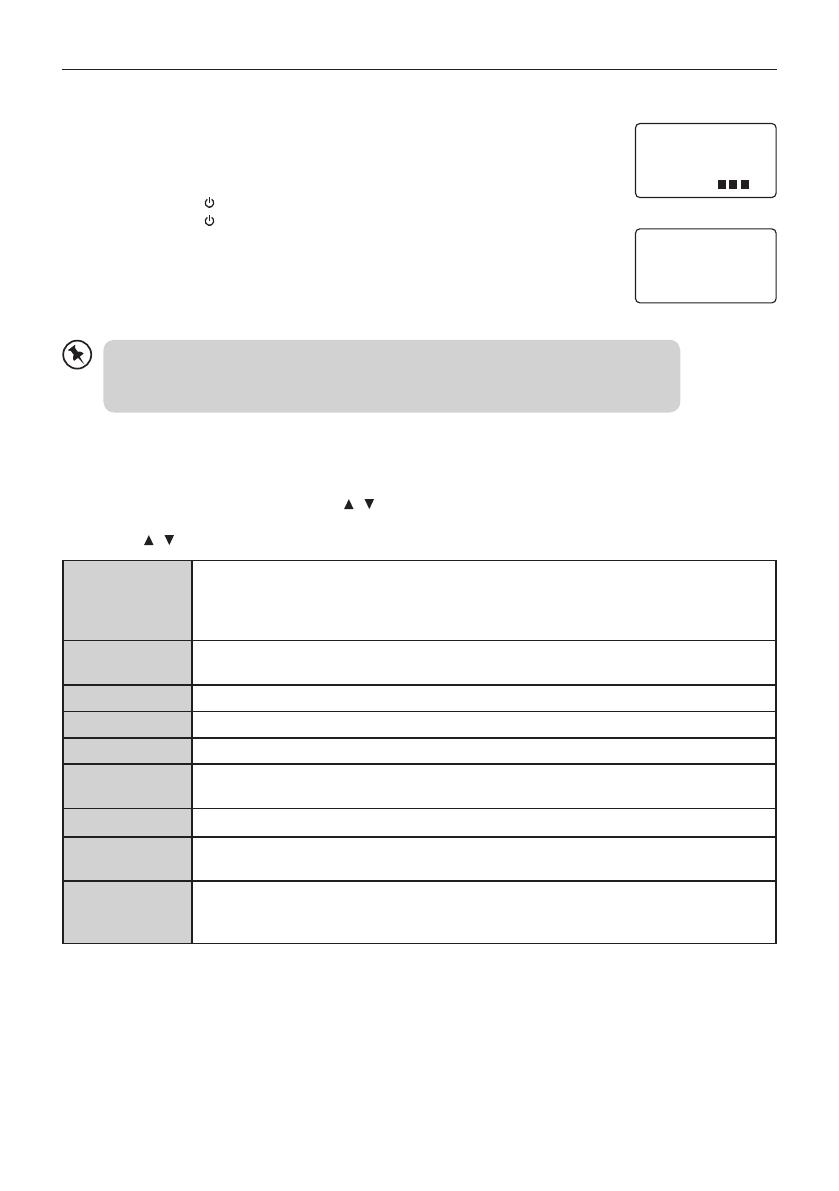
1. When you first connect the unit to the mains socket, the unit will be in STANDBY
mode after showing Welcome to Internet Radio STARTING…. (F.1)(F.2)
2. Press the Standby
button on the unit or remote control to switch the unit on.
3. Press the Standby
button on the unit or remote control to switch the unit back
to standby on mode.
Selecting Modes
Press the MODE button repeatedly on the unit or remote control to switch between
Music player, DAB radio, FM radio, AUX In and Internet radio modes.
Welcome to
Internet Radio
STARTING
(F.1)
00/00/000
00 : 00
(F.2)
When the unit is idle for approximately 15 minutes, it will automatically switch to standby.
To switch the unit off completely, remove the mains plug from the main socket.
Please turn the unit off completely to save energy when not in use.
Network
1. During System Settings mode, press the / buttons to select Network and press the SELECT button to
confirm.
2. Press the / buttons to select from the following settings, and then press the SELECT button to confirm.
Network wizard SSID – select the desire wireless network.
Rescan – Scan for available networks.
Wired – select wired network.
Manual config – select wired/wireless network with DHCP enable/disable.
PBC Wlan setup Select PBC on the unit and press the PBC button on the modem device that you wish to
connect with. Press the SELECT button to continue.
View settings Display the setting on the unit.
Wlan region Select a country of your choice.
Manual settings Select wired/wireless network with DHCP enable/disable.
NetRemote
PIN Setup
To define a PIN number to be entered before being able to connect to the unit
remotely over a network
Network profile View the connected network.
Clear network
settings
To delete the connected network memory in Network profile.
Keep network
connected
To define whether remains connected to its network in Standby mode and when not in
Network radio mode. This is necessary for remote operation and audio streaming in Music
Player mode.
3. Press the BACK button on the unit or on the remote control to cancel the setting and return back to the
previous menu.
ENGLISH
After the system reset, all the tuned stations, DAB & FM preset stations will be erased.
Setting the Alarm
1. Press the ALARM button on the remote control, the display shows Alarm (1 or 2): Off [hh:mm]”.
2. Press the / buttons to select the Alarm number (1 or 2) and then press the SELECT button to start the
setting of the following parameters.
For the following setting, press the / buttons to select then press the SELECT button to confirm.
Enable Off/ Daily/ Once/ Weekends/ Weekdays
Time (Alarm On time)
Mode Buzzer/ Internet radio/ DAB/ FM
Preset Last Listened/ (Preset station)
Volume Muted, 1-31
Save Save and confirm the alarm setting
Finally, select “Save” and press the SELECT button to save the alarm setting. When the alarm is set, the alarm icon
will appear on the display during standby mode.
To turn off the alarm when it sounds, press the STANDBY
or ALARM button.
During Standby mode, press the ALARM button repeatedly to turn the saved Alarm on/off.
Factory Reset
There may be times when you need to reset your unit back to the factory settings especially when you have moved
house. If you experience reception problems you may want to reset and try again.
If you move to another part of the country and pick up the local and national DAB+ stations in that area, your
previously tuned channels may no longer be available.
1. During System settings mode, press the / buttons to select Factory reset, and press the SELECT button to
confirm.
2. Press the / buttons to select Ye s, and press the SELECT button to confirm or select No to cancel.
ALL RIGHTS RESERVED, COPYRIGHT DENVER ELECTRONICS A/S
Electric and electronic equipment and included batteries contains materials, components and
substances that can be hazardous to your health and the environment, if the waste material
(discarded electric and electronic equipment and batteries) is not handled correctly.
Electric and electronic equipment and batteries is marked with the crossed out trash can
symbol, seen below. This symbol signifies that electric and electronic equipment and
batteries should not be disposed of with other household waste, but should be disposed of
separately.
As the end user it is important that you submit your used batteries to the approriate
and designated facility. In this manner you make sure that the batteries are recycled in
accordance with legislature and will not harm the environment.
All cities have established collection points, where electric and electronic equipment and
batteries can either be submitted free of charge at recycling stations and other collection
sites, or be collected from the households. Additional information is available at the technical
department of your city.
Imported by:
DENVER ELECTRONICS A/S
Stavneagervej 22
DK-8250 Egaa
Denmark
www.facebook.com/denverelectronics
Hereby, Inter Sales A/S, declares that this model DENVER (IR-110) is in compliance with the
essential requirements and other relevant provisions of Directive 1999/5/EC.
A copy of the Declaration of Conformity may be obtained at
Inter Sales A/S
Stavneagervej 22
DK-8250 Egaa
Denmark
Kurzanleitung
IR-110
www.facebook.com/denverelectronics
Guía de inicio rápido
IR-110
www.facebook.com/denverelectronics
Pikaopas
IR-110
www.facebook.com/denverelectronics
Guide de démarrage rapide
IR-110
www.facebook.com/denverelectronics
Guida rapida
IR-110
www.facebook.com/denverelectronics
Snelstartgids
IR-110
www.facebook.com/denverelectronics
Szybki przewodnik
IR-110
www.facebook.com/denverelectronics
Guia de Início Rápido
IR-110
www.facebook.com/denverelectronics
Snabbstartsguide
IR-110
www.facebook.com/denverelectronics
  • Page 1 1
  • Page 2 2
  • Page 3 3
  • Page 4 4
  • Page 5 5
  • Page 6 6
  • Page 7 7
  • Page 8 8
  • Page 9 9
  • Page 10 10
  • Page 11 11
  • Page 12 12
  • Page 13 13
  • Page 14 14
  • Page 15 15
  • Page 16 16
  • Page 17 17
  • Page 18 18
  • Page 19 19
  • Page 20 20
  • Page 21 21
  • Page 22 22
  • Page 23 23
  • Page 24 24
  • Page 25 25
  • Page 26 26
  • Page 27 27
  • Page 28 28
  • Page 29 29
  • Page 30 30
  • Page 31 31
  • Page 32 32
  • Page 33 33
  • Page 34 34
  • Page 35 35
  • Page 36 36
  • Page 37 37
  • Page 38 38
  • Page 39 39
  • Page 40 40
  • Page 41 41
  • Page 42 42
  • Page 43 43
  • Page 44 44

Denver IR-110 User manual

Category
Alarm clocks
Type
User manual

Ask a question and I''ll find the answer in the document

Finding information in a document is now easier with AI