Cocoon HE180040 Quick start guide

Type
Quick start guide
Getting Started Guide
HE180040 02/2020
8 CAMERA
SECURITY SYSTEM
WITH DVR
1. Connect each of the camera extension cables to the video and power connectors.
2. Connect the other end of the extension cables to the ports marked “VIDEO IN”
on the back of the DVR.
3. Connect the 8-way power splitter to each of the extension cable power plugs.
Note: We highly recommend reading the manual in full before testing and installing your business
security system. Test all connections are working before permanently installing DVR and
cameras. Position the DVR in a central location where all 8 cameras will reach. If you are
wanting to use your DVR via mobile and/or PC, install near your router and refer to the user
manual for further instructions on installation and operation.
Getting Started Guide
HE180040 02/2020
8 CAMERA
SECURITY SYSTEM
WITH DVR
After Sales Support 1300 663 907
www.winplus.com.au
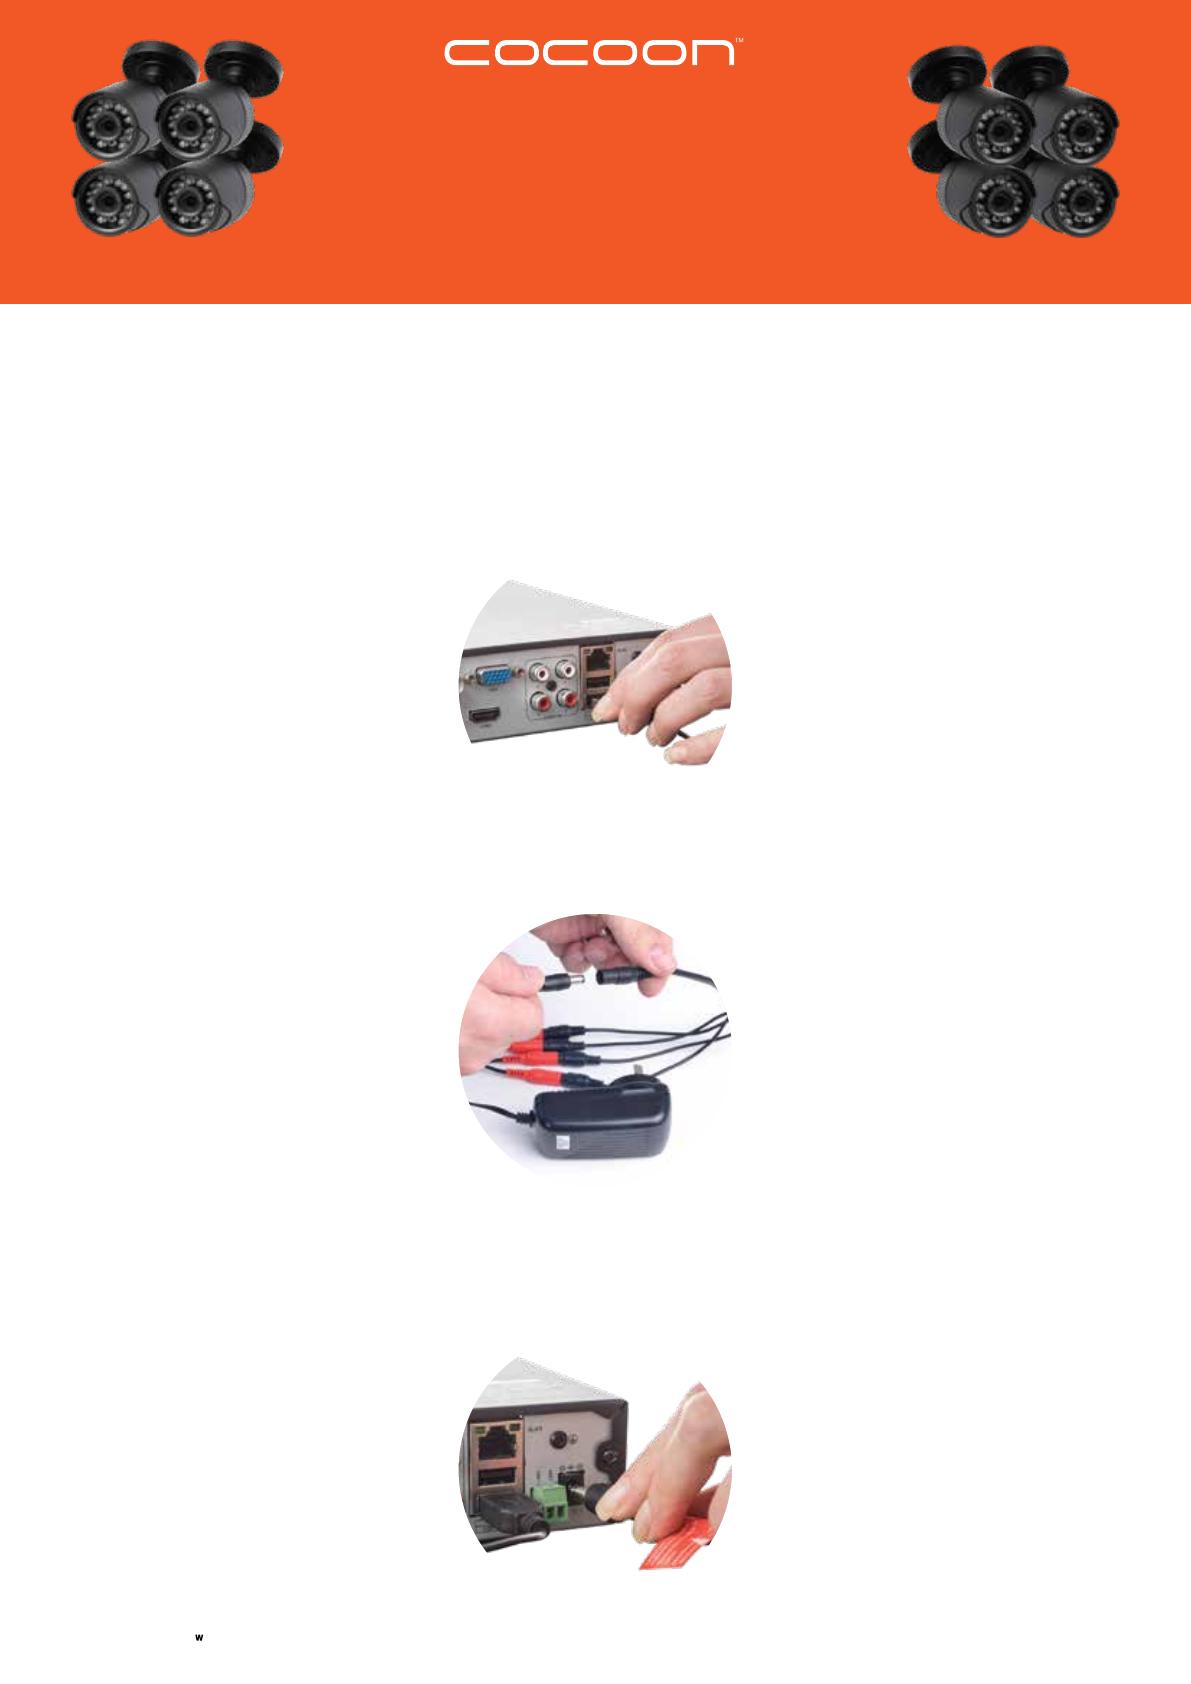
6. Connect the power adaptor to the 8-way splitter and plug into an outlet. Switch the
outlet on.
7. Connect the remaining power adaptor to the DVR and plug into a mains outlet.
Switch the outlet on. The DVR will begin the boot sequence.
NOTE: Both the DVR and cameras operate “always on”. To turn the cameras or DVR o, switch o
the power adaptors at the power outlet
5. Connect the mouse to the rear USB port.
4. Connect the included HDMI cable to the back of the DVR and connect the other end
of the HDMI cable to your monitor or TV.
NOTE: You must switch your TV or monitor to the correct INPUT once the DVR has been powered on.
For example, HDMI1
  • Page 1 1
  • Page 2 2

Cocoon HE180040 Quick start guide

Type
Quick start guide

Ask a question and I''ll find the answer in the document

Finding information in a document is now easier with AI