Indesit 3D AA NX User guide

Category
Fridges
Type
User guide
Italiano
Istruzioni per l’uso
COMBINATO FRIGORIFERO/CONGELATORE
3DAxx
3DAAxx
3DAAAxx
Sommaire
Mode d’emploi, 1
Assistance, 3
Description de l’appareil, 7
Description de l’appareil, 12
Réversibilité des portes, 16
Installation, 25
Accessoires, 25
Mise en marche et utilisation, 26
Entretien et soin, 26
Précautions et conseils, 27
Anomalies et remèdes, 28
Contents
Operating Instructions, 1
Assistance, 3
Description of the appliance, 6
Description of the appliance, 11
Reversible doors, 16
Installation, 21
Accessories, 21
Start-up and use, 22
Maintenance and care, 22
Precautions and tips, 23
Troubleshooting, 24
Sommario
Istruzioni per l’uso, 1
Assistenza, 3
Descrizione dell’apparecchio, 6
Descrizione dell’apparecchio, 11
Reversibilità apertura porte, 16
Installazione, 17
Accessori, 17
Avvio e utilizzo, 18
Manutenzione e cura, 18
Precauzioni e consigli, 19
Anomalie e rimedi, 20
English
Operating Instructions
REFRIGERATOR/FREEZER COMBINATION
Français
Mode d’emploi
COMBINE REFRIGERATEUR/CONGELATEUR
Sumario
Manual de instrucciones, 1
Asistencia, 4
Descripción del aparato, 7
Descripción del aparato, 12
Reversibilidad de la apertura de las puertas, 16
Instalación, 29
Accesorios, 29
Puesta en funcionamiento y uso, 30
Mantenimiento y cuidados, 30
Precauciones y consejos, 31
Anomalías y soluciones, 32
Español
Manual de instrucciones
COMBINADO FRIGORÍFICO/CONGELADOR
Índice
Instruções para a utilização, 1
Assistência, 4
Descrição do aparelho, 8
Descrição do aparelho, 13
Reversibilidade da abertura das portas, 16
Instalação, 33
Acessórios, 33
Início e utilização, 34
Manutenção e cuidados, 34
Precauções e conselhos, 35
Anomalias e soluções, 36
Portuges
Instruções para a utilização
COMBINADO FRIGORÍFICO/CONGELADOR
3
Assistenza
Prima di contattare l’Assistenza:
Verificare se l’anomalia può essere risolta autonomamente
(
vedi Anomalie e Rimedi
).
In caso negativo, contattare il Numero Unico Nazionale
199.199.199.
Comunicare:
il tipo di anomalia
il modello della macchina (Mod.)
il numero di serie (S/N)
Queste informazioni si trovano sulla targhetta caratteristiche
posta nel vano frigorifero in basso a sinistra.
Non ricorrete mai a tecnici non autorizzati e rifiutate sempre
l’installazione di pezzi di ricambio non originali.
Assistenza Attiva 7 giorni su 7
Se nasce il bisogno di assistenza o manutenzione basta
chiamare il Numero Unico Nazionale 199.199.199* per essere
messi subito in contatto con il Centro Assistenza Tecnica più
vicino al luogo da cui si chiama.
È attivo 7 giorni su 7, sabato e domenica compresi, e non lascia
mai inascoltata una richiesta.
* Al costo di 14,25 centesimi di Euro al minuto (iva inclusa) dal
Lun. al Ven. dalle 08:00 alle 18:30, il Sab. dalle 08:00 alle 13:00 e
di 5,58 centesimi di Euro al minuto (iva inclusa) dal Lun. al Ven.
dalle 18:30 alle 08:00, il Sab. dalle 13:00 alle 08:00 e i giorni
festivi, per chi chiama dal telefono fisso.
Per chi chiama da radiomobile le tariffe sono legate al piano
tariffario dell’operatore telefonico utilizzato.
Le suddette tariffe potrebbero essere soggette a variazione da
parte dell’operatore telefonico; per maggiori informazioni
consultare il sito www.indesit.com.
Assistance
Before calling for Assistance:
Check if the malfunction can be solved on your own (
see
Troubleshooting
).
If after all the checks, the appliance still does not operate or
the problem persists, call the nearest Service Centre
Communicating:
type of malfunction
appliance model (Mod.)
serial number (S/N)
This information can be found on the data plate located on the
bottom left side of the refrigerator compartment.
Never call on unauthorized technicians and always refuse
spare parts which are not originals.
Assistance
Avant de contacter le centre d’Assistance :
Vérifiez si vous pouvez résoudre l’anomalie vous-même (
voir
Anomalies et Remèdes
).
Si, malgré tous ces contrôles, l’appareil ne fonctionne
toujours pas et si l’inconvénient persiste, appelez le service
après-vente le plus proche.
Signalez-lui :
le type d’anomalie
le modèle de l’appareil (Mod.)
le numéro de série (S/N)
Vous trouverez tous ces renseignements sur l’étiquette
signalétique placée dans le compartiment réfrigérateur en bas à
gauche.
Ne vous adressez jamais à des techniciens non agréés et
exigez toujours l’installation de pièces détachées originales.
- modello
- model
- modèle
- modelo
- modelo
- ìïíôÝëï



- model - model
- model - model
- model
- numero di serie
- serial number
- numéro de série
- número de serie
- número de série
- áñéèìüò óåéñÜò



- seri numarasý - seri numarasý
- seri numarasý
7
Description of the appliance
Control panel
1 SUPER COOL
(quick cool) to lower the temperature of the
refrigerator compartment rapidly. When it is pressed, the
SUPER COOL indicator light illuminates (
see Start-up and
use
).
2 REFRIGERATOR OPERATION Knob
to regulate the temperature of the refrigerator compartment:
warmer
colder.
ECO is the optimal temperature for energy saving levels.
HOLIDAY is the holiday function (
see Maintenance and care
).
3 SUPER COOL Yellow indicator light (rapid cooling)
illuminates when the SUPER COOL button is pressed.
4 POWER Indicator light illuminates when the appliance is
connected to the electricity network.
5 SUPER FREEZE Yellow indicator light (rapid freezing)
illuminates when the SUPER FREEZE button is pressed.
6 FREEZER OPERATION Knob
to regulate the temperature of the freezer compartment:
warmer.
colder.
ECO is the optimal temperature for energy saving levels.
switches the appliance off, including the refrigerator.
7 SUPER FREEZE button (rapid freezing) to freeze fresh food.
When it is pressed, the SUPER FREEZE indicator light
illuminates (
see Start-up and use
).
! The indicator lights are also used to indicate an unusual
temperature increase in the freezer compartment (
see
Troubleshooting
).
Descrizione dell’apparecchio
Pannello di controllo
1 Tasto SUPER COOL (raffreddamento rapido) per abbassare
velocemente la temperatura del vano frigorifero. Quando
viene premuto si accende la spia SUPER COOL (
vedi Avvio e
utilizzo
).
2 Manopola FUNZIONAMENTO FRIGORIFERO
per regolare la temperatura del vano frigorifero:
meno freddo.
più freddo.
ECOECO
ECOECO
ECO è la temperatura ottimale a bassi consumi.
HOLIDAYHOLIDAY
HOLIDAYHOLIDAY
HOLIDAY è la funzione holiday (
vedi Manutenzione e cura
).
3 Spia gialla SUPER COOL (raffreddamento rapido):
si accende quando viene premuto il tasto SUPER COOL.
4 Spia verde ALIMENTAZIONE: si accende quando
l’apparecchio è collegato alla rete di alimentazione.
5 Spia gialla SUPER FREEZE (congelamento rapido): si
accende quando viene premuto il tasto SUPER FREEZE.
6 Manopola FUNZIONAMENTO CONGELATORE
per regolare la temperatura del vano congelatore:
meno freddo.
più freddo.
ECOECO
ECOECO
ECO è la temperatura ottimale a bassi consumi.
spegne l’apparecchio, frigorifero compreso.
7 Tasto SUPER FREEZE (congelamento rapido) per congelare
alimenti freschi. Quando viene premuto si accende la spia
SUPER FREEZE (
vedi Avvio e utilizzo
).
! Le spie servono anche per segnalare un anomalo aumento di
temperatura nel vano congelatore (
vedi Anomalie e rimedi
).
1 2 3 4 5 6 7
271eps
12
Description of the appliance
Overall view
The instructions contained in this manual are applicable to
different model refrigerators. The diagrams may not directly
represent the appliance purchased. For more complex features,
consult the following pages.
1 Levelling FEET
2 FREEZER and STORAGE compartment
3 FRUIT and VEGETABLE bin
4 FLEX COOL BOX for MEAT and CHEESE*
5 WINE RACK*
6 SHELVES•
7 LAMP (see Maintenance).
8 Removable lidded shelf with EGG TRAY
9 Removable multipurpose SHELVES•
10 CAN RACK shelves
11 BOTTLE shelf
• Varies by number and/or position.
* Available only on certain models.
Descrizione dell’apparecchio
Vista d’insieme
Le istruzioni sull’uso valgono per diversi modelli per cui è
possibile che la figura presenti particolari differenti rispetto a
quelli dell’apparecchio acquistato. La descrizione degli oggetti
più complessi si trova nelle pagine seguenti.
1 PIEDINO di regolazione
2 Vano CONGELAMENTO e CONSERVAZIONE
3 Cassetto FRUTTA e VERDURA
4 Contenitore FLEX COOL BOX per CARNI e PESCI*
5 WINE RACK*
6 RIPIANO•
7 LAMPADINA (vedi Manutenzione)
8 Balconcino estraibile con coperchio e PORTAUOVA
9 Balconcino estraibile PORTAOGGETTI•
10 Balconcino PORTALATTINE•
11 Balconcino BOTTIGLIE
• Variabili per numero e/o per posizione.
* Presente solo in alcuni modelli.
2
9
8
1
3
4
6
7
11
5
10
646eps
22
GB
Installation
! Before placing your new appliance into operation please read
these operating instructions carefully. They contain important
information for safe use, for installation and for care of the
appliance.
! Please keep these operating instructions for future reference.
Pass them on to possible new owners of the appliance.
Positioning and connection
Positioning
1. Place the appliance in a well-ventilated humidity-free room.
2. Do not obstruct the rear fan grills. The compressor and
condenser give off heat and require good ventilation to
operate correctly and save energy.
3. Leave a space of at least 10 cm between the top part of the
appliance and any furniture above it, and at least 5 cm
between the sides and any furniture/side walls.
4. Ensure the appliance is away from any sources of heat (direct
sunlight, electric stove, etc.).
5. In order to maintain the correct distance between the
appliance and the wall behind it, fit the spacers supplied in
the installation kit, following the instructions provided.
Levelling
1. Install the appliance on a level and rigid floor.
2. If the floor is not perfectly horizontal, adjust the refrigerator by
tightening or loosening the front feet.
Electrical connections
After the appliance has been transported, carefully place it
vertically and wait at least 3 hours before connecting it to the
electricity mains. Before inserting the plug into the electrical
socket ensure the following:
The appliance is earthed and the plug is compliant with the law.
The socket can withstand the maximum power of the
appliance, which is indicated on the data plate located on the
bottom left side of the fridge (e.g. 150 W).
The voltage must be in the range between the values
indicated on the data plate located on the bottom left side
(e.g. 220-240V).
The socket is compatible with the plug of the appliance. If the
socket is incompatible with the plug, ask an authorised
technician to replace it (
see Assistance
). Do not use
extension cords or multiple sockets.
! Once the appliance has been installed, the power supply cable
and the electrical socket must be easily accessible.
! The cable must not be bent or compressed.
! The cable must be checked regularly and replaced by
authorised technicians only (see Assistance).
!
The manufacturer declines any liability should these safety The manufacturer declines any liability should these safety
The manufacturer declines any liability should these safety
measures not be observed.measures not be observed.
measures not be observed.
Accessories
SHELVES: with or without grill.
Due to the special guides the shelves are removable and the
height is adjustable (
see diagram
), allowing easy storage of
large containers and food. Height can be adjusted without
complete removal of the shelf.
FLEX COOL BOX*
This is the new box to keep meat, fish and cheese fresh.
When
positioned in the “lower” part of the fridge compartment, it is
ideal for meat and fish; when moved to the “top” part of the
fridge, it is perfect for cheese.
It can be taken out of the fridge
when it is not needed.
CAN RACK
shelf: stores cans horizontally (
see diagram
).
Yoghurt, butter or general containers may also be stored here.
ODOUR FILTER*: Some models are fitted with a new odour filter
with active carbons, which ensures better air quality inside the
refrigerator.
The filter is located on the bottom right-hand side, inside the
ventilation opening.
• Varies by number and/or position.
* Available only on certain models.
GB
23
Start-up and use
Starting the appliance
! Before starting the appliance, follow the installation
instructions (
see Installation
).
! Before connecting the appliance, clean the compartments and
accessories well with lukewarm water and bicarbonate.
! The appliance comes with a motor protection control system
which makes the compressor start approximately 8 minutes after
being switched on. The compressor also starts each time the
power supply is cut off whether voluntarily or involuntarily
(blackout).
1. Set the FREEZER OPERATION knob on
.
2. Insert the plug into the socket and ensure that the green
POWER indicator light illuminates.
3. Turn the FREEZER OPERATION knob to an average value and
press the SUPER FREEZE button (rapid freezing): the SUPER
FREEZE indicator light will illuminate. Once the refrigerator
has reached the optimal temperature, the indicator light goes
out and you can begin food storage.
4. Turn the REFRIGERATOR OPERATION knob to an average
value. After a few hours you will be able to put food in the
refrigerator.
Chiller system
No Frost
The No Frost system circulates cold air continuously to collect
humidity and prevent ice and frost formation. The system
maintains an optimal humidity level in the compartment,
preserving the original quality of the food, preventing the food
from sticking together and making defrosting a thing of the past.
Do not block the aeration cells by placing food or containers in
direct contact with the refrigerating back panel. Close bottles
and wrap food tightly.
Using the refrigerator to its full potential
Use the REFRIGERATOR OPERATION knob to adjust the
temperature (
see Description
).
Press the SUPER COOL button (rapid cooling) to lower the
temperature quickly. For example, when you place a large
number of new food items inside a fridge the internal
temperature will rise slightly. The function quickly cools the
groceries by temporarily reducing the temperature until it
reaches the ideal level.
Place only cold or lukewarm foods in the compartment, not
hot foods (
see Precautions and tips
).
Remember that cooked foods do not last longer than raw
foods.
Do not store liquids in open containers. They will increase
humidity in the refrigerator and cause condensation to form.
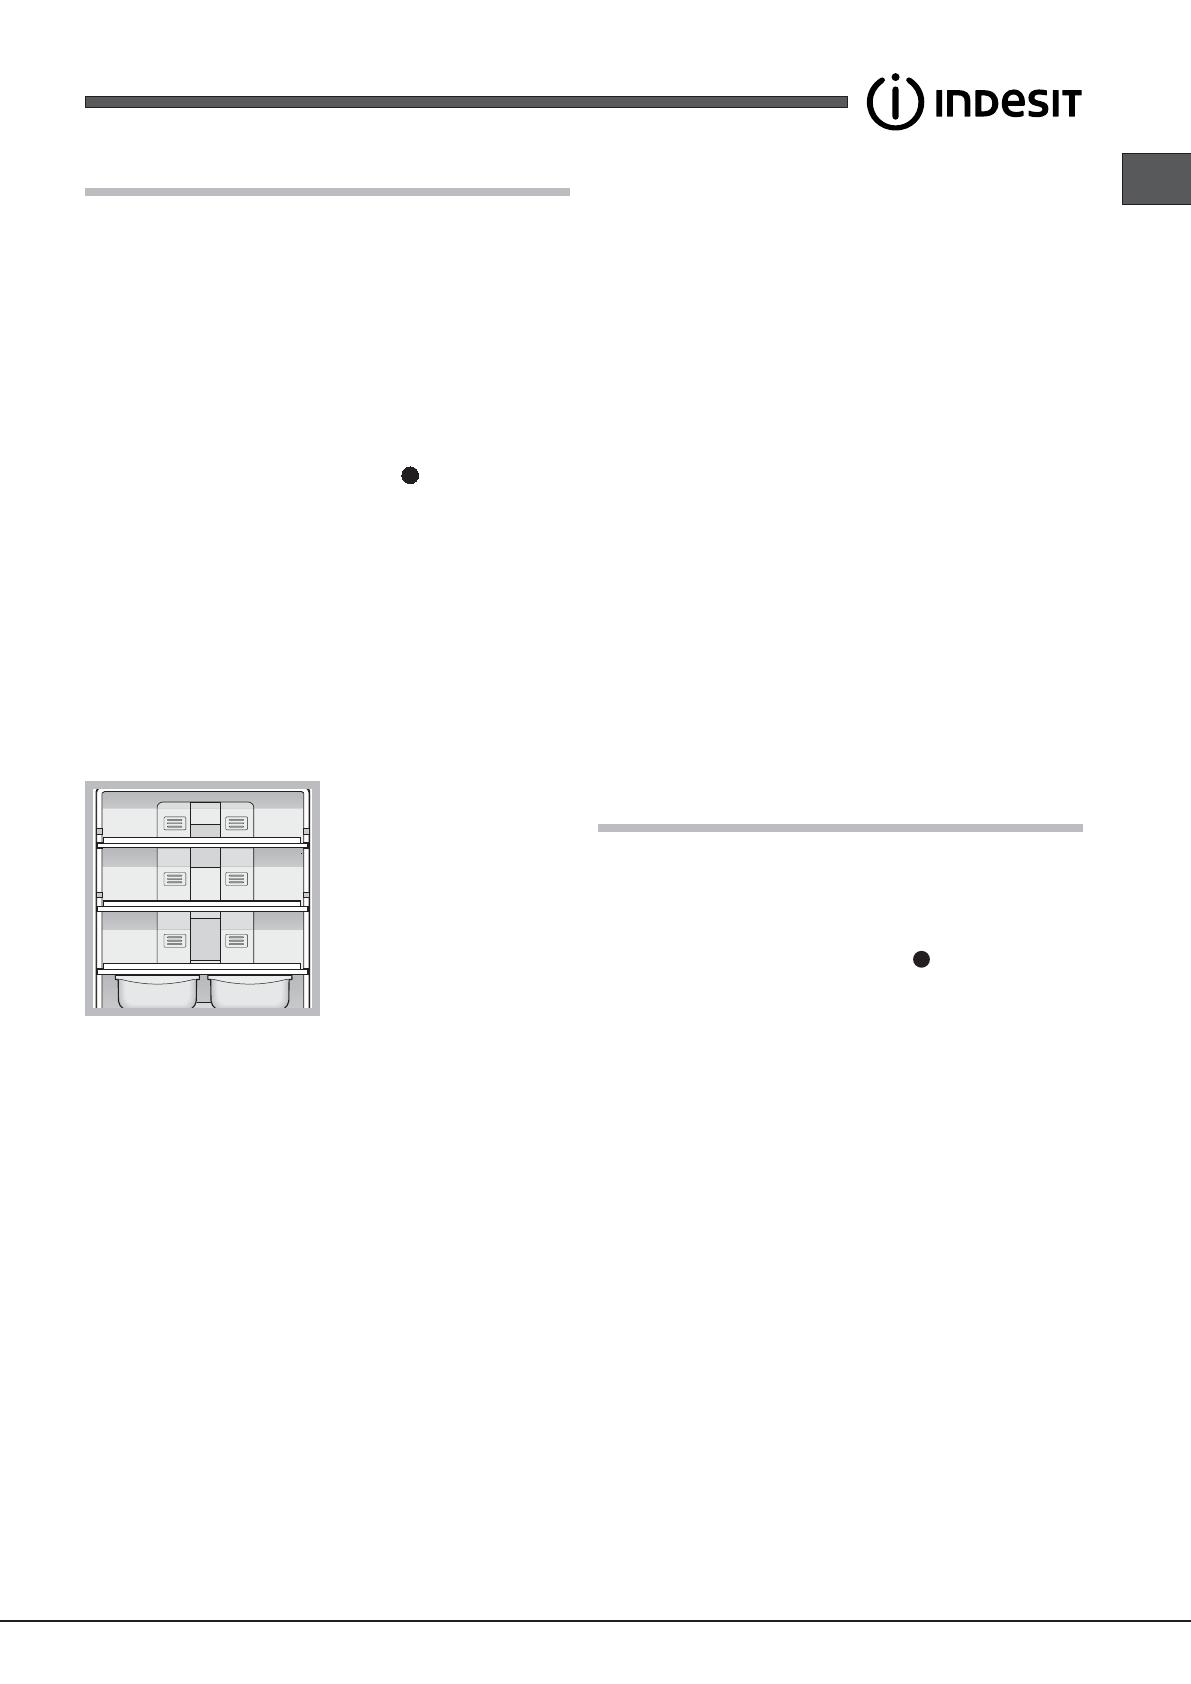
Using the freezer to its full potential
Use the FREEZER OPERATION knob to adjust the
temperature (
see Description
).
Do not re-freeze food that is defrosting or that has already
been defrosted. These foods must be cooked and eaten
(within 24 hours).
Fresh food that needs to be frozen must not come into contact
with food that has already been defrosted.
Do not place glass bottles which contain liquids, and which
are corked or hermetically sealed in the freezer because they
could break.
The maximum quantity of food that may be frozen daily is
indicated on the plate containing the technical properties
located on the bottom left side of the refrigerator compartment
(for example: Kg/24h: 4).
To freeze (if the freezer is already operating): press the rapid
freezing SUPER FREEZE button (corresponding yellow
indicator light illuminates), insert the food and close the door.
The function is disabled automatically after 24 hours or when
optimal temperatures have been reached (indicator light goes
out);
! To avoid blocking the air circulation inside the freezer
compartment, it is advisable not to obstruct the ventilation holes
with food or containers.
! Do not open the door during freezing.
! If there is a power cut or malfunction, do not open the freezer
door. This will help maintain the temperature inside the freezer,
ensuring that foods are conserved for at least 9 -14 hours.
Maintenance and care
Switching the appliance off
During cleaning and maintenance it is necessary to disconnect
the appliance from the electricity supply:
1. set the FREEZER OPERATION knob on
2. pull the plug out of the socket
! If this procedure is not followed, the alarm may sound.
This alarm does not indicate a malfunction. To restore normal
operation, it is sufficient to set the FREEZER OPERATION knob
on the desired value. To disconnect the appliance, follow point 1
and 2.
Cleaning the appliance
The external and internal parts, as well as the rubber seals
may be cleaned using a sponge that has been soaked in
lukewarm water and bicarbonate of soda or neutral soap. Do
not use solvents, abrasive products, bleach or ammonia.
The removable accessories may be soaked in warm water
and soap or dishwashing liquid. Rinse and dry them carefully.
The back of the appliance may collect dust which can be
removed by delicately using the hose of a vacuum cleaner set
on medium power. The appliance must be switched off and
the plug must be pulled out before cleaning the appliance.
Avoiding mould and unpleasant odours
The appliance is manufactured with hygienic materials which
are odour free. In order to maintain an odour free refrigerator
and to prevent the formation of stains, food must always be
covered or sealed properly.
If you want to switch the appliance off for an extended period
of time, clean the inside and leave the doors open.
24
GB
Holiday function
If you are going on holiday, you do not have to switch the
appliance off; it features a low-energy function which optimises
the temperature of the refrigerator compartment to suit the
products stored inside it (you may, for example, wish to protect
cosmetics and beauty products from the heat). The freezer
temperature must be set to the minimum value in order to
preserve the food.
To enable the function: set the REFRIGERATOR OPERATION
knob on HOLIDAY (
see diagram
).
A double acoustic signal informs you when it has been enabled.
A single acoustic signal informs you when it has been disabled.
Replacing the l Odour filter
The filter should be replaced after approximately 6-8 months from
when it is activated. This period may vary depending on the type
of food that is stored. For information on where a replacement filter
may be purchased, contact Assistance (
see Assistance
).
To replace the filter, follow the instructions (
see diagrams A and B
).
Replacing the light bulb
To replace the light bulb in the refrigerator compartment, pull out
the plug from the electrical socket. Follow the instructions below.
Access the light bulb by removing the cover as indicated in the
diagram. Replace it with a similar light bulb within the power
range indicated on the cover (10W).
Precautions and tips
! The appliance was designed and manufactured in compliance
with international safety standards. The following warnings are
provided for safety reasons and must be read carefully.
This appliance complies with the following Community Directives:
- 73/23/EEC of 19/02/73 (Low Voltage) and subsequent
amendments;
-89/336/EEC of 03.05.89 (Electromagnetic Compatibility) and
subsequent amendments;
- 2002/96/CE.
General safety
The appliance was designed for domestic use inside the
home and is not intended for commercial or industrial use.
The appliance must be used to store and freeze food
products by adults only and according to the instructions in
this manual.
The appliance must not be installed outdoors, even in
covered areas. It is extremely dangerous to leave the
appliance exposed to rain and storms.
Do not touch the appliance with bare feet or with wet or moist
hands and feet.
Do not touch the internal cooling elements: this could cause
skin abrasions or frost/freezer burns.
When unplugging the appliance always pull the plug from the
mains socket, do not pull on the cable.
Before cleaning and maintenance, always switch off the
appliance and disconnect it from the electrical supply. It is not
sufficient to set the temperature adjustment knobs on
(appliance off) to eliminate all electrical contact.
In the case of a malfunction, under no circumstances should
you attempt to repair the appliance yourself. Repairs carried
out by inexperienced persons may cause injury or further
malfunctioning of the appliance.
Do not use any sharp or pointed utensils or electrical
equipment - other than the type recommended by the
manufacturer - inside the frozen food storage compartments.
Do not put ice cubes taken directly from the freezer into your
mouth.
This appliance is not intended for use by persons (including
children) with reduced physical, sensory or lack of experience
and knowledge unless they have been given supervision or
instruction concerning use of the appliance by a person
responsible for their safety. Children should be supervised to
ensure that they do not play with the appliance.
Keep packaging material out of the reach of children! It can
become a choking or suffocation hazard.
Disposal
Observe local environmental standards when disposing
packaging material for recycling purposes.
The European Directive 2002/96/EC on Waste Electrical and
Electronic Equipment (WEEE), requires that old household
electrical appliances must not be disposed of in the normal
unsorted municipal waste stream. Old appliances must be
collected separately in order to optimise the recovery and
recycling of the materials they contain and reduce the impact
on human health and the environment. The crossed out
“wheeled bin” symbol on the product reminds you of your
obligation, that when you dispose of the appliance it must be
separately collected. Consumers should contact their local
authority or retailer for information concerning the correct
disposal of their old appliance.
GB
25
Respecting and conserving the environment
Install the appliance in a fresh and well-ventilated room.
Ensure that it is protected from direct sunlight and do not
place it near heat sources.
Try to avoid keeping the door open for long periods or
opening the door too frequently in order to conserve energy.
Do not fill the appliance with too much food: cold air must
circulate freely for food to be preserved properly. If circulation
is impeded, the compressor will work continuously.
Do not place hot food directly into the refrigerator. The internal
temperature will increase and force the compressor to work
harder and will consume more energy.
Defrost the appliance if ice forms (
see Maintenance
). A thick
layer of ice makes cold transference to food products more
difficult and results in increased energy consumption.
Regularly check the door seals and wipe clean to ensure they
are free of debris and to prevent cold air from escaping (
see
Maintenance
).
Troubleshooting
If the appliance does not work, before calling for Assistance (see
Assistance), check for a solution from the following list.
The green POWER indicator light does not illuminate.
The plug has not been inserted into the electrical socket, or
not far enough to make contact, or there is no power in the
house.
The motor does not start.
The appliance comes with a motor protection control (
see
Start-up and use
).
The indicator lights are on but the light is dim.
Pull out and reverse the plug before putting it back in the
socket.
a) The alarm sounds.
a) The refrigerator door has remained open for more than two
minutes (the buzzer will stop sounding when you shut the
door) or the correct switching-off procedure was not followed
(
see Maintenance
).
b) The alarm sounds and the two yellow indicator lights
flash.
b) The temperature in the freezer is too high. Check the quality of
the food products and dispose if necessary.
+ buzzer = Heating is excessive
c) The alarm sounds and the two yellow indicator lights as
well as the green one flash.
c) The temperature in the freezer has reached a dangerous
level. The food must be disposed immediately.
+ buzzer = Heating danger
b/c) In the first case the freezer will maintain a temperature of
about 0°C so that the food does not re-freeze. In the second case,
however, the temperature will remain at approximately -18°C. To
turn off the acoustic signal open and close the refrigerator door. To
restore normal operation bring the FREEZER OPERATION knob
setting to
(off) and turn the appliance on again.
The green POWER indicator light flashes.
The appliance is not operating correctly. Contact the Technical
Assistance Centre.
The refrigerator and the freezer do not cool well.
The doors do not close properly or the seals are damaged.
The doors are opened too frequently.
The OPERATION knobs are not on the correct setting (
see
Description
).
The refrigerator or the freezer have been over-filled.
The food inside the refrigerator is beginning to freeze.
The REFRIGERATOR OPERATION knob is not on the correct
setting (
see Description
).
The food is in contact with the back inside wall of the
refrigerator.
The motor runs continuously.
The SUPER FREEZE button has been pressed (rapid
freezing): the yellow SUPER FREEZE light is on or flashing
(
see Description
).
The door is not closed properly or is continuously opened.
The outside ambient temperature is very high.
The thickness of the frost exceeds 2-3 mm (
see Maintenance
).
The appliance makes a lot of noise.
The appliance has not been installed on a level surface (
see
Installation
)
.
The appliance has been installed between cabinets that
vibrate and make noise.
The internal refrigerant makes a slight noise even when the
compressor is off. This is not a defect, it is normal.
Some of the external parts of the refrigerator become hot
Temperaturile ridicate sunt necesare pentru a evita formarea
apei de condens în anumite zone ale produsului.
  • Page 1 1
  • Page 2 2
  • Page 3 3
  • Page 4 4
  • Page 5 5
  • Page 6 6
  • Page 7 7
  • Page 8 8
  • Page 9 9
  • Page 10 10
  • Page 11 11
  • Page 12 12
  • Page 13 13
  • Page 14 14
  • Page 15 15
  • Page 16 16
  • Page 17 17
  • Page 18 18
  • Page 19 19
  • Page 20 20
  • Page 21 21
  • Page 22 22
  • Page 23 23
  • Page 24 24
  • Page 25 25
  • Page 26 26
  • Page 27 27
  • Page 28 28
  • Page 29 29
  • Page 30 30
  • Page 31 31
  • Page 32 32
  • Page 33 33
  • Page 34 34
  • Page 35 35
  • Page 36 36
  • Page 37 37
  • Page 38 38
  • Page 39 39
  • Page 40 40
  • Page 41 41
  • Page 42 42
  • Page 43 43
  • Page 44 44
  • Page 45 45
  • Page 46 46
  • Page 47 47
  • Page 48 48
  • Page 49 49
  • Page 50 50
  • Page 51 51
  • Page 52 52
  • Page 53 53
  • Page 54 54
  • Page 55 55
  • Page 56 56
  • Page 57 57
  • Page 58 58
  • Page 59 59
  • Page 60 60

Indesit 3D AA NX User guide

Category
Fridges
Type
User guide

Ask a question and I''ll find the answer in the document

Finding information in a document is now easier with AI