Panasonic DPC354 Operating instructions

Category
Multifunctionals
Type
Operating instructions

This manual is also suitable for

Digital Colour Imaging Systems
Operating Instructions
Before operating this machine, please carefully read this manual
and keep this documentation in a safe place for future reference.
(Illustration shows optional accessories that may not be installed on your machine.)
English
Model No.
DP-C354 / C264
Model No.
DP-C323 / C263 / C213
(For Copier)
2
Operating Instructions
The following Operating Instruction manuals are included with this machine. Please refer to the appropriate manual
and keep all manuals for future reference. If you lose the manual, contact the authorized Panasonic dealer.
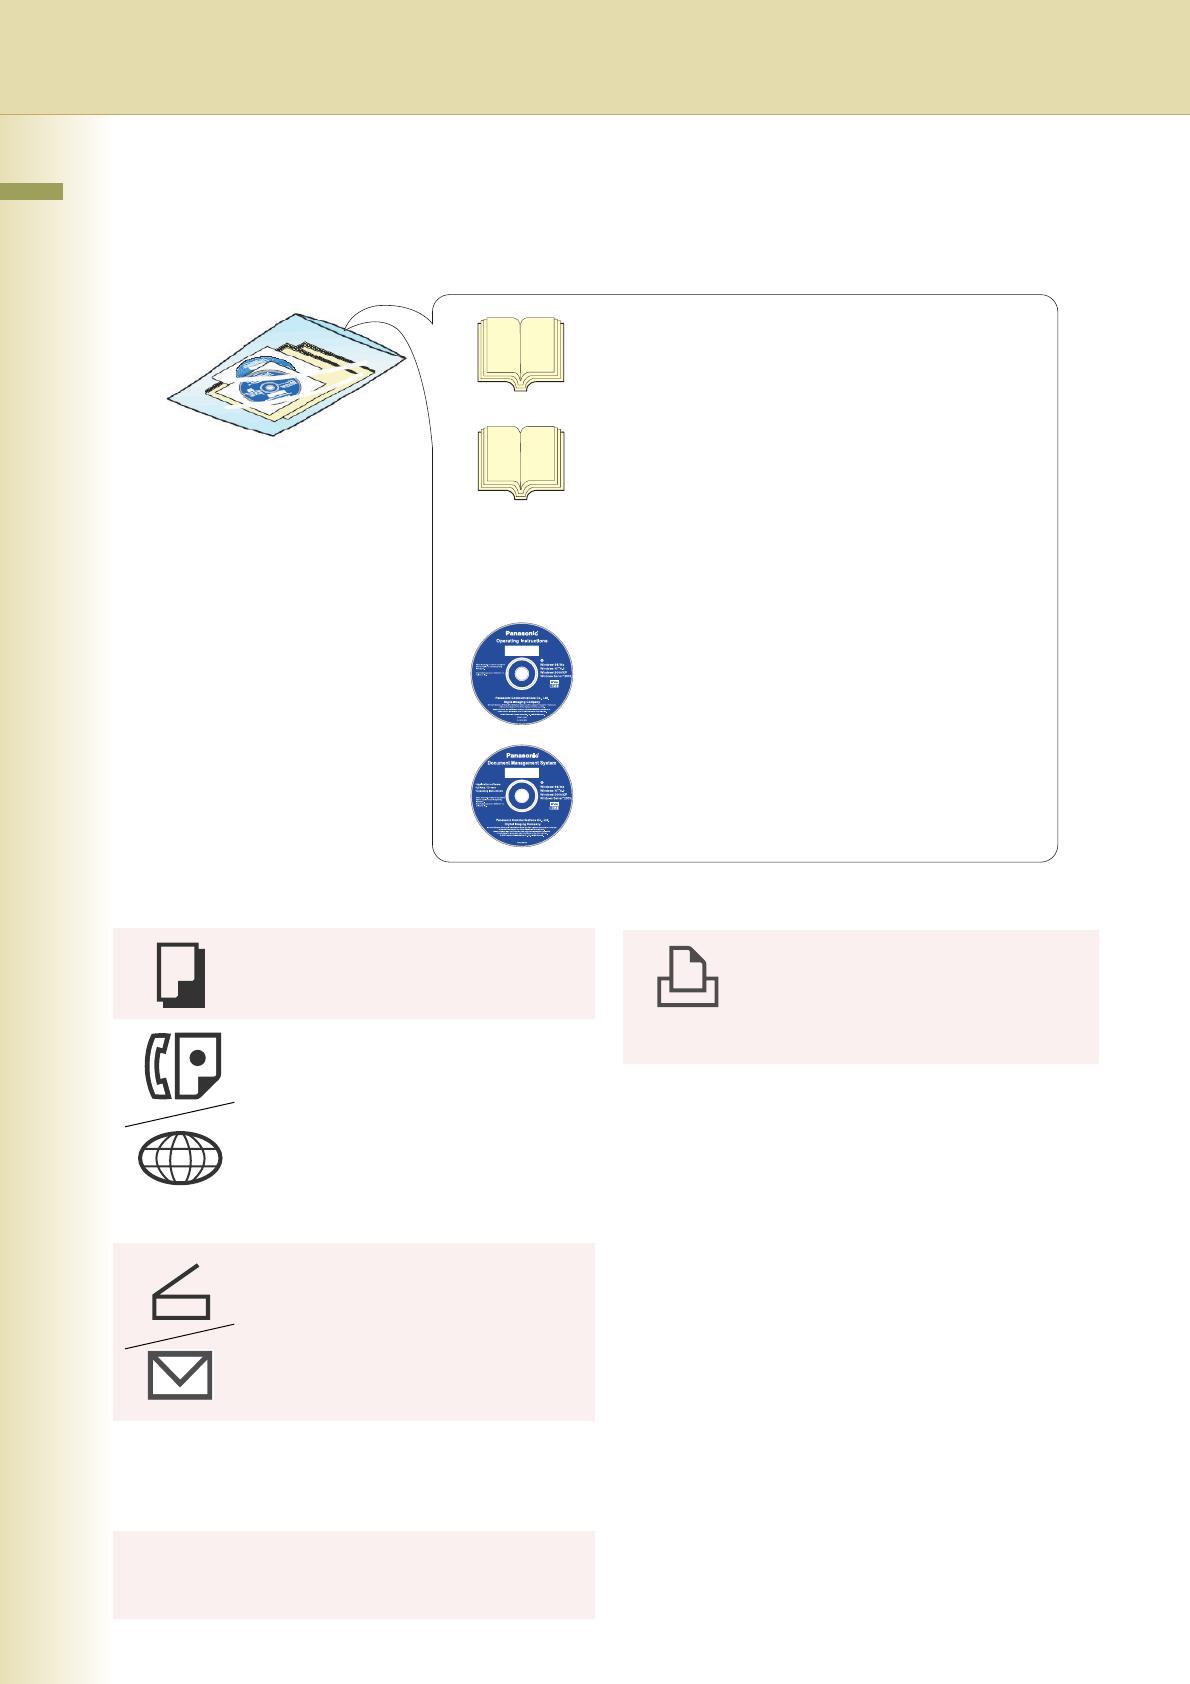
Accessories
Operating Instructions (For Setting Up)
This manual contains essential information for setting
up the machine.
Operating Instructions (For Basic Operations)
This manual contains essential information for proper
operation of the machine.
It describes basic Copy, Print, Facsimile/Internet Fax,
Scan/Email, and other functions.
For a more detailed explanation of each function, please
refer to the Operating Instruction manuals included on
two CD-ROMs as illustrated below:
Operating Instructions CD
Contains manuals with detailed information for Copy,
Facsimile/Internet Fax, Scan/Email Functions, Function
Parameters, and User Authentication.
Document Management System CD
Contains the Panasonic Document Management
System Application Software, and manuals with detailed
information for the Print function and Panasonic
Document Management System Application software.
Operating Instructions CD
Copy Function
Describes how to make a Colour Copy
with creative features.
Facsimile and Internet Fax
Function
(These functions are available when the
optional G3 Fax Board/ Internet Fax
Module is installed.)
Describes how to send/receive a
Facsimile/Internet Fax, or describes the
course of action to take when a trouble
message appears, etc.
Scan and Email Function
(Standard on DP-C354/C264, for DP-
C323/C263/C213 when the optional
Network Scanner/Email Module, Hard
Disk Drive, Main Memory, and Image
Memory are installed.)
Describes how to scan and send an Email.
Function Parameters
Describes how to change the default
settings of each function using the Control
Panel of the machine.
User Authentication
Describes how to enable and use the user
authentication function.
Document Management System CD
Print Function
Describes how to print with colour,
change default printer settings, or
describes the course of action to take
when a problem message appears, etc.
Application Software
Describes how to use the application
software.
Ex: Web Device Monitor, Panafax
Desktop, Quick Image Navigator,
Client Device Monitor, Network
Config/Add Editor, Network Setup
Tool, Embedded Web Launcher
3
Conventions
Icons
The following icons are used in this manual.
Notation
The following notations are used in this manual.
Icon Description
Indicates important information that must be read in detail.
Indicates reference Information.
Notation Description
For Keys and Buttons Hard buttons on the Control Panel are depicted as **** key, soft buttons on the Touch Panel are
depicted asxxx”.
Ex:
Press the Start key and select “More Menus”.
4
Table of Contents
Chapter 1 Basic Menu Features
Basic Operation Procedure ................................................................................................. 6
Selecting the Colour Mode .................................................................................................. 8
Full Colour Mode........................................................................................ Full Colour”9
Black Mode ......................................................................................................... “Black”9
2 Colour Mode................................................................................................ “2 Colour”10
1 Colour Mode................................................................................................ “1 Colour”12
New Colour Registration ..........................................................................Add Custom”14
Selecting Original Type and Adjusting the Density.............................................................. 16
Registering Quality Preset.........................................................................................Save”18
Using Quality Preset............................................................................................... “Recall”20
Quality Adjusting.................................................................................................................. 22
Background Removal............................................................... Background Removal”24
Bleed-Through Prevention ...............................................Bleed-Through Prevention”25
Tint ..........................................................................................................................“Tint”26
Contrast.......................................................................................................... Contrast”27
Sharpness ...................................................................................................Sharpness”28
Saturation.................................................................................................... Saturation”29
Colour Balance....................................................................................Colour Balance”30
Proof Copying.................................................................................................... Proof Set”32
Confirming/Editing the Selected Copy Features................................... Confirm Settings”33
Storing a Job in Memory................................................................................Preset Jobs”34
Recalling a Preset Job Stored in Memory ........................................................................... 35
Checking the Waiting to Copy Job ............................................................ Output Queue”36
Displaying a List of All Jobs ............................................................................................ 36
Displaying a List of Copy Jobs ........................................................................................ 36
Deleting Copy Jobs ......................................................................................................... 37
Completion Notice ............................................................................. Completion Notice”38
Chapter 2 More Menus Features
2-Sided Copy Mode................................................................. 2-Sided / Original->Copy”40
Basic Operation for the 2-Sided Copy Mode................................................................... 40
Copying 2-Sided original(s) onto two separate sheets.........................................2 -> 1”41
Copying Facing Page Original to Two Separate Sheets................................... 2 Page”42
From 1-Sided Originals to 2-Sided Copies using Saddle Stitch (Booklet) ....... Booklet”43
Copying Mixed Size Originals from the ADF.......................................Multi-Size Feed”45
Copying Special Originals (Thin Paper, etc.) from the ADF........“Job Build and SADF”47
Sort Mode..................................................................................................... Sort / Finish”50
5
Zoom Mode............................................................................................... Zoom / Effects”52
Variable Ratios .................................................................................................... Zoom”52
Auto Zoom..................................................................................................Auto Zoom”54
Effect Modes........................................................................................................................ 56
Setting a Blank Edge............................................................................................ Edge”56
Eliminate Dark Inner Binding Shadows ................................................................Book”58
Shift Image to Right, Left, Up or Down.............................................................. Margin”59
Copying with Stamping..................................................................................Stamping”61
Centering...................................................................................................... Centering”70
Image Repeat........................................................................................ Image Repeat”71
Insertion Modes ................................................................................. “Insertion / Overlay”72
Add a Cover Page to Copies...............................................................................Cover”72
Inserts Blank/Copied Pages Between Copies ...................................... Page Insertion”74
Inserts Blank Pages Between Transparency Film............ Transparency Interleaving”76
Overlay Modes..................................................................................................................... 78
Overlaying an Image onto the Copies ..............................................................Overlay”78
Overlay Copying with Registered Image ................................................Form Overlay”81
File Edit............................................................................................................File Edit”83
Chapter 3 Other Features
Making Copies with the ADF Opened.................................................................................. 88
Skyshot Mode.................................................................................................................. 88
Manual Skyshot Mode..................................................................................................... 89
Reserving the Next Copy Job while the Current Copy Job is Progressing.......................... 90
Interrupt the Current Copy Jobs to Make an Urgent Copy .................................................. 91
Chapter 4 Appendix
Combined Copy Functions .................................................................................................. 92
Index.................................................................................................................................... 94
6
Chapter 1 Basic Menu Features
Chapter 1
Basic Menu Features
Basic Operation Procedure
The machine automatically detects the original(s) and decides on which Copy Size, Black & White, or
Colour Copy Mode to use. If the detection fails, manually set the settings.
1
Place original(s).
z Refer to Placing Originals (Copy) in the
Operating Instructions (For Basic
Operations) of provided booklet.
2
Press the Copy key if the machine is
set to other function mode.
3
Select the required settings if
necessary.
z The Original Size is detected and a
corresponding Copy Size is automatically
selected.
z If the orientation of the original does not
match the orientation of the copy paper, the
original is copied, and the image is
automatically rotated.
z When copying A4 size originals, selecting
A4 for the Copy Size accelerates the
continuous copying speed. If the orientation
is not the same for both settings, the copied
image is automatically rotated by 90
degrees.
z For more details of Basic Menu screen, refer
to Chapter 1, Basic Menu Features (see
pages 8-39).
z When setting other features, refer to
Chapter 2, More Menus Features (see
pages 40-87).
Ex: 2-Sided Copy, Sort/Finish, Zoom/
Effects, etc.
Face Down. Align with top left
corner. Close ADF.
Face Up. Up to 70 sheets (80g/m
2
).
7
Chapter 1 Basic Menu Features
4
Enter the desired number of copies.
(Up to 999)
z When inputting a number 4 to 8 digits in
length, with the optional Fax Communication
Board installed, the machine interprets this
as a telephone number, and switches to Fax
Mode and displays the Number Pad screen.
5
Press the Start key.
z When copying from the Platen Glass, place
the next original and follow the instructions
described on the touch panel display.
z After finishing copying, press the Reset key
to return to the initial screen of the current
active mode.
8
Chapter 1 Basic Menu Features
Selecting the Colour Mode
You can either copy in the machine selected colour mode, or you can manually change it.
z The default colour mode settings can be changed. Refer to Copier Settings (For Key Operator) in the
Operating Instructions (For Function Parameters) on the provided CD-ROM.
z Manually selected colour mode settings will return to the default settings under the following conditions.
-If the Reset key is pressed.
- If Auto Reset Time interval has lapsed (default = 1 min).
- If the power is turned OFF.
1
Place original(s).
z Refer to Placing Originals (Copy) in the
Operating Instructions (For Basic
Operations) of provided booklet.
2
Press the Copy key if the machine is
set to other function mode.
3
Select “Quality Adj.”.
4
Select the desired Colour Mode, and
then select “OK”.
5
Enter the desired number of copies.
6
Press the Start key.
z After finishing copying, press the Reset key
to return to the initial screen of the current
active mode.
Full Colour Monochrome
Full Colour
Monochrome
2 Colour
1 Colour
Monochrome
1 Colour
Ex: Full Colour
Auto:
The colour original is copied in Full
Colour and the monochrome
original is copied in Black & White
by automatically detecting the
original’s colour.
Black (Monochrome) (see page 9)
Full Colour (see page 9)
2 Colour (see page 10)
1 Colour (see page 12)
9
Chapter 1 Basic Menu Features
Full Colour Mode
Colour original can be copied in Full Colour.
1
Select “Full Colour”, and then select
OK”.
z To display this screen, refer to steps 1 to 3 of
Selecting the Colour Mode (see page 8).
z For the following procedure, refer to steps 5
to 6 of Selecting the Colour Mode (see
page 8).
Black Mode
Colour and Monochrome originals can be
copied in Black & White.
1
Select “Black”, and then selectOK”.
z To display this screen, refer to steps 1 to 3 of
Selecting the Colour Mode (see page 8).
z For the following procedure, refer to steps 5
to 6 of Selecting the Colour Mode (see
page 8).
Full Colour Full Colour
Full Colour
Black & White
Black & White
Black & White
10
Chapter 1 Basic Menu Features
2 Colour Mode
Colour original can be copied in 2 Colours, which can be achieved by using Black & another specified
colour.
The specified colour can be selected from the basic colours (Red, Green, Blue, Yellow, Magenta,
Cyan) and registered colours.
When 2 Colour Mode is selected, Original Type setting selection is not available.
1
Select “2 Colour”.
z To display this screen, refer to steps 1 to 3 of
Selecting the Colour Mode (see page 8).
2
Select “Change Colour”.
z The colour and the specified name are
displayed.
3
Select a colour from the basic colours
or custom colours, and then select
OK”.
When selecting a colour from the basic
colours.
When selecting a colour from the custom
colours.
z
When registering a custom colour, refer to
New Colour Registration (see page 14)
.
Ex: When copying a Full Colour original in
Cyan and Black.
11
Chapter 1 Basic Menu Features
4
Select “OK”.
Ex: “Green” is selected.
z For the following procedure, refer to steps 5
to 6 of Selecting the Colour Mode (see
page 8).
12
Chapter 1 Basic Menu Features
1 Colour Mode
Colour and Monochrome originals can be copied in one specified colour.
The colour can be selected from the basic colours (Red, Green, Blue, Yellow, Magenta, Cyan), or from
the registered colours.
z When 1 Colour Mode is selected, Original Type setting selection is not available.
1
Select “1 Colour”.
z To display this screen, refer to steps 1 to 3 of
Selecting the Colour Mode (see page 8).
2
Select “Change Colour”.
z The colour and the specified name are
displayed.
3
Select a colour from the basic colours
or custom colours, and then select
OK”.
When selecting a colour from the basic
colours.
When selecting a colour from the custom
colours.
z When registering a custom colour, refer to
New Colour Registration (see page 14).
Ex: Copying a Full Colour original in Cyan.
Ex: Copying a Monochrome original in Cyan.
13
Chapter 1 Basic Menu Features
4
Select “OK”.
Ex: “Green” is selected.
z For the following procedure, refer to steps 5
to 6 of Selecting the Colour Mode (see
page 8).
14
Chapter 1 Basic Menu Features
New Colour Registration
1
Select “Add Custom”.
z To display this screen, refer to steps 1 to 2 of
2 Colour Mode (see page 10).
2
Select any button without a registered
colour name, and then select “OK”.
When the registered colour is changed.
Select the registered colour name button, and
then select “OK”.
3
Adjust the colour level of Cyan,
Magenta, and/or Yellow colours.
z The created new colour can be confirmed
with the Colour Sample Indicator in real
time.
z The total combined colour level of “Cyan”,
“Magenta”, and “Yellow” should be 240% or
less.
4
Check the adjusted colour, and then
select “OK”.
Colour Ratio
Colour
Colour Sample Indicator
15
Chapter 1 Basic Menu Features
5
Input the original colour name with the
keyboard, and then select “OK”.
z Up to 20 characters.
z For instructions on how to enter characters,
refer to Using the Keyboard in the
Operating Instructions (For Function
Parameters) on the provided CD-ROM.
6
Confirm the registered colour, and
then select OK”.
16
Chapter 1 Basic Menu Features
Selecting Original Type and Adjusting the
Density
Select the original type corresponding to your documents.
Adjust the copy density according to your requirements.
z Original Type setting selection is not available when the 2 Colour, or 1 Colour mode is chosen.
z To change the “Original Type” default setting, refer to Copier Settings (For Key Operator) in the Operating
Instructions (For Function Parameters) on the provided CD-ROM.
1
Place original(s).
z Refer to Placing Originals (Copy) in the
Operating Instructions (For Basic
Operations) of provided booklet.
2
Press the Copy key if the machine is
set to other function mode.
3
Select “Quality Adj.”.
4
Select the Original Type.
Text Text/Photo Photo Other Types
Decreased density
Increased densityLighter Darker
17
Chapter 1 Basic Menu Features
5
Adjust the density using “Lighter” or
Darker”, and then select “OK”.
6
Enter the desired number of copies.
7
Press the Start key.
z After finishing copying, press the Reset key
to return to the initial screen of the current
active mode.
Text Select when copying text without
any pictures.
“Printed”:
Original full of printed characters.
“Pencil”:
Original written with pencil to
make it darker.
Text/
Photo
Select when copying originals
containing text and pictures.
“Photo Paper”:
“LaserPrinted”:
“Commercial”:
Ex: Brochure
Photo Select when copying photos.
“Photo Paper”:
Photos printed on paper.
“LaserPrinted”:
Photos printed by laser printer.
“Commercial”:
Photos on printed material.
Ex: Brochure
Other
Types
Select when copying the following
types of originals.
“Map”:
“TracingPaper”:
Use when original is thin, select
this mode to prevent copying the
image on the backside.
“NewsPaper”:
Use when background colour is
not white (Ex: Newspaper).
Lighter Each time it is selected, the density
level is decreased, brightening the
printed colour.
Darker Each time it is selected, the density
level is increased, darkening the
printed colour.
18
Chapter 1 Basic Menu Features
Registering Quality Preset
Save your favourite Quality Adj. setting configuration, by registering up to 5 Quality Presets.
The following quality adjustment settings can be registered:
Auto, Black, Full Colour, 2 Colour or 1 Colour
Original Type
Density
More Settings
Background Removal
Bleed-Through Prevention
•Tint
Contrast
Sharpness
Saturation
Colour Balance
z For details on how to use Quality Preset, refer to Using Quality Preset (see page 20).
z The registered image quality setting is kept until it is overwritten by a new setting.
1
Place original(s).
z Refer to Placing Originals (Copy) in the
Operating Instructions (For Basic
Operations) of provided booklet.
2
Press the Copy key if the machine is
set to other function mode.
3
Select “Quality Adj.”.
4
Select the desired quality settings.
5
Select “Save”.
19
Chapter 1 Basic Menu Features
6
Select a Quality Preset button, and
then select OK”.
When registering a new Quality Preset.
Select an empty Quality Preset button.
When updating a registered Quality
Preset.
Select the registered Quality Preset button.
7
Enter any Quality Preset name, and
then select OK”.
z Registration will not be permitted without
assigning a name.
z Up to 20 characters.
z For instructions on how to enter characters,
refer to Using the Keyboard in the
Operating Instructions (For Function
Parameters) on the provided CD-ROM.
8
Select “
OK
”.
9
Enter the desired number of copies.
10
Press the Start key.
Confirm the image quality of the copied
papers.
z After finishing copying, press the Reset key
to return to the initial screen of the current
active mode.
20
Chapter 1 Basic Menu Features
Using Quality Preset
You can recall the registered quality adjustment configuration settings by using the following
procedures.
For details on how to register image quality adjustment settings into Quality Preset, refer to the Registering
Quality Preset (see page 18).
1
Place original(s).
z Refer to Placing Originals (Copy) in the
Operating Instructions (For Basic
Operations) of provided booklet.
2
Press the Copy key if the machine is
set to other function mode.
3
Select “Quality Adj.”.
4
Select “Recall”.
5
Select a Quality Preset button, and
then select “OK”.
The selected Quality Preset settings are
reflected.
6
Select “OK”.
7
Enter the desired number of copies.
8
Press the Start key.
Confirm the image quality of the copied
papers.
z After finishing copying, press the Reset key
to return to the initial screen of the current
active mode.
  • Page 1 1
  • Page 2 2
  • Page 3 3
  • Page 4 4
  • Page 5 5
  • Page 6 6
  • Page 7 7
  • Page 8 8
  • Page 9 9
  • Page 10 10
  • Page 11 11
  • Page 12 12
  • Page 13 13
  • Page 14 14
  • Page 15 15
  • Page 16 16
  • Page 17 17
  • Page 18 18
  • Page 19 19
  • Page 20 20
  • Page 21 21
  • Page 22 22
  • Page 23 23
  • Page 24 24
  • Page 25 25
  • Page 26 26
  • Page 27 27
  • Page 28 28
  • Page 29 29
  • Page 30 30
  • Page 31 31
  • Page 32 32
  • Page 33 33
  • Page 34 34
  • Page 35 35
  • Page 36 36
  • Page 37 37
  • Page 38 38
  • Page 39 39
  • Page 40 40
  • Page 41 41
  • Page 42 42
  • Page 43 43
  • Page 44 44
  • Page 45 45
  • Page 46 46
  • Page 47 47
  • Page 48 48
  • Page 49 49
  • Page 50 50
  • Page 51 51
  • Page 52 52
  • Page 53 53
  • Page 54 54
  • Page 55 55
  • Page 56 56
  • Page 57 57
  • Page 58 58
  • Page 59 59
  • Page 60 60
  • Page 61 61
  • Page 62 62
  • Page 63 63
  • Page 64 64
  • Page 65 65
  • Page 66 66
  • Page 67 67
  • Page 68 68
  • Page 69 69
  • Page 70 70
  • Page 71 71
  • Page 72 72
  • Page 73 73
  • Page 74 74
  • Page 75 75
  • Page 76 76
  • Page 77 77
  • Page 78 78
  • Page 79 79
  • Page 80 80
  • Page 81 81
  • Page 82 82
  • Page 83 83
  • Page 84 84
  • Page 85 85
  • Page 86 86
  • Page 87 87
  • Page 88 88
  • Page 89 89
  • Page 90 90
  • Page 91 91
  • Page 92 92
  • Page 93 93
  • Page 94 94
  • Page 95 95
  • Page 96 96
  • Page 97 97
  • Page 98 98

Panasonic DPC354 Operating instructions

Category
Multifunctionals
Type
Operating instructions
This manual is also suitable for

Ask a question and I''ll find the answer in the document

Finding information in a document is now easier with AI