9
Troubleshooting
First try the solutions suggested here or visit our website and reference FAQs (Frequently Asked Questions)
to possibly avoid the cost of a service call.
In the U.S.A., www.whirlpool.com In Canada, www.whirlpool.ca
In the U.S.A., www.amana.com In Canada, www.amanacanada.ca
In U.S.A., www.whirlpool.com In Canada, www.inglis.ca
Dishwasher is not operating properly
■ Dishwasher does not run or stops during a cycle
Is the door closed tightly and latched?
Is the right cycle selected?
Is there power to the dishwasher? Has a household fuse blown,
or has a circuit breaker tripped? Replace the fuse or reset the
circuit breaker. If the problem continues, call an electrician.
Has the motor stopped due to an overload? The motor
automatically resets itself within a few minutes. If it does not
restart, call for service.
Is the water shutoff valve (if installed) turned on?
It is normal for certain cycles to repeatedly pause for several
seconds during the main wash.
■ The Clean light is flashing
Call for service.
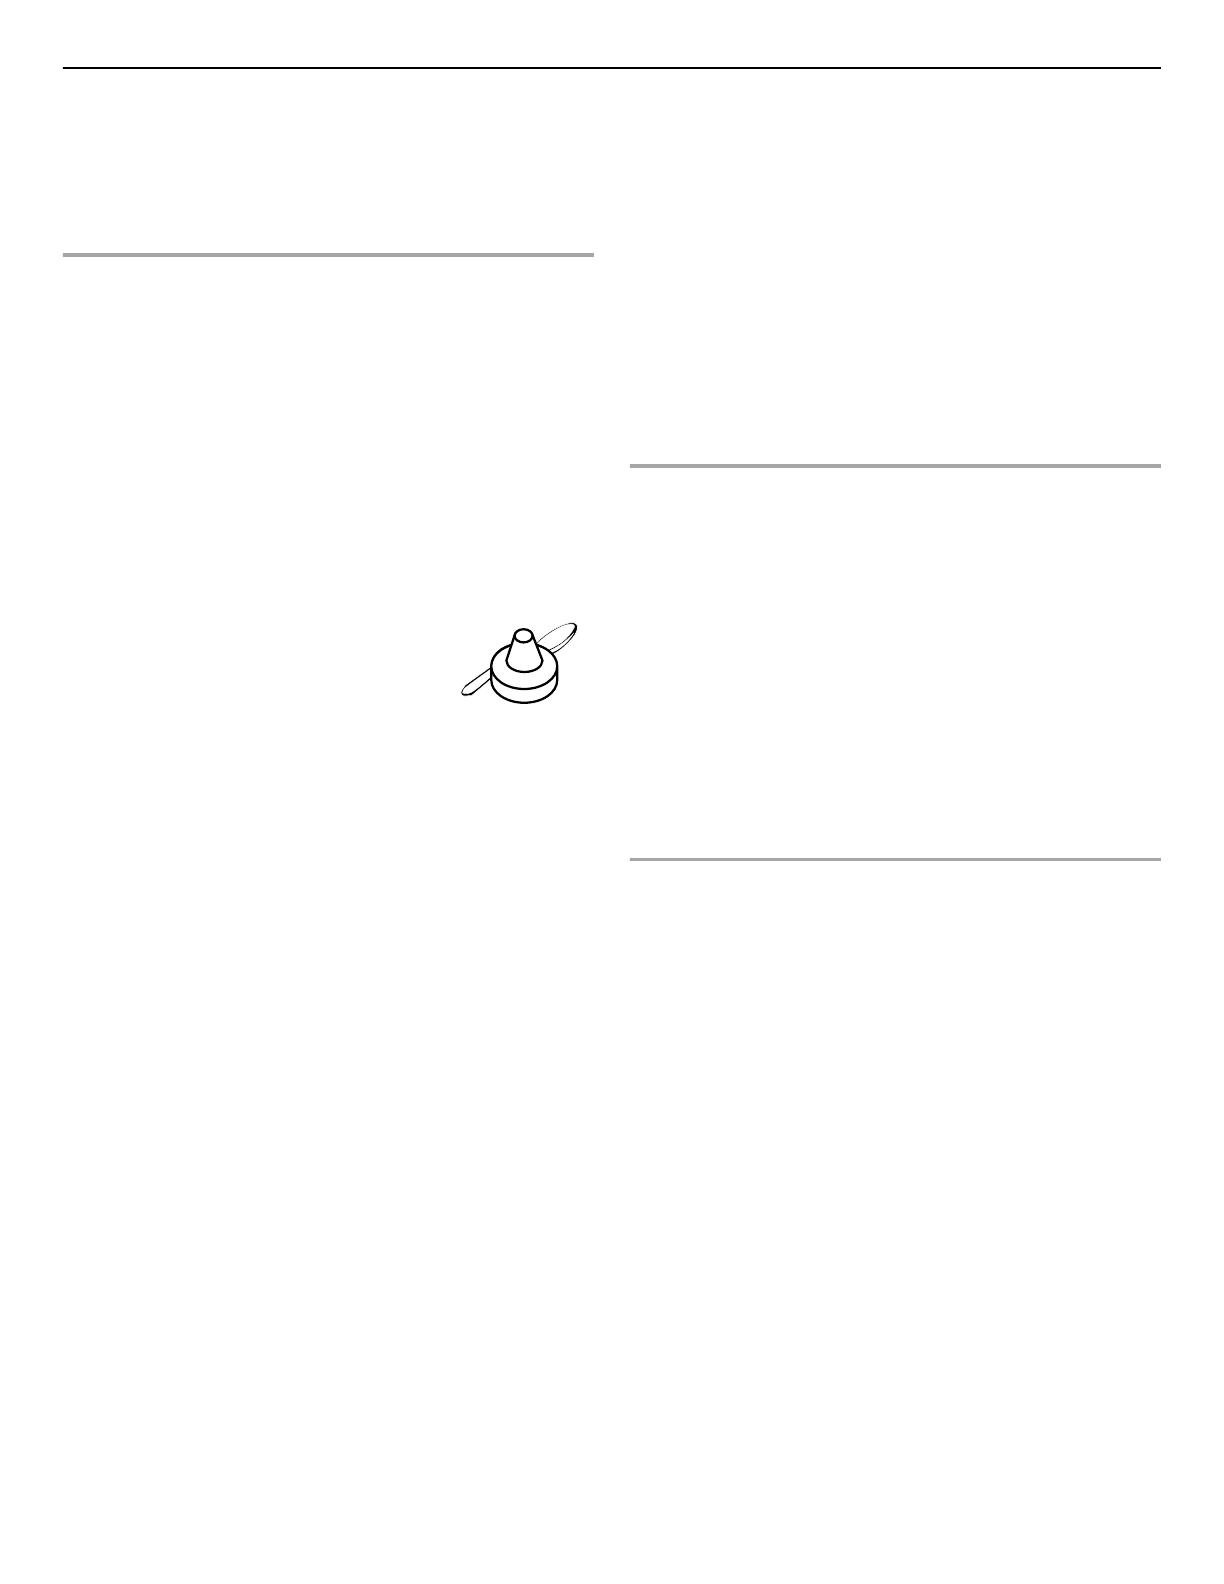
■ Dishwasher will not fill
Is the overfill protection float able to
move up and down freely? Press down
to release.
■ Dishwasher seems to run too long
The dishwasher can run up to 3¹⁄₂ hours depending on soil
level, water temperature, cycles and options.
Is the water supplied to the dishwasher hot enough? The
dishwasher runs longer while heating water.
Is the dishwasher cycle time within the cycle times? See cycle
sections wash times. A delay automatically occurs in some
wash and rinse cycles until the water reaches the proper
temperature.
This dishwasher is equipped with an optical sensor wash that
detects water temperature, soil and detergent amount. Wash
cycles are adjusted based on what is sensed.
IMPORTANT: The very first wash cycle after installation in your
home will be adjusted to include an additional 2 rinses. This
cycle must not be interrupted for proper sensor adjustment. If
this adjustment cycle is canceled or stopped before the Clean
light comes on at the end of the cycle, the next wash cycle will
repeat this sensor adjustment.
■ Water remains in the dishwasher
Is the cycle complete?
■ Detergent remains in the covered section of the dispenser
Is the cycle complete?
Is the detergent lump-free? Replace detergent if necessary.
Is the dispenser door blocked by dishes or cookware when the
dishwasher door is closed?
■ White residue on the front of the access panel
Was too much detergent used?
Is the brand of detergent making excess foam? Try a different
brand to reduce foaming and eliminate buildup.
■ Odor in the dishwasher
Are dishes washed only every 2 or 3 days? Run a rinse cycle
once or twice a day until you have a full load.
Does the dishwasher have a new plastic smell? Run a vinegar
rinse as described in “Dishwasher Care.”
■ Condensation on the kitchen counter (built-in models)
Is the dishwasher aligned with the countertop? Moisture from
the vent in the dishwasher console can form on the counter.
Refer to the Installation Instructions for more information.
Dishes do not dry completely
■ Dishes do not dry completely
Did you use a rinse aid? Your dishwasher is designed to use
rinse aid for good drying performance. Without rinse aid your
dishes and dishwasher interior will have excessive moisture.
The heat dry option will not perform as well without rinse aid.
■ Dishes are not dry
Did you load your dishwasher to allow proper water drainage?
Do not overload. Use a liquid rinse aid to speed drying.
Are the plastics wet? Plastics often need towel drying.
Is the rinse aid dispenser empty?
Did you use an air-dry or energy-saving dry option? Use a
heated drying option for dryer dishes.
■ Excess moisture on racks and dishwasher interior
Check the rinse aid indicator to see that there is rinse aid in the
dispenser.
Spots and stains on dishes
■ Spotting and filming on dishes
Is your water hard, or is there a high mineral content in your
water? Conditioning the final rinse water with a liquid rinse aid
helps eliminate spotting and filming. Keep the rinse aid
dispenser filled. Always use a high-temp option. If your water
hardness is 13 grains or above, it is strongly recommended that
you install a home water softener. If you do not wish to drink
softened water, have the softener installed onto your hot water
supply.
Is the water temperature too low? For best dishwashing results,
water should be 120°F (49°C) as it enters the dishwasher.
Did you use the correct amount of effective detergent? Use
recommended dishwasher detergents only. Do not use less
than 1 tbs (15 g) per load. Detergent must be fresh to be
effective. Heavy soil and/or hard water generally require extra
detergent.
Is the home water pressure high enough for proper dishwasher
filling? Home water pressure should be 20 to 120 psi (138 to
828 kPa) for proper dishwasher fill. If you have questions about
your water pressure, call a licensed, qualified plumber.
NOTE: To remove spots and film from glassware, remove all
silverware and metal items and run a vinegar rinse as described
in “Dishwasher Care.”


