Whirlpool MWA 122/HA Owner's manual

Category
Toys
Type
Owner's manual
Instructions for use
15
Microwave
Contents
Installation, 16
Installation
Specifications
Description of the appliance, 17
Microwave oven function
Beginning and use, 19
Setting the clock
Safety Block
Operating mode
Special Function: DRINK
Special Function: AU GRATIN
Microwave Function
Grill Function
Microwave + Grill Function
Defrost by tome (Manual)
Defrost by weight (Automatic)
Important notes
During operation
Interrupting the operation
Working with microwaves
Precautions and Advices, 24
General security
Eliminating
Practical advices
Microwave Oven Maintenance, 26
Remove the plug from de socket
Cleaning
Light replacement
Solving problems
Cord replacement
MWA 1
22
/HA
IT
GB
FR
DE ES PT
Italiano,1
Português, 71
English, 15 Français, 28
Deutsch, 42 Español, 57
Installation
16
! It is important conserve this book to consult at any
moment. Keep the operating instructions in a safe
place ready to pass on in the event of change of
ownership.
! Read the instructions in this book carefully: the
instructions contain important information regarding
appliance and care.
Installation
Remove the microwave oven from packing.
Remove all packing materials and accessories from the
microwave oven cavity.
Check whether the following parts are in good
condition:
- Door and hinges;
- Front of the microwave oven;
- Inside and outside of microwave oven.
! Do not use the appliance if you find any faults do not
use the microwave oven, and contact your dealer.
Place the appliance on a stable, flat surface.
- To allow efficient cooling of the microwave oven its
installation is recommended in a unit with an opening in
the upper part (refer to the installation instructions
leaflet enclosed).
! The microwave oven plug shall be accessible after
installation.
- When installing the microwave oven great care should
be taken to ensure that the mains power cable cannot
come into contact with the rear since the high
temperatures involved could cause damage.
- When the microwave oven is installed in a column
with a conventional oven, the microwave oven must not
be located underneath the conventional oven because
of the possibility of condensation forming inside the
latter.
The microwave oven has been supplied with a mono-
phase power supply cord. The appliance must be
earthed.
! This appliance must be earthed.
! The manufacturers and dealers are not liable for any
breakdowns or personal accidents should these
installation instructions not be observed by the
purchaser.
Specifications
AC voltage ............................................. 230 V / 50 Hz
Fuse ......................................................... 12 A / 250 V
Power required.................................................1200 W
Grill Power........................................................1000 W
Microwave output power....................................800 W
Microwave frequency.................................. 2450 MHz
Outer dimensions
(W×A×D)......................................595 × 390 × 320 mm
Cavity dimensions
(W×A×D)......................................305 × 210 × 280 mm
Oven capacity......................................................18 ltr
Weight ..............................................................18,6 kg
Description of the
appliance
17
1
11
1 – Glass window on the door
7.
7.7.
7. Orifice pour le support du plateau tournant
2
22
2 – Catch
8.
8.8.
8. Support du plateau tournant
3
33
3 – Quartz grill
9.
9.9.
9. Accouplement de moteur
4
44
4 – Mica covers
10.
10.10.
10. Plateau tournante
5
55
5 – Screen
11.
11. 11.
11. Grille
6.
6. 6.
6. Bouton d’ouverture
18
Microwave oven function:
In a conventional oven the heat radiated by the
resistances or gas burners, slowly penetrates the food
from the outside to the inside. There is, therefore, a
great loss of energy in the heating of the air, oven
components and recipients.
On the other hand, in microwave ovens the heat is
generated in the interior of the food itself, heating it
from the inside outwards. There is therefore no loss of
energy as the air, interior walls of the oven and
recipients (when adequate) do not heat up with
microwaves.
Microwave ovens have the following advantages:
1. Save on cooking time: in general there is a 3/4
reduction of the cooking time than with conventional
methods.
2. Ultra-quick defrosting that prevents bacteria
development.
3. Electricity saving.
4. Maintaining the nutritive value of the food due to the
cooking time reduction.
5. Easy cleaning.
In the microwave oven there is a high voltage valve
called "Magnetron" that converts electric energy to
Microwave energy. These electromagnetic waves are
conducted to the inside of the oven cavity by means of
wave-guide and spread by a mode stirrer or by a
turntable.
Inside the oven, the Microwaves spread out in all
directions and are reflected by the metallic walls,
penetrating the food evenly.
Most food contains water, whose molecules vibrate
with Microwaves.
The friction between the molecules generates heat,
which causes a temperature rise in the food, defrosting
it, cooking it or keeping it warm.
As the heat is formed inside the food:
- It may be cooked with little or no liquid or fat;
- Defrosting, heating or cooking in the microwave oven
is quicker than in a conventional oven;
- Vitamins, minerals and nutritive substances are
preserved;
The Microwaves pass through porcelain, glass,
cardboard and plastic but not through metal.
Therefore, recipients made of or containing metal
should not be used in the microwave oven.
The Microwaves are reflected by the metal…
…they pass through Glass and Porcelain…
…and they are absorbed by the food.
Beginning and use
19
Setting the clock
1. Press the CLOCK key until the digits start
blinking.
2. Enter the hour by turning the ROTATING KNOB in
both directions.
3. Press the CLOCK key again to change the
minutes.
4. Enter the minutes by turning the ROTATING KNOB in
both directions.
5. Press the CLOCK key to stop.
Safety Block
1. The microwave oven operation can be blocked (for
example: to prevent it from being used by children) by
pressing the STOP key for 3 seconds. The
microwave beep and the appliance will be blocked. It
continues to display the time and the Safety Block
function indicator will light up.
2. To unblock it, press the STOP key for 3 seconds.
At the end of this time there is an alarm sound and the
Display show the clock once again.
Operating mode
1. Connect the oven to a suitable power source (see
the Installation Instructions).
2. Open the door by pressing the “Open” button.
3. Place the container with the food on the tray or grille.
4. Select the desired function and cooking time in
accordance with, the description provided following
chapters.
5. Close the door and press the START key.
6. The microwave oven starts working. The Display
shows the functioning time decreasing.
20
Special Function: DRINK
1. Press the special function
special functionspecial function
special function
button until the desired option appears, according to the following table. The
screen displays the special function (A1.1 – A1.6) selected according to the table.
Option Press Screen Preparation
1 cup 1x A 1.1
2 cups 2x A 1.2
3 cups 3x A 1.3
Pour the liquid into a container and place it on the tray in the
microwave.
250g potatoes 4x A 1.4 Put the potatoes in a container, add 1 or 2 soup-spoonfuls
of water, cover and place on the tray in the microwave.
500g potatoes 5x A 1.5
1000g potatoes 6x A 1.6
2. Press the START key. The oven starts working. The Special Function DRINK indicator light up.
Special Function: AU GRATIN
1. Press the special function
special functionspecial function
special function
button, until the desired option appears, according to the following table. The
screen will show the special function (A2.1 – A2.2) that has been selected according to the table.
Option Press
Screen Preparation
Potatoes au
gratin
1x A 2.1 1000g raw potatoes au gratin.
Put the food in a container (approx. diameter 25-26 cm) and
place it on the tray in the microwave.
Pasta au
gratin
2x A 2.2 250g pasta au gratin.
Put the food in a container (approx. diameter 25-26 cm,
approx. height 10 cm), cover it and place it on the tray in the
microwave.
2. Press the START key. The oven starts working. The Special Function AU GRATIN indicator light up.
Special Function: DEFROST & HEAT
1. Press the special function button, until the desired option appears, according to the following table. The
screen will show the special function (A3.1 – A3.2) that has been selected according to the table.
Option Press Screen Preparation
Precooked foods
(1 serving 350-400g)
1x A 3.1 Remove the lid of the packaging and put the
contents (e-g- cannelloni, macaroni, gnocchi) on
a plate or place the packaging directly on the tray
in the microwave and cover.
Vegetables
(approx. 900-1000 g)
2x A 3.2 Put the vegetables in a container, cover and
place on the rotating plate.
2. Press the START key. The oven starts working. The Special Function DEFROST & HEAT indicator light up.
21
Microwave Function
1. Press the MICROWAVE key: the Microwave
Function indicator light up.
2. Enter the operating time (for example: 10 minutes),
by turning the ROTATING KNOB in both directions.
3. To change the Microwave power, press the and
keys. If these keys are not pressed, the microwave
oven works as default at maximum power.
4. Press the START key. The oven starts working.
Grill Function
1. Press the grill button. The function indicator
lights up.
2. Enter the operating time (for example, 10 minutes)
with the help of the ROTATING BUTTON, by turning it
in any direction.
3. Press the START key. The oven starts working.
Microwave + Grill Function
1. Press the MICROWAVE + GRILL key. The
microwave + grill function indicator light up.
2. Enter the operating time (for example: 10 minutes),
by turning the ROTATING KNOB in both directions.
3. To change the Microwave power, press the and
keys. If these keys are not pressed, the microwave
oven works as default at maximum power.
4. Press the START key. The oven starts working.
Defrost by Time (Manual)
1. Press the DEFROST key two times: the Defrost
by Time Function indicator light up.
2. Enter the defrosting time (for example: 12 minutes),
by turning the ROTATING KNOB in both directions.
3. Press the START
key. The oven starts working.
4. When the oven stops and the alarm sounds, open
the door and turn the food over. Close the door and
press the START key.
Defrost by Weight (Automatic)
1. Press the DEFROST
key: the Defrost by Weight
Function indicator light up.
2. Enter the type of food (see Important notes
see Important notessee Important notes
see Important notes), by
pressing the and keys. If these keys are not
pressed, it selects type 1 food as default.
3. Enter the food weight (for example: 1,2 kg), by
turning the ROTATING KNOB in both directions.
4. Press the START Key. The oven starts working.
5. When the oven stops and the alarm sounds, open
the door and turn the food over. Close the door and
press the START key.
22
IMPORTANT NOTES:
The following table describes the different Defrost by Weight programmes; the respective weight ranges; defrost time
ranges; standing time ranges (to allow temperature evenness) and recommendations.
Code Food Weight Defrost Time
Standing Time
Recommendation
1
Meat
0,1 – 1,5 kg 4 – 61 min 20 – 30 min
Cover the thinner ends with tin foil. Turn
the meat when the oven whistles
sounds.
2
Poultry
0,1 – 1,5 kg 4 – 61 min 20- -30 min
Cover the thinner ends with tin foil. Turn
the meat when the oven whistles
sounds.
3
Fish
0,1 – 1,5 kg 4 – 63 min 20 – 30 min
Cover the tail of the fish with tin foil.
Turn the fish when the oven whistles
sounds.
4
Fruit
0,1 – 0,5 kg 2 – 13 min 5 – 10 min
Place the fruit in a glass dish and cover
it during defrosting and standing time.
5
Bread
0,1 – 0,8 kg 2 – 19 min 5 – 10 min
Place the bread on the glass turntable
covered with kitchen paper towel.
- In the Defrost by Weight function, the introduced
weight is that of the food alone, not including the dish.
- Use the Defrost by Weight function only for raw food.
- This function has better results if the food is at a
temperature of -18ºC and if the food is taken directly
from the freezer to the oven.
- If the food is at a higher temperature (either because
it isn’t a 3 star freezer or because the food has been
out of the freezer for more than 20 minutes) the oven
calculated time will be more and there may be a risk of
fire. In these cases, select a weight, which is lower than
the real food weight.
- In the cases above and when the food is already
cooked and frozen, use the Defrost by Time function,
starting with short periods of time.
- When you use tin foil to protect the thinner parts of the
food, make sure that it doesn’t touch the oven walls,
otherwise there may be damages.
- Turn the foods around the moment the microwave
beeps and starts to flash on the screen: “Turn”.
. .
. Close
the door and press the START button, to continue
the cooking process.
23
During Operation…
The microwave oven door may be opened at any time
during the cooking operation, in which case:-
- The production of microwaves is immediately
interrupted;
- The Timer is automatically stopped, indicating the
remaining cooking time.
Then, if you wish you may:
- Stir or turn the food, to improve uniform cooking;
- Change the Microwave power level by pressing the
or keys;
- Select another function, by pressing the Function
keys;
- Change the operating time left by turning the
ROTATING KNOB.
- Close the door again and press the START key.
The oven restarts working.
Interrupting the Operation
To stop the microwave oven before completing its
programmed time, press the STOP key or open the
door.
If you don’t wish to continue cooking the food, close the
door and press the STOP key again. The oven emits
a sound and the Display show the Clock.
At the end of the functioning time, the microwave oven
stop, emit 3 signal sounds and the Display show the
word “End”. The sound signals are repeated every 30
seconds until the door is opened or the STOP key
pressed.
Working with Microwaves
Before using any dish, make sure that it is appropriate
for use in microwaves (SEE ADVICE ON THE USE OF
UTENSILS AND RECIPIENTS).
Always make a slit in the food's shell before cooking it.
Whenever heating liquids use a recipient with a large
opening to allow the vapour to escape.
Remember that…
1. Larger quantities of food require more cooking time.
2. The lower the food temperature the more cooking
time is needed.
3. Less dense foods cook faster.
4. An even distribution of the food in the oven
guarantees better results. The cooking of different
types of foods simultaneously is possible by placing
the dense food in an outside circle and the less dense
in the centre of the plate.
5. Better results are achieved by allowing the food to
stand before serving because it continues to cook for
some time after the oven is switched off.
6. The cooking time may be shortened and the liquids
preserved (the food doesn't dry out) by covering the
food. The lids should be transparent to allow the
microwaves through and they should have a small
opening for the vapour to escape.
Microwave Oven Maintenance
24
General security
! If the door or the door hinges are damaged, the oven
should not be switched on until repaired by a qualified
technician.
! It is dangerous for anyone, except a qualified
technician, to tamper with the apparatus or try to repair
it in any way by removing any lid or covering which
assures protection against the exposure to microwave
energy.
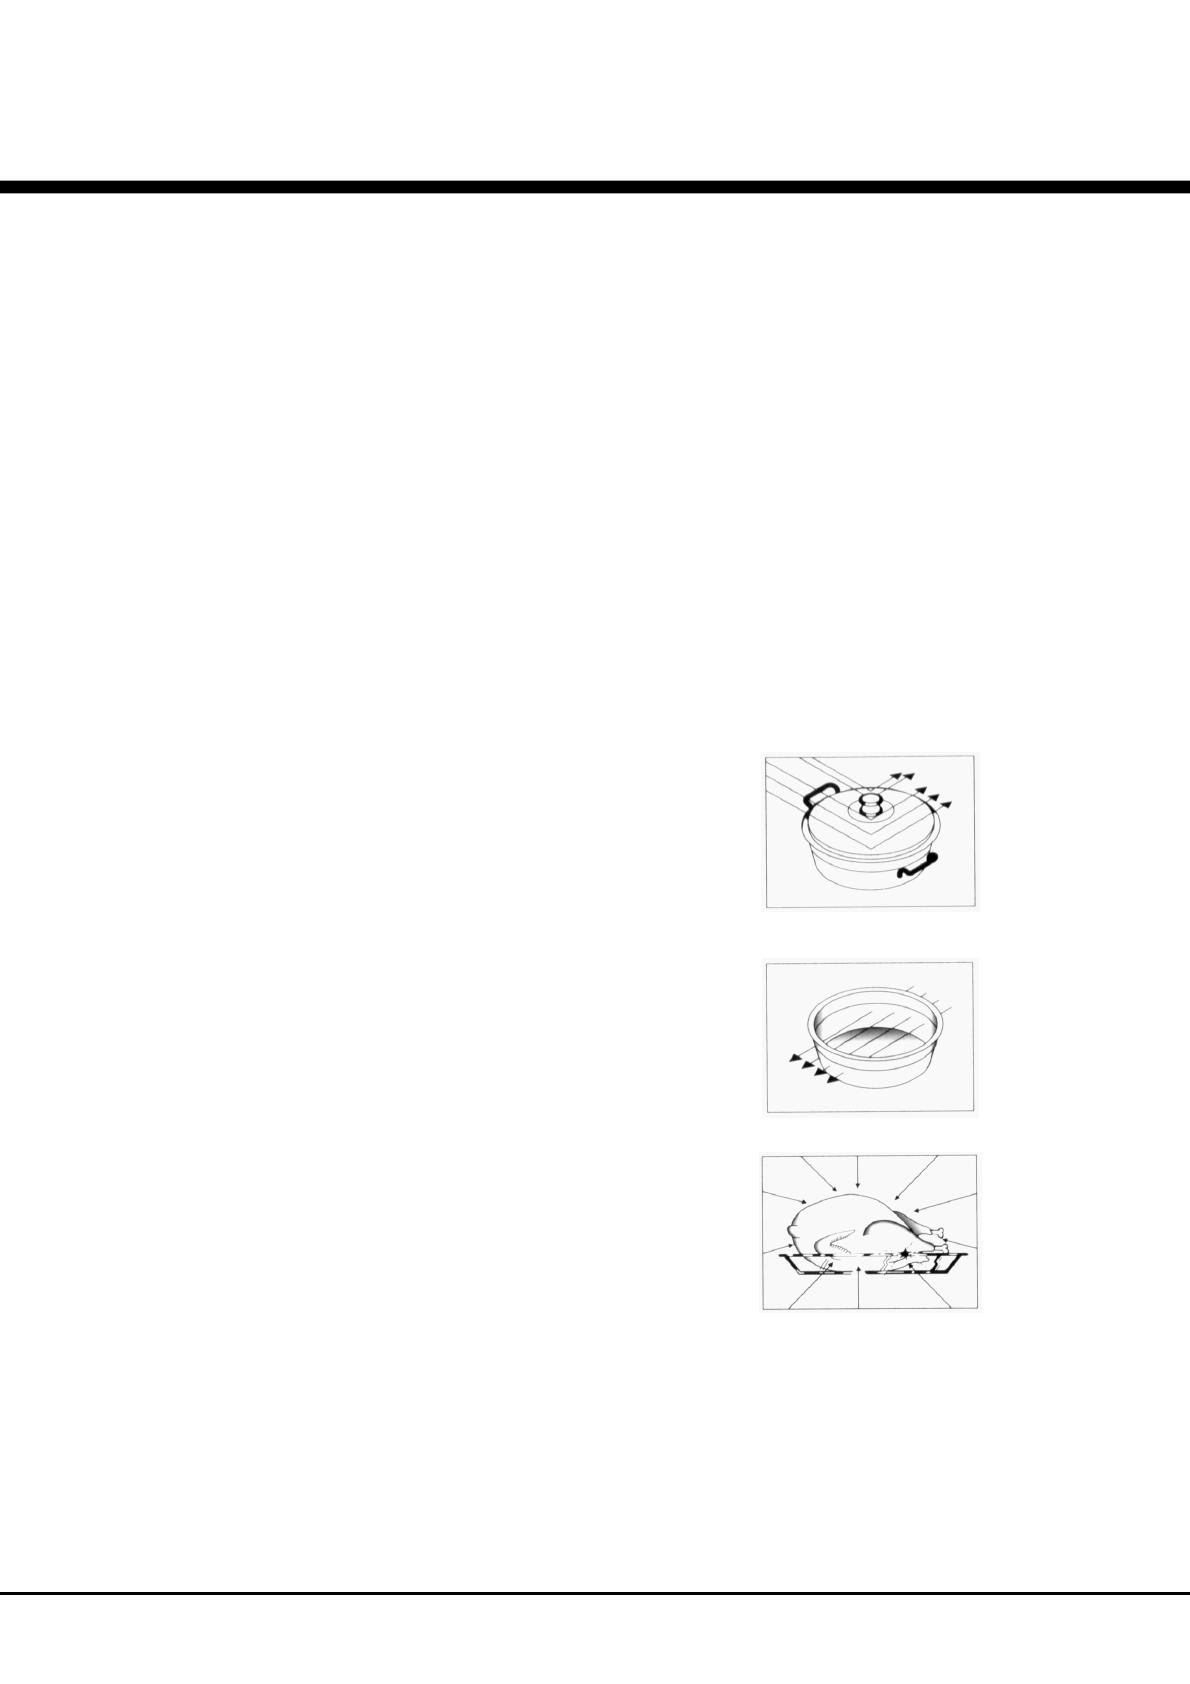
! Liquids and other food should not be heated in
airtight recipients as these can explode.
! Children should only be allowed to use the oven
without adult supervision if they have been given the
appropriate instructions so that they can use the oven
safely and understand the dangers of its incorrect use.
! When the microwave oven is operated in the
Combination mode (Microwaves + Grill), children
should only be allowed to use the unit under adult
supervision due to the high temperatures generated.
! The microwave oven should be cleaned regularly and
any food deposits removed (please see the chapter on
Oven Maintenance for details). Failure to maintain the
oven in a clean condition could lead to deterioration of
the surface that could adversely affect the life of the
appliance and possibly result in a hazardous situation.
When heating food in plastic or paper recipients,
check the oven frequently in case they ignite.
If any smoke is detected, then switch off the oven or
disconnect it and keep the door closed in order for any
flame to die out.
After warming up baby bottles or baby food jars stir
or shake its contents and check the temperature before
feeding, to avoid burns.
Warming up drinks in the microwave oven may result
in a delayed eruptive boiling; therefore one should be
careful when handling the recipient.
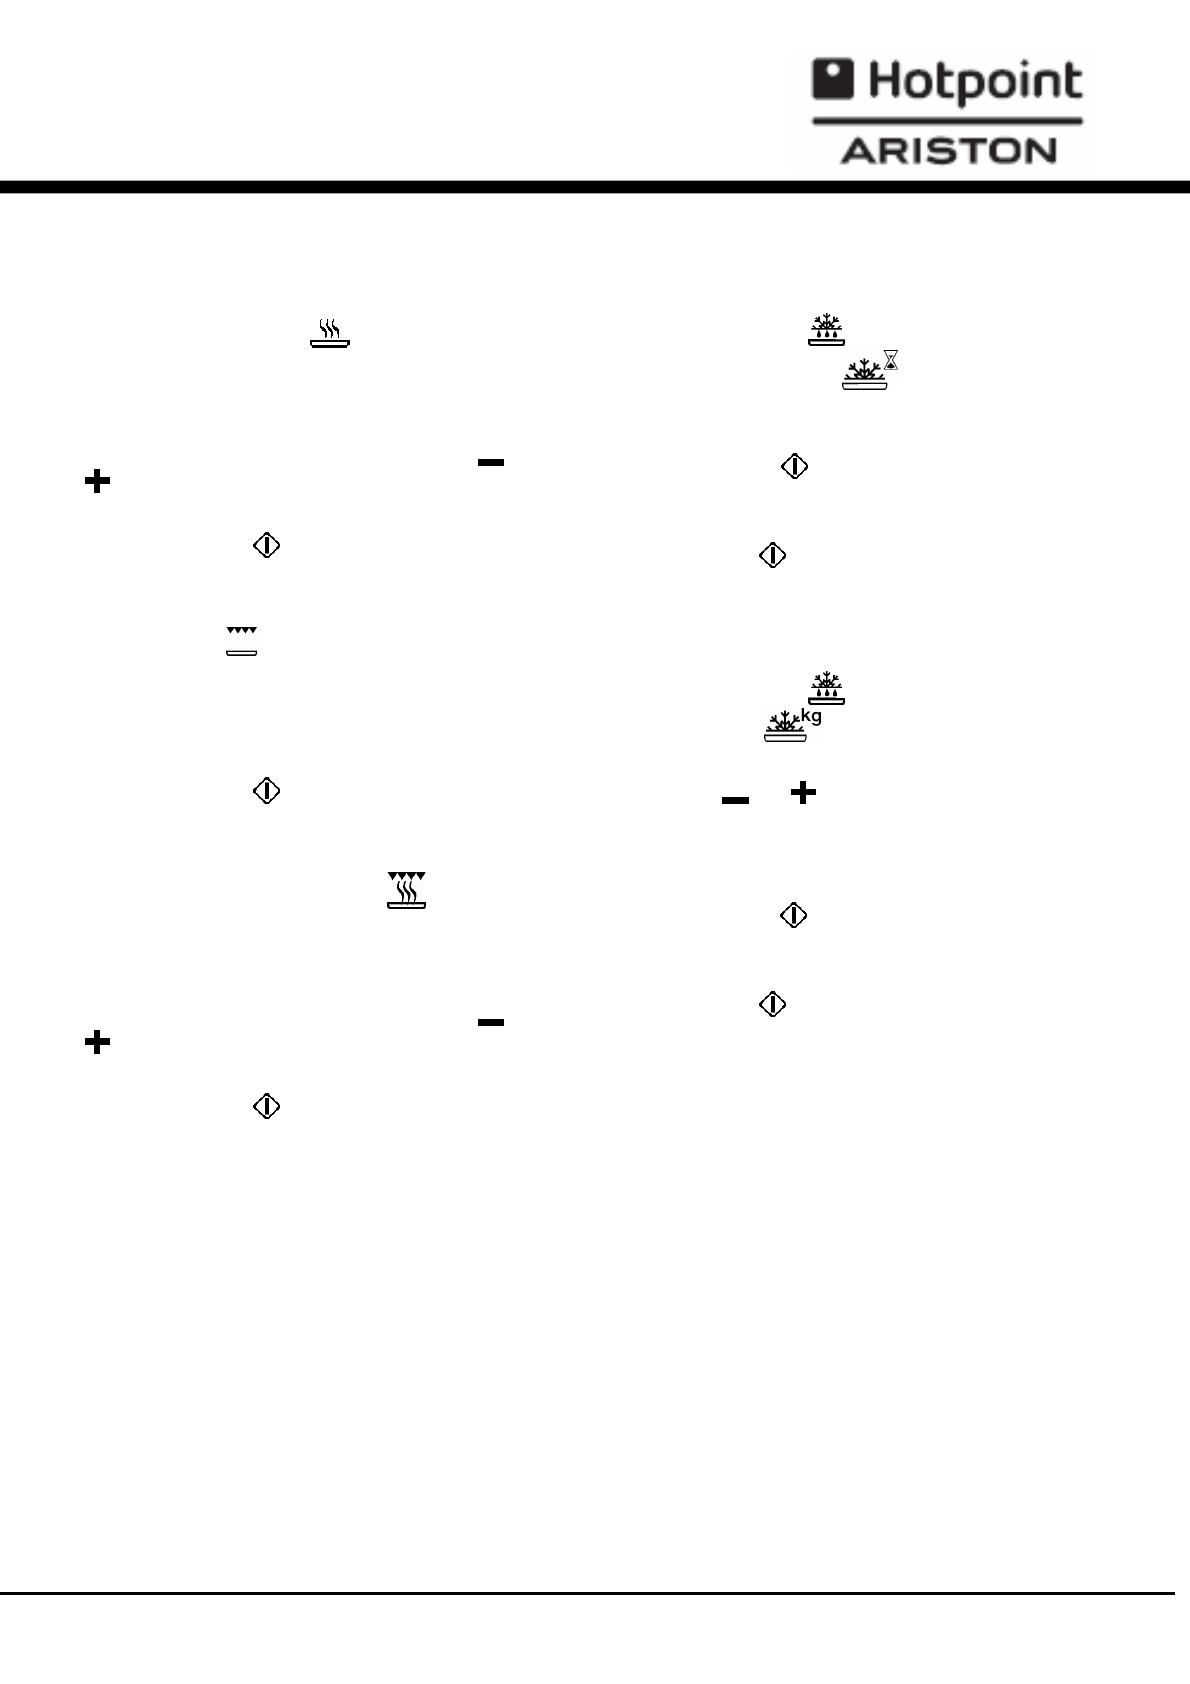
Eggs with their shell and whole boiled eggs shouldn’t
be warmed up in microwave ovens as they may
explode, even after microwave heating has ended.
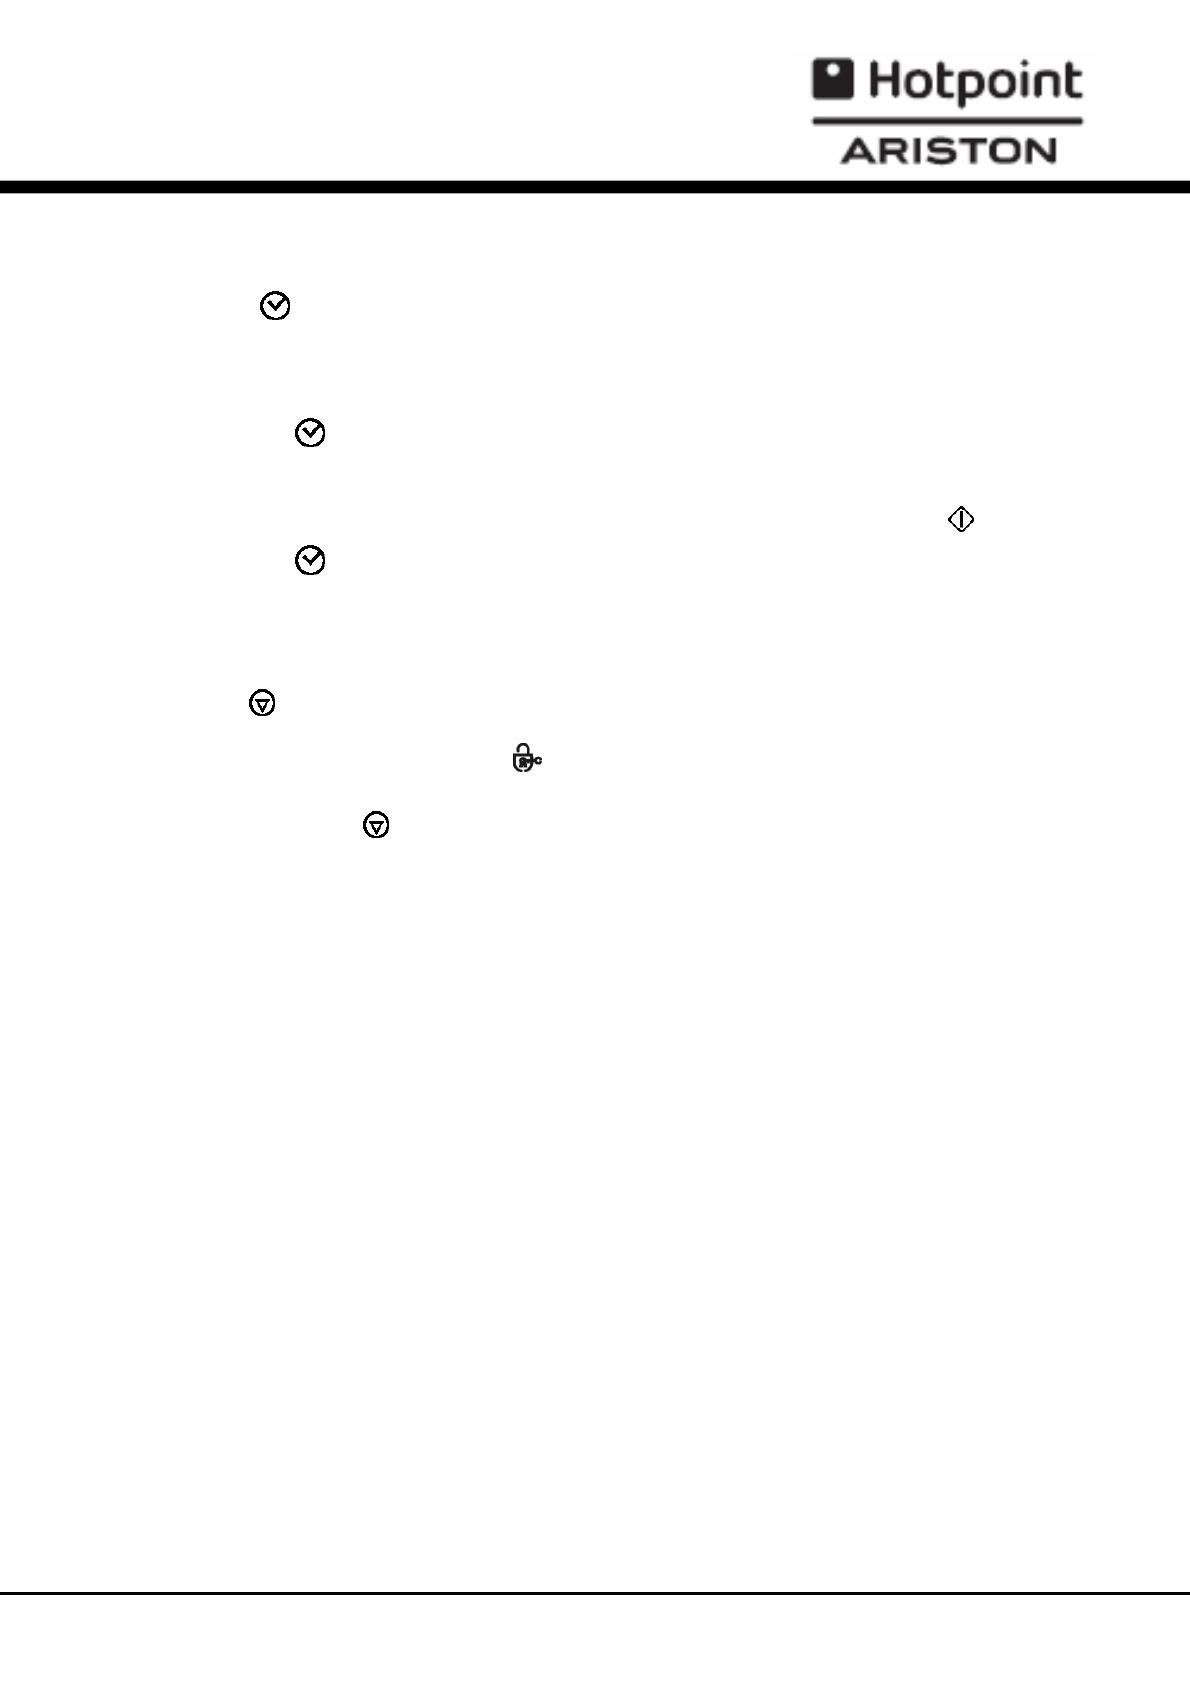
Only use utensils that are suitable for use in
microwave ovens. Do not use any metal utensils inside
the oven unless they were supplied with the oven and
for that purpose.
Do not warm up liquids or other food in closed
recipients as they may explode.
Do not warm up pure alcohol or alcoholic drinks. FIRE
DANGER.
When in doubt, choose short periods to cook heat or
defrost food with microwaves. With long cooking
periods the food may become dry and even begin to
burn.
Do not use the microwave oven for anything other
than warming, cooking or defrosting food.
Do not operate the microwave oven without its tray
nor when empty.
Keep the microwave oven ventilation holes open.
Never cover any air vents or openings.
Eliminating
• Eliminating the packing materials: use the right bins
when discarding all of packing materials. This will
ensure that the packaging materials are recycled.
The European Directive 2002/96/EC on Waste Electrical
and Electronic Equipment (WEEE), requires that old
household electrical appliances must not be disposed
of in the normal unsorted municipal waste stream. Old
appliances must be collected separately in order to
optimize the recovery and recycling of the materials
they contain and reduce the impact on human health
and the environment.
The crossed out “wheeled bin” symbol on the product
reminds you of your obligation, that when you dispose
of the appliance it must be separately collected.
Consumers should contact their local authority or
retailer for information concerning the correct disposal
of their old appliance.
25
Practical advices
Use heat resistant ovenware made of glass, glass,
ceramic, porcelain, ceramic or heat-resistant plastic.
These materials do not block the microwaves.
This is not the case with ovenware made of metal.
The microwaves are obstructed which means that the
food in closed containers remains cold. Ensure that any
metal objects – e.g. a spoon – are at least 2 cm away
from the oven walls and the inside of the door. The
glass on the inside of the door could be damaged by
sparks.
To cook or defrost pieces of meat of irregular sizes,
you may cover the thinner parts with tin foil, which
should be kept at least 2 cm away from the oven walls,
otherwise these may cause an electric arc.
Metal spits may be used as long as they are smaller
than the pieces of meat.
Crystal contains a percentage of lead, which may
cause it to crack if used in the microwave oven. The
same may happen to glass dishes with jagged edges.
! Porcelain dishes may be used but they should not
have hollow handles. Humidity may be formed inside
the hollow handles, which will causes an increase in
pressure that may cause them to break.
! This type of dish may heat considerably.
Painted glazed ceramic dishes may be used if the
painting is done under the glaze.
Many glazes and colours contain metallic substances.
If this is the case they should not be used in the
microwave as they may be damaged.
Recipients with silver and gold glazes may go dark.
! Plastic dishes should be heat resistant (at least 180°
C) or they may be deformed when used in the
microwave. Melamine dishes are not suitable for use in
the microwave as they heat up too much
To cook or heat food in plastic bags, they should be
perforated to allow vapour to escape thus preventing
the bag from bursting.
! Wooden recipients should not be used in the
microwave. Wood contains water, which evaporates
and may cause the recipient to crack.
Microwave Oven Maintenance
26
If in doubt about the use of glass, glazed ceramic or
porcelain dishes in the microwave oven, do the
following test:
- Place the empty dish and a glass of water inside the
microwave oven;
- Close the door;
- Set the Power Level Selector at maximum power;
- Adjust the timer to 1 minute;
! If during this test you hear any noise along with
sparks, turn off the oven immediately.
Any kind of cookware that has this kind of behaviour
or is very hot when removed from the oven should not
be used in the microwave oven.
! Glazed ceramic dish recipients contain many water
molecules and heat a lot, but can be used in the
microwave oven.
If in doubt, contact the supplier of the cookware, and
make sure that they are appropriate for microwaves.
The use of glass lids, plastic lids or plastic film is
advisable because:
1. They prevent the release of excessive vapours
especially when cooking for longer periods.
2. They increase the speed of heating food.
3. They prevent the food from drying up.
4. They prevent the loss of the food aroma.
The lids should have holes to avoid pressure. Plastic
film should be perforated.
Baby bottles, baby food jars and other similar
recipients should be warmed up without lids as they
can burst.
27
Remove the plug from the socket
Make sure that the oven is unplugged before cleaning
the oven.
Don't use abrasive cleaning products.
Cleaning
Outside
1. Clean the outside surface with neutral detergent,
lukewarm water and dry it with a damp cloth.
2. Avoid water from entering the oven ventilation holes.
Inside
1. Clean the oven walls with a damp cloth after each
use.
2. Avoid water from entering the ventilation holes in the
oven's interior.
3. If some time has passed by since the last cleaning
and the oven's interior is dirty, place a glass of water
on the tray and switch on the oven for 4 minutes on the
highest setting. Moisture will form on the oven walls,
which will be easily cleaned.
4. The tray can be washed with regular dish washing
detergent or in the dishwasher.
Door, door seal, and oven front
1. These parts should always be clean, especially the
contact surface between the door and the oven front, to
prevent microwave leakage.
2. Use neutral detergent, lukewarm water and dry the
surface with a soft cloth.
Light Replacement
The light bulb may only be replaced by the Technical
Support Service.
Solving Problems
Repairs or interventions carried out by an unqualified
serviceman can cause dangerous situations.
Every and any kind of repair or intervention should
be done by the manufacturer, authorized agents or
qualified technicians.
If you detect any abnormalities in the oven, check the
following before you contact T.A.S:
1. Check if the outlet into which the oven is plugged
has power. To do so, plug another appliance into the
same outlet and check if it works.
2 If the oven lamp switches on, but the food does not
heat up, check if the door is well closed (if the door is
not properly closed, no microwaves will be produced).
Cord Replacement
If the cord is damaged, it should be replaced by the
manufacturer, authorized agents or qualified
technicians in order to avoid any dangerous situation
and also because special tools are required.
  • Page 1 1
  • Page 2 2
  • Page 3 3
  • Page 4 4
  • Page 5 5
  • Page 6 6
  • Page 7 7
  • Page 8 8
  • Page 9 9
  • Page 10 10
  • Page 11 11
  • Page 12 12
  • Page 13 13
  • Page 14 14
  • Page 15 15
  • Page 16 16
  • Page 17 17
  • Page 18 18
  • Page 19 19
  • Page 20 20
  • Page 21 21
  • Page 22 22
  • Page 23 23
  • Page 24 24
  • Page 25 25
  • Page 26 26
  • Page 27 27
  • Page 28 28
  • Page 29 29
  • Page 30 30
  • Page 31 31
  • Page 32 32
  • Page 33 33
  • Page 34 34
  • Page 35 35
  • Page 36 36
  • Page 37 37
  • Page 38 38
  • Page 39 39
  • Page 40 40
  • Page 41 41
  • Page 42 42
  • Page 43 43
  • Page 44 44
  • Page 45 45
  • Page 46 46
  • Page 47 47
  • Page 48 48
  • Page 49 49
  • Page 50 50
  • Page 51 51
  • Page 52 52
  • Page 53 53
  • Page 54 54
  • Page 55 55
  • Page 56 56
  • Page 57 57
  • Page 58 58
  • Page 59 59
  • Page 60 60
  • Page 61 61
  • Page 62 62
  • Page 63 63
  • Page 64 64
  • Page 65 65
  • Page 66 66
  • Page 67 67
  • Page 68 68
  • Page 69 69
  • Page 70 70
  • Page 71 71
  • Page 72 72
  • Page 73 73
  • Page 74 74
  • Page 75 75
  • Page 76 76
  • Page 77 77
  • Page 78 78
  • Page 79 79
  • Page 80 80
  • Page 81 81
  • Page 82 82
  • Page 83 83
  • Page 84 84

Whirlpool MWA 122/HA Owner's manual

Category
Toys
Type
Owner's manual

Ask a question and I''ll find the answer in the document

Finding information in a document is now easier with AI