Application Guide | Gas detection in refrigeration systems
© Danfoss | DCS (mwa) | 2018.08
14 | DKRCI.PA.S00.A2.02 | 520H12772
Two different methods are available for fulfilling
the calibration requirements.
• Replacing the sensor (sensor cartridge) with a
new factory pre-calibrated sensor.
• Performing a calibration to the sensor using
calibration gas (gas mixture with known target
gas concentration).
Calibration methods
Method I
Calibration by means of
replacing sensor heads
This method requires that the supplier offers
factory pre-calibrated sensor heads with
calibration certificate and traceability codes.
Additionally, an electrical simulation is required
to verify the output signals and alarm settings .
This method can be compared with the method
used for safety valves. The manufacturer
produces, tests, and certifies the product, which
can then be mounted in the system.
Danfoss offers the above-mentioned solution.
The sensor head, which is the essential measuring
element of the gas detector, is produced, tested,
calibrated, and certified by Danfoss.
After the gas detection unit has been tested
with the on-board test button function, which
simulates alarm signals and relay activation, to
ensure all electrical components are functional,
the new calibrated sensor head can be installed.
Danfoss recommends that the calibration is done
by means of pre-calibrated replacement sensors:
• As sensors have a limited lifetime, this method
basically ensures that the customer has a gas
detector as good as new after replacing the
sensor head.
• The method is typically more efficient and cost
effective compared to calibration carried out
on site.
Method II
Calibration of gas detectors by
means of calibration gas
The calibration of gas detectors by means of
calibration gas has traditionally been made
by using multimeters and adjustment of
potentiometers, which makes the process
relatively complicated, time consuming, and
expensive. However, the Danfoss gas detection
units have an integrated, digital calibration
function that makes the calibration process
easier, cheaper, and faster. Even though the
calibration is a simple procedure, it still requires
test equipment and basic competence in
calibration.
Calibration equipment for Gas Detection Units
(GDU) consists of:
• Valve/Flow regulator.
• Gas cylinder with the correct calibration gas for
each refrigerant and concentration (ppm).
• Calibration adapter.
• If the gas detector unit does not have a display,
the service tool or the PC tool is required.
In order to execute the calibration function, the
gas detector unit needs to be equipped with a
display or connection to either the service tool or
the PC tool.
Some calibration gas cylinders are treated as
dangerous substances, and therefore subject to
specific shipping requirements.
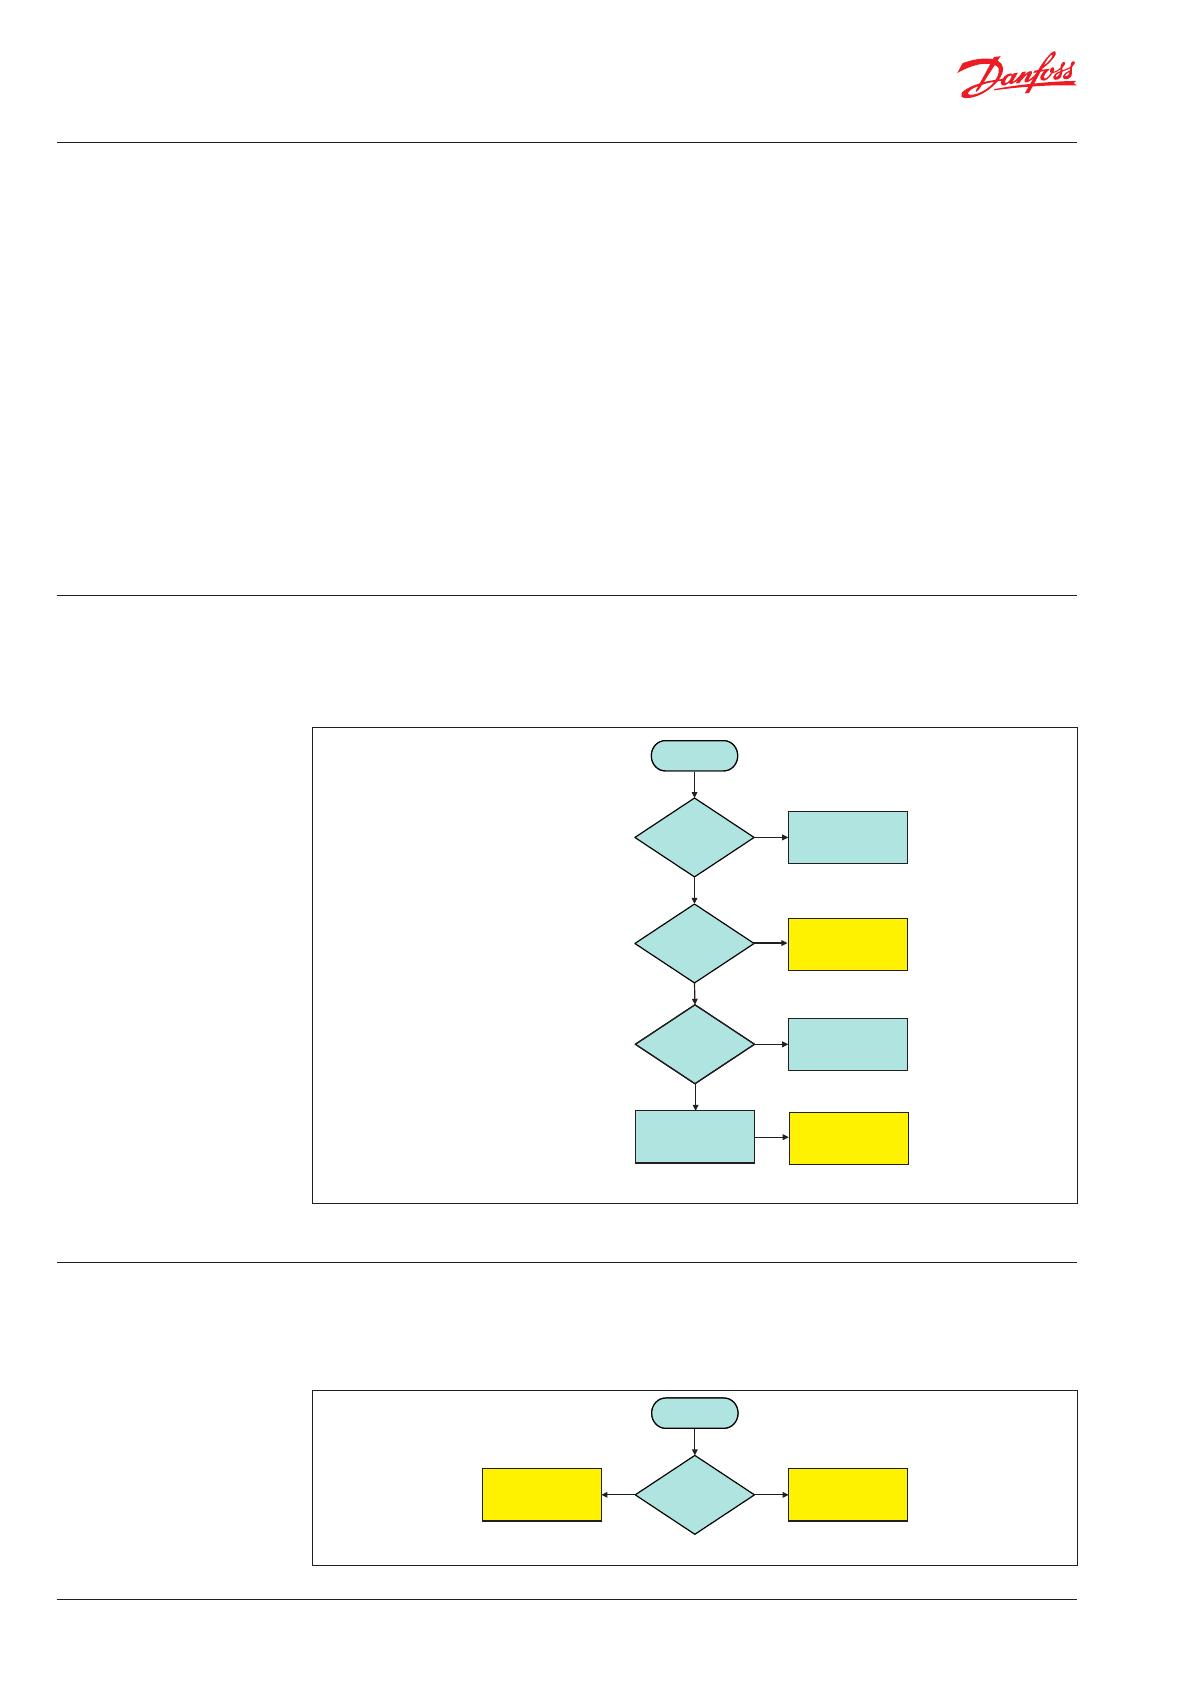
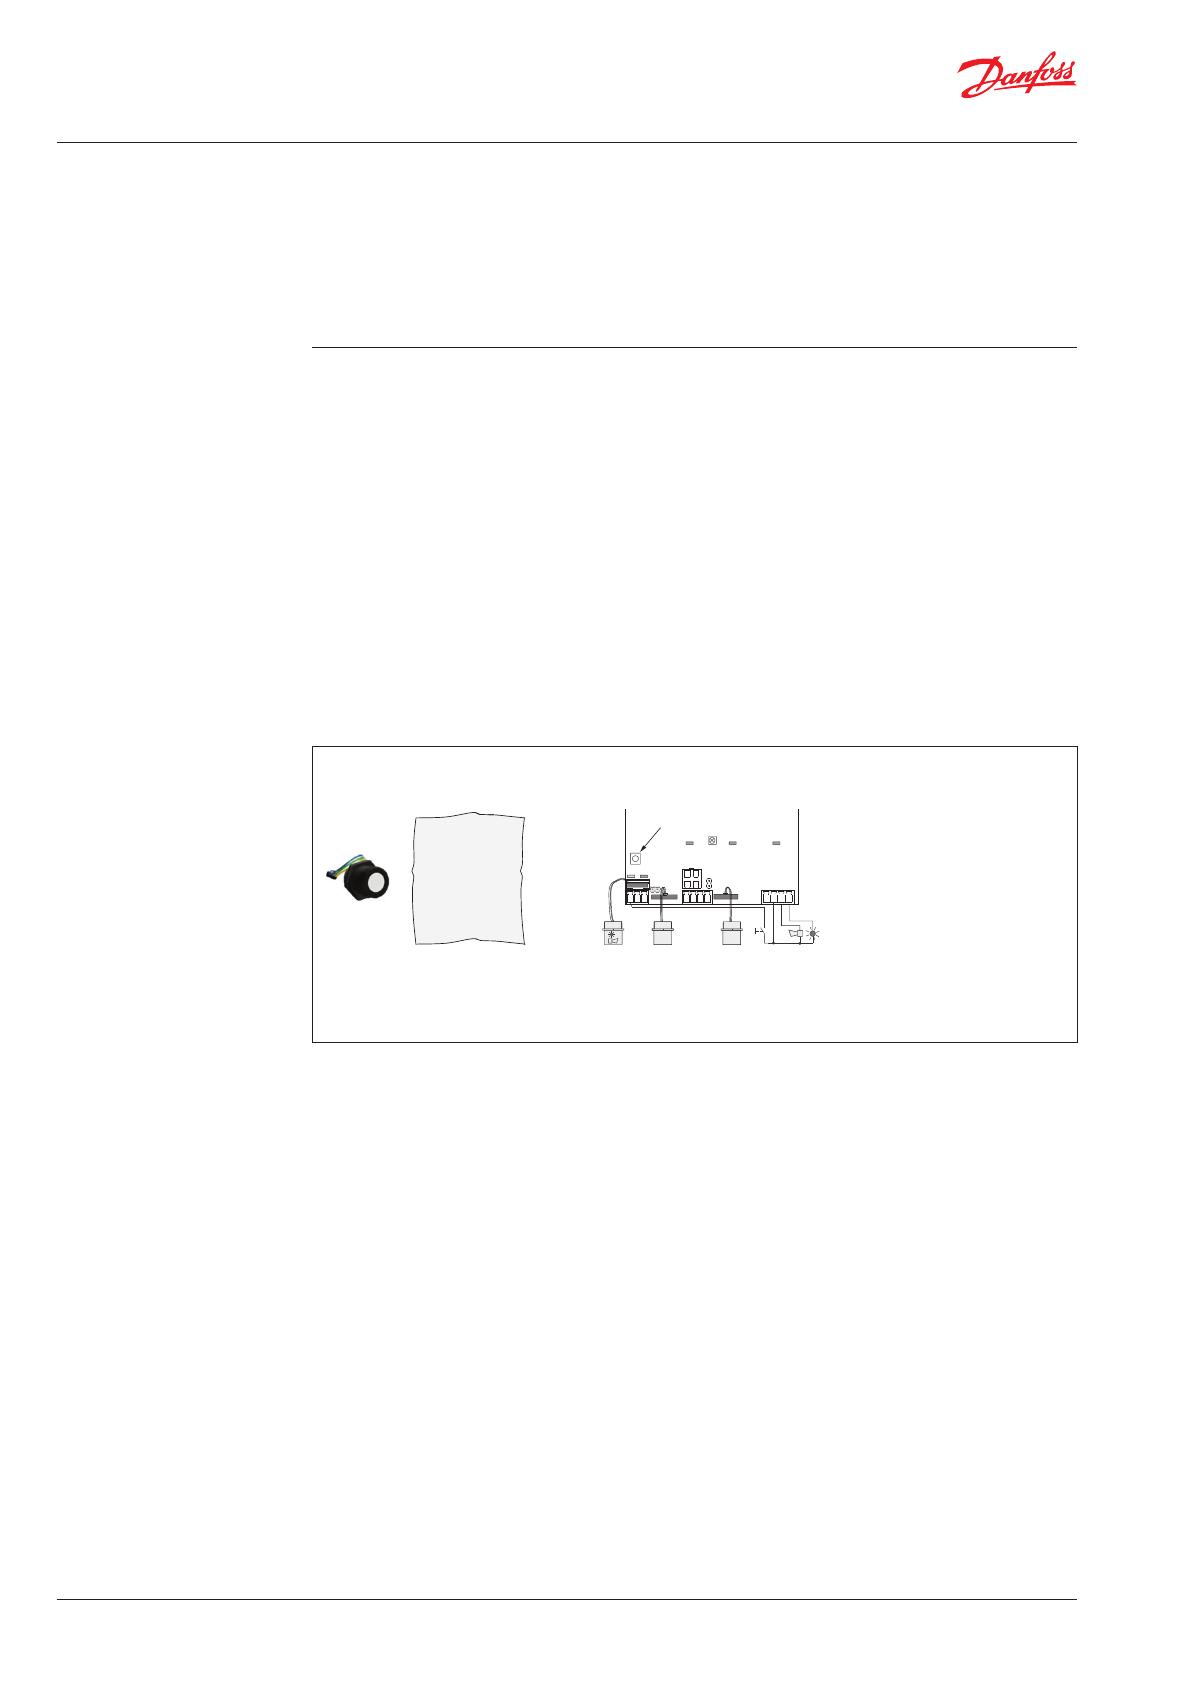
Fig. 9: Test and calibration of Danfoss gas detection unit (GDU) by the use of the on-board test function and
replacement of the sensor head.
In addition to these calibration methods, a
“bump” test can be used, but only to test the
responsiveness and operation of the sensor. It is
important to highlight, that a bump test is not a
calibration.
Gas detection unit
tested and calibrated
Certificate
XXXXXXXXXXXXXXXXXXXXX
XXXXXXXXXXXXXXXXXXXXX
XXXXXXXXXXXXXXXXXXXXX
XXXXXXXXXXXXXXXXXXXXX
XXXXXXXXXXXXXXXXXXXXX
Gas/calibration levels etc.
Traceability
+
4
3
4
567
321
2
1
Sensor
Sensor
Test function button
On-board test functionExchange of sensor head
