17
1 Disconnect the compact power
adapter from the camcorder.
2 Unplug the power cord from the
power outlet and the compact
power adapter.
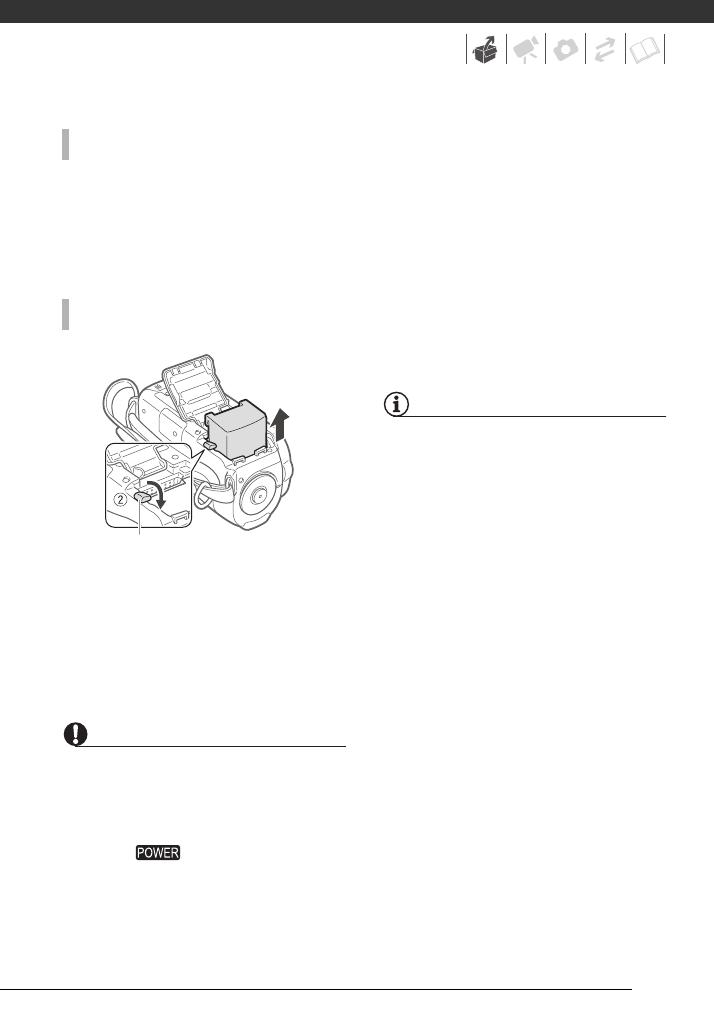
1 Slide the battery compartment
cover away from the lens and
open it.
2 Press the battery release latch and
pull out the battery pack.
3 Close the cover and slide it toward
the lens until you hear a click.
IMPORTANT
• Turn off the camcorder before
connecting or disconnecting the
compact power adapter. After turning
off the camcorder, important data is
updated in the memory. Be sure to wait
until the indicator turns off.
• We recommend charging the battery
pack in temperatures between 10 °C
and 30 °C. Outside the temperature
range of 0 °C to 40 °C, the charging will
not start.
• Do not connect to the camcorder’s DC
IN terminal or to the compact power
adapter any electrical equipment that is
not expressly recommended for use
with this camcorder.
• To prevent equipment breakdowns and
excessive heating, do not connect the
supplied compact power adapter to
voltage converters for overseas travels
or special power sources such as those
on aircraft and ships, DC-AC inverters,
etc.
NOTES
• If remaining battery time is an issue, you
can power the camcorder using the
compact power adapter so the battery
pack will not be consumed.
• Charged battery packs continue to
discharge naturally. Therefore, charge
them on the day of use, or the day
before, to ensure a full charge.
• We recommend that you prepare battery
packs to last 2 to 3 times longer than
you think you might need.
ONCE THE BATTERY PACK IS FULLY CHARGED
TO REMOVE THE BATTERY PACK
Battery release latch


