Uixe 1JAY-12151M-PC User manual

Type
User manual

This manual is also suitable for

Wire
strippers
Ladder Safety
glasses
Electrical
tape
Phillips
screwdriver
PliersFlat blade
screwdriver
CAUTION
Inspect the wire insulation for any cuts,
abrasions, or exposed copper that may have
resulted during shipping. If there is a defect
in the wire, do not attempt installation.
Before starting installation of this fixture or
removal of a previous fixture, disconnect the
power by turning off the circuit breaker or by
removing the fuse at the fuse box.
Bulbs
(not included)
*PARTS SHOWN MAY DIFFER SLIGHTLY PER LIGHT FIXTURE
ASSEMBLY INSTRUCTIONS
TOOLS REQUIRED
EXPLODED PARTS INSTALLATION
STEP 1
Unscrew the ball nuts from the mounting unit.
Use the mounting screws to attach the mounting unit
to the junction box(not included).
HARDWARE INCLUDED
Fixture
Mounting Unit
Screws
Wire Nuts
FixtureMounting UnitMounting Screws
Mounting Screws
Wire Nuts
Screws
Make the electrical connection from the junction box to the fixture.
Connect the ground wire to the mounting unit using the preinstalled
green ground screw. Then, connect the positive, negative and
ground wires with the supplied wire nuts. Secure with electrical tape.
STEP 2
White wire from
the fixture
Ground wire from
the Fixture
Black wire from
the fixture
Black or Red wire (hot)
from the junction box
White wire (neutral)
from the junction box
Bare or Green ground wire
from the junction box
*Green Ground Screw
*Sealing tape
(not included)
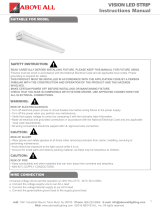
ASSEMBLY INSTRUCTIONS INSTALLATION
OPERATING INSTRUCTIONS
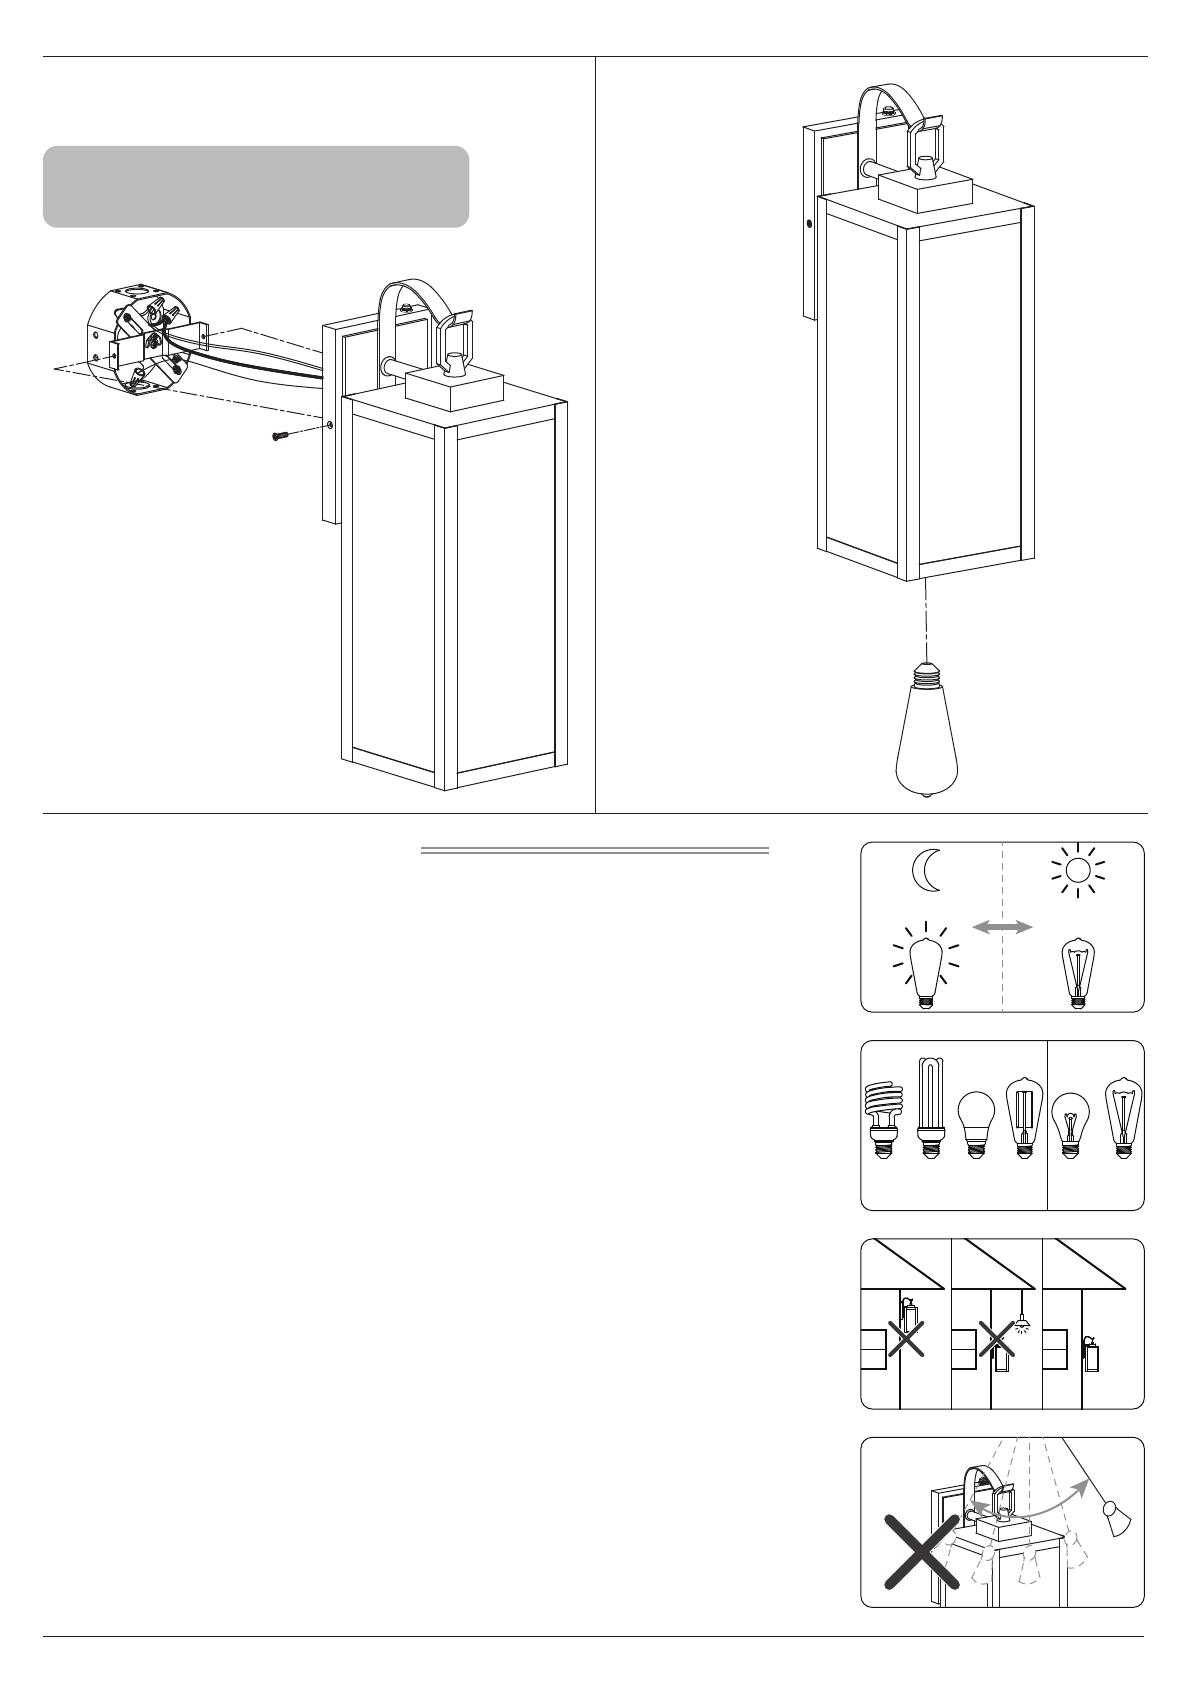
NOTICE: Please use caulk in the back plate and wall
mounting surface to prevent water from entering.
STEP 3
Attach the fixture to the mounting unit through
screw holes as shown, and secure it with screws.
1.
2.
39W 100W
3.
4.
Light control switch is an automatic controller, can be used for outdoor and indoor
light control automatic lighting, when the night comes illuminance 10Lux,
the lamp will be automatically lit, and in the day when the illumination 30Lux,
the lamp will automatically turn o the lamp.
Rated voltage: 120VAC/60Hz; The bulb should be installed at less than the rated power
of the sensor; Energy-saving lamp/ballast /LED 39W; Incandescent lamp 100W.
The photosensor should be installed in a place with good photosensitivity, without
obstacles aecting its acceptance of natural light, and backlit with the lamp source,
so as to prevent the product from jumping when sensing its own light.
There should be no swinging objects in front of the photosensor.
STEP 4
Install bulbs (not included).
illuminance 10Lux illuminance 30Lux
LED LED
  • Page 1 1
  • Page 2 2

Uixe 1JAY-12151M-PC User manual

Type
User manual
This manual is also suitable for

Ask a question and I''ll find the answer in the document

Finding information in a document is now easier with AI