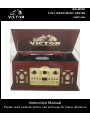
Victor VWRP-3600 is a versatile music center with a classic wooden design that combines the charm of retro with modern features. Play your favorite records on the 3-speed turntable, which supports 33 1/3, 45, and 78 RPM records, while the auto-return function ensures hassle-free operation. Additionally, immerse yourself in the world of CDs, cassettes, and AM/FM radio stations for a diverse listening experience.
Victor VWRP-3600 is a versatile music center with a classic wooden design that combines the charm of retro with modern features. Play your favorite records on the 3-speed turntable, which supports 33 1/3, 45, and 78 RPM records, while the auto-return function ensures hassle-free operation. Additionally, immerse yourself in the world of CDs, cassettes, and AM/FM radio stations for a diverse listening experience.


-
 1
1
-
 2
2
-
 3
3
-
 4
4
-
 5
5
-
 6
6
-
 7
7
-
 8
8
-
 9
9
-
 10
10
-
 11
11
-
 12
12
-
 13
13
-
 14
14
-
 15
15
-
 16
16
-
 17
17
-
 18
18
-
 19
19


Victor VWRP-3600 is a versatile music center with a classic wooden design that combines the charm of retro with modern features. Play your favorite records on the 3-speed turntable, which supports 33 1/3, 45, and 78 RPM records, while the auto-return function ensures hassle-free operation. Additionally, immerse yourself in the world of CDs, cassettes, and AM/FM radio stations for a diverse listening experience.
Ask a question and I''ll find the answer in the document
Finding information in a document is now easier with AI
Related papers
Other documents
-
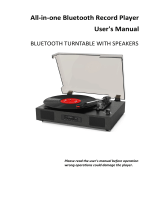 TANLANIN TE-2017BK All In One Bluetooth Turntable Record Player User manual
-
Studebaker SB2135BT Owner's manual
-
Lenoxx Retro Bluetooth Music Centre User manual
-
Lenoxx BCD118 User manual
-
Victrola VTA-600B-OAK User manual
-
-
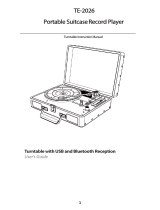 DANFI AUDIO TE-2026 Portable Suitcase Record Player Turntable User guide
-
Pyle PVTT15UBT User manual
-
Pyle PTCD8UBT User manual
-

