EPSON Perfection 1670 Photo
2 - EPSON Perfection 1670 Photo 6/03
Dimensions Width: 10.8 inches (275 mm)
Depth: 16.5 inches (419 mm)
Height: 3.4 inches (86 mm)
Weight Approx. 6.8 lb (3.0 kg)
Electrical
Input voltage AC 100 to 120 V
range
Rated frequency 50 to 60 Hz
Rated input 0.5 A
current
Power 17 W (operating mode),
consumption 15 W (standby mode, 5.5 W sleep mode)
Note: Check the label on the back of the scanner for voltage
information.
Environmental
Temperature Operation: 41 to 95 °F (5 to 35 °C)
Storage: –13 to 140 °F (–25 to 60 °C)
Humidity Operation: 10% to 80%
(without Storage: 10% to 85%
condensation)
Operating Ordinary office or home conditions; avoid
conditions extreme dust, direct sunlight, and strong
light sources.
Approvals
Safety UL 1950
CSA C22.2 950
EMC FCC part 15 subpart B class B
CSA C108.8 class B
USB Interface
Interface type Universal Serial Bus Specification
Revision 2.0
Electrical Full Speed mode: 12 Mbit/s,
Hi-speed mode: 480 Mbit/s,
Universal standard Serial Bus Specification
Revision 2.0
Connector type One receptacle (Type B)
Option Interface Connector
Output voltage 15.2 V; 50 to 60 Hz
Initialization Methods
The scanner can be initialized (returned to a fixed set of
conditions) in the following ways:
AC Adapter Specifications
Rated input AC 100 to 120 V, 50 to 60 Hz
Rated output DC 15.2 V, 1.2 A
Temperature Operation: 41 to 95 °F (5 to 35 °C)
Safety UL 1950 or UL60950
CSA C22.2
EMC FCC part 15 subpart B class B
CSA C108.8 class B
Film Adapter Specifications
Electrical Supplied voltage: DC 15.2V
Rated current: 0.3 A
Transparencies size 35-mm film strip 3 frames
35-mm slide, 2 frames
Readable area 1.9
× 4.9 inches (49 × 125 mm)
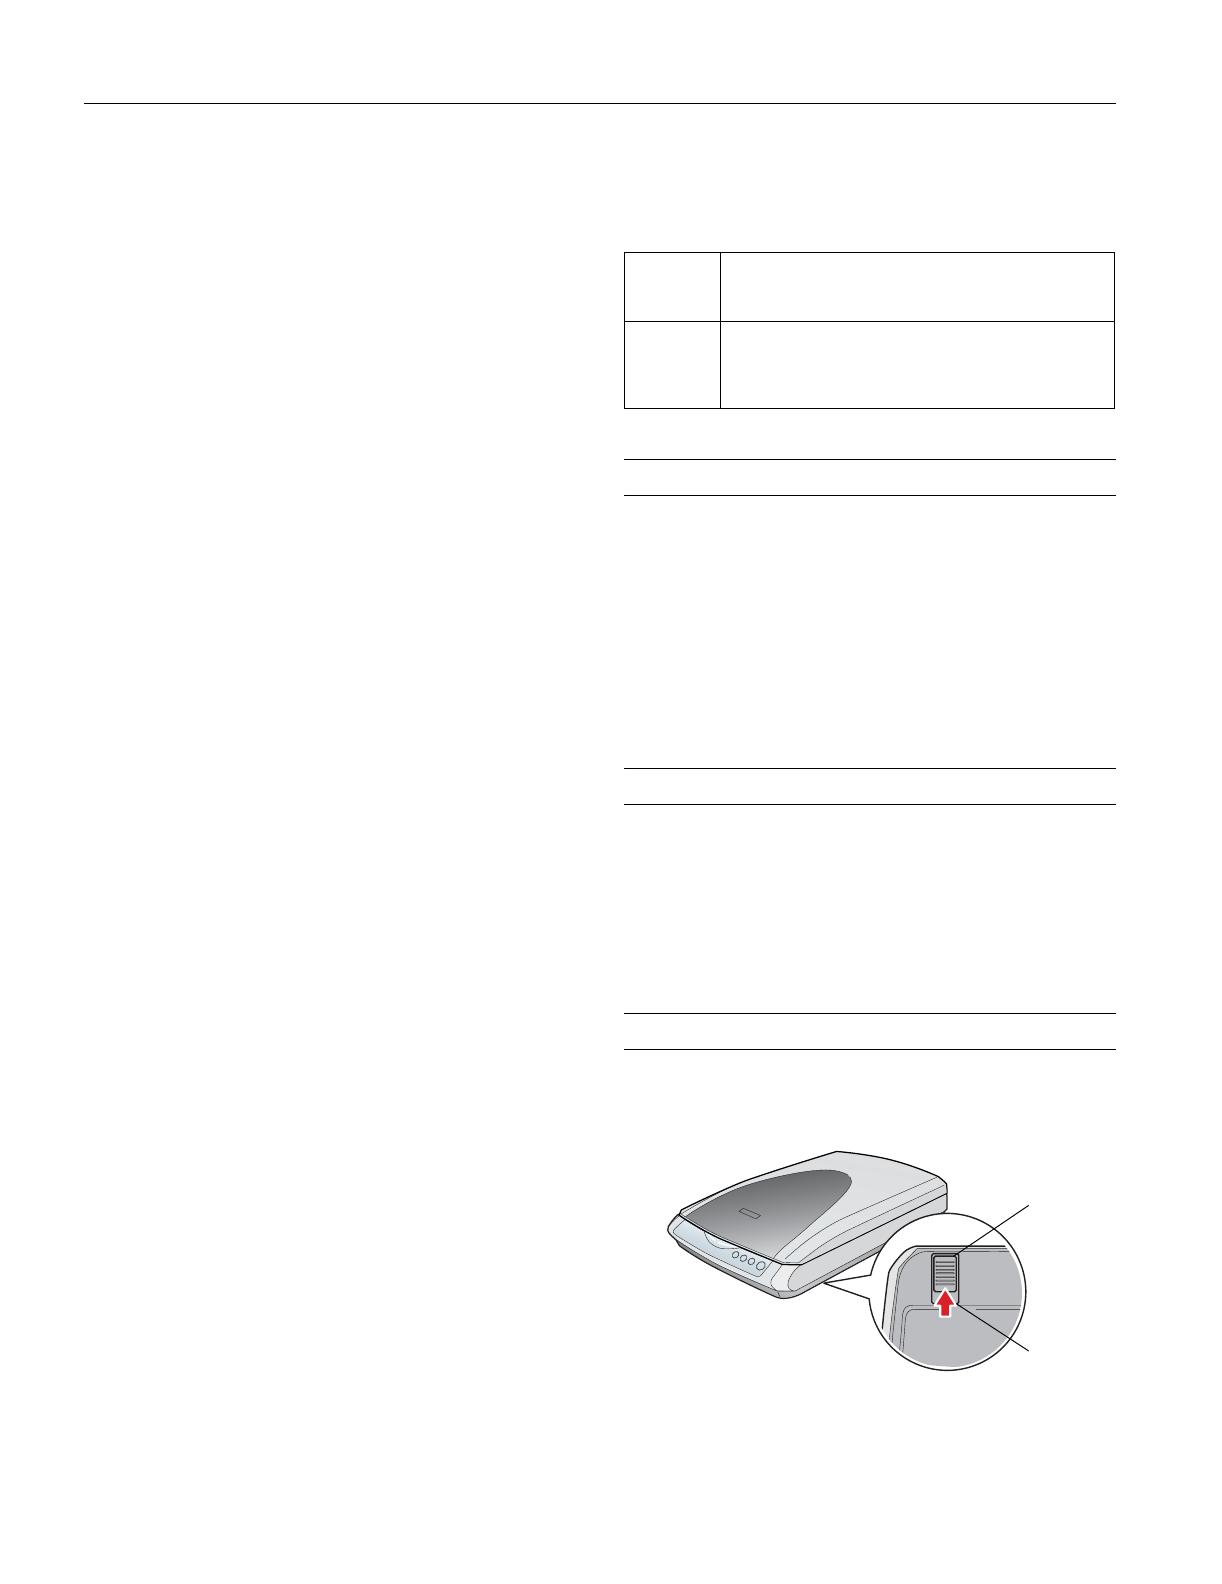
Unlocking the Scanner
Be sure to unlock the scanner before using it. Slide the
transportation lock to the unlock position:
If you need to transport the scanner, see page 6.
Hardware
initialization
❏ The scanner is plugged in.
❏ The USB cable is unplugged from the USB port on
the scanner.
Software
initialization
❏ Software sends the ESC @ (initialize the scanner)
command.
❏ The scanner receives a Bus Reset from the USB
interface.
Locked
Unlocked


