Team Blacksheep TBS UNIFY EVO User manual
- Type
- User manual
Team Blacksheep TBS UNIFY EVO is a state-of-the-art video transmitter designed for FPV enthusiasts and professionals. Whether you're a seasoned pilot or just starting, the UNIFY EVO empowers you with an unparalleled combination of features and performance.
With its compact and lightweight design, the UNIFY EVO can seamlessly integrate into various multirotor and FPV wing setups. Key features include:
- Comprehensive On-Screen Display (OSD) with live telemetry data, simplifying flight monitoring and adjustments.
- Customizable power output from 25mW up to 800mW (with HAM license), allowing tailoring to different range and penetration requirements.


-
 1
1
-
 2
2
-
 3
3
-
 4
4
-
 5
5
-
 6
6
-
 7
7
-
 8
8
-
 9
9
-
 10
10
-
 11
11
-
 12
12
-
 13
13
-
 14
14


Team Blacksheep TBS UNIFY EVO User manual
- Type
- User manual
Team Blacksheep TBS UNIFY EVO is a state-of-the-art video transmitter designed for FPV enthusiasts and professionals. Whether you're a seasoned pilot or just starting, the UNIFY EVO empowers you with an unparalleled combination of features and performance.
With its compact and lightweight design, the UNIFY EVO can seamlessly integrate into various multirotor and FPV wing setups. Key features include:
- Comprehensive On-Screen Display (OSD) with live telemetry data, simplifying flight monitoring and adjustments.
- Customizable power output from 25mW up to 800mW (with HAM license), allowing tailoring to different range and penetration requirements.
Ask a question and I''ll find the answer in the document
Finding information in a document is now easier with AI
Related papers


Other documents
-
Rush Tank Series User manual
-
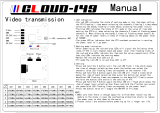 III Cloud -149 User manual
-
Holybro Atlatl HV V2 FPV Video Transmitter Installation guide
-
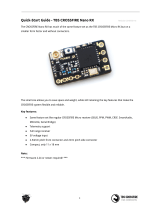 TBS CROSSFIRE Nano RX Quick start guide
-
Crossfire Rover 125 User manual
-
 CORONA R6FA-SB User manual
-
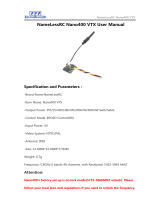 NameLessRC Nano400 VTX User manual
-
 AKK Technology Diversity RX User manual
-
-
 Rekon FPV Rekon3 FPV Racing Drone User manual


