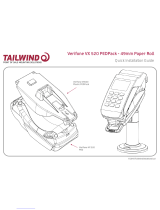
Tailwind iSC480 PEDPack Quick Installation Manual

  • Hello! I've reviewed the Quick Installation Guide for the iSC250 PEDPack and PED. This document outlines how to securely attach the PEDPack to the PED using tabs and clips. It also mentions an optional locking device. I'm ready to answer your questions about the installation process or any other details you might need.
  • How many positions are needed to fit pedpack?
    How to remove locking device?
    How many tabs on PEDPack should line up with semi circular holes in PED?
Quick Installation Guide
iSC250 Plastic
PEDPack
iSC 250 PED
© 2013 Tailwind Solutions Ltd
Quick Installation Guide
1
3
5 min
TOOLS PARTS
x1
2
4
OPTIONAL
If locking device, turn key
then remove to secure.
To unlock, first ensure
key fitted.
To remove device
Ensure 3 tabs on
PEDPack line up with
3 semi circular holes
in PED
Once tabs are
slotted, push
PEDPack
upwards until
tabs are captured
in keyholes and
both clips fully
engage
Fit pedpack downwards,
slot tabs into holes in all
three positions
Check 3 tabs are captured
and pedpack cannot be
pulled upwards
When
fitted onto
plinth, two
long clips
secure
and
PEDPack
cannot be
pulled off
PED.
GENERIC PED SHOWN
/