13
2
SCANNING FROM A TWAIN-COMPLIANT
APPLICATION
The SHARP scanner driver is compatible with the TWAIN standard, allowing it to be used with a variety of
TWAIN-compliant applications. The procedure for scanning from some applications may differ in places from the
procedure below. For more information, refer to the manual or the help file of your application.
1
Place the original(s) that you wish to
scan on the document glass or in the
SPF.
For information on placing an original for
scanning, see "4. COPY FUNCTIONS" in the
"Operation manual (for general information and
copier)".
2
Start up a Twain-compliant
application and select [Select
Scanner] from the [File] menu.
3
Select [SHARP MFP TWAIN W] and
then click the [Select] button.
4
Select [Acquire Image] from the [File]
menu.
The scanner driver setup screen will appear.
☞SCANNER DRIVER SETTINGS (page 15)
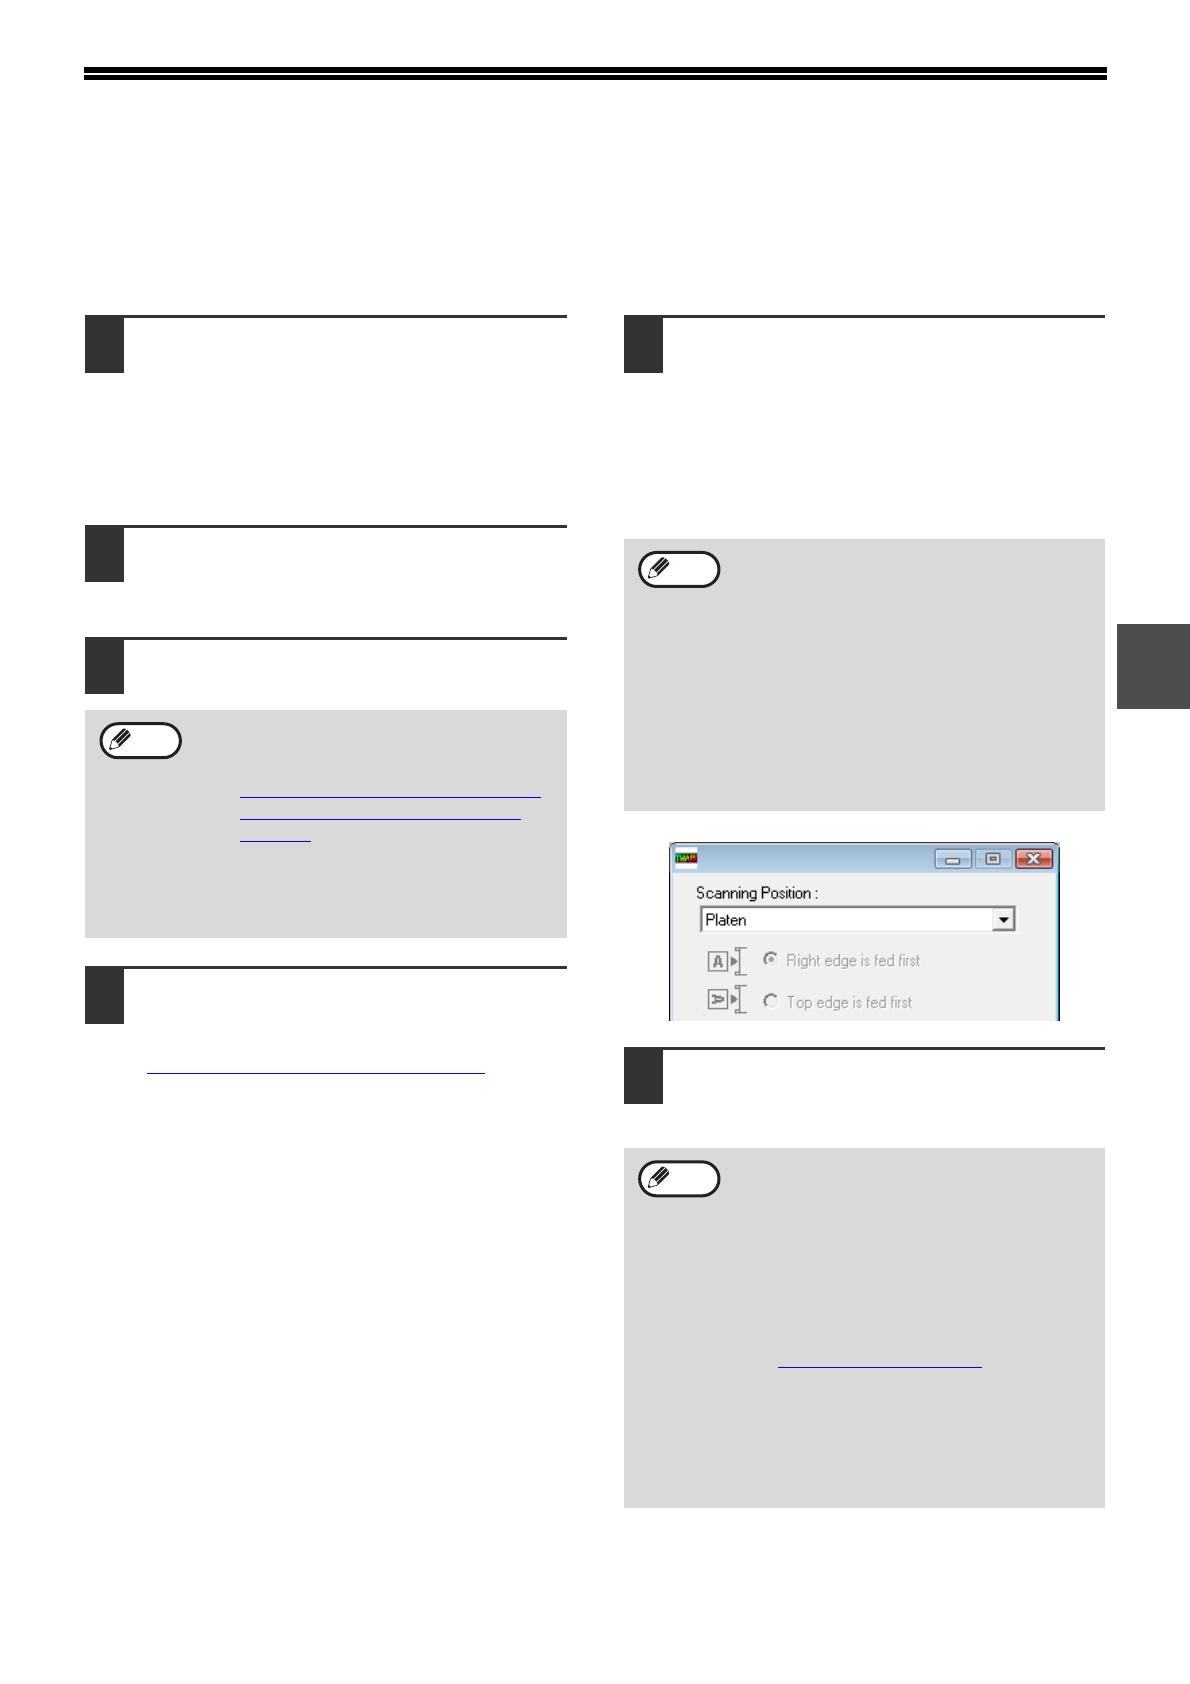
5
In the "Scanning Position" menu,
select the location where you placed
the original in Step 1.
• If you placed a one-sided original in the SPF,
select [SPF (Simplex)].
• If you placed a two-sided original in the RSPF,
select [SPF (Duplex-Book)] or [SPF
(Duplex-Tablet)].
6
Click the [Preview] button.
The preview image will appear.
• If you are using Windows XP/Vista, you
can also select [WIA-SHARP MX-xxxx] to
scan using the WIA driver.
☞
SCANNING FROM A WIA-COMPLIANT
APPLICATION (WINDOWS XP/Vista)
(page 17)
• Depending on your system, [SHARP MFP
TWAIN W 1.0 (32-32)] or [WIA-SHARP
MX-xxxx 1.0 (32-32)] may appear in the
above select source screen.
Note
• If you selected [SPF (Duplex-Book)] or
[SPF (Duplex-Tablet)] from the "Scan
Position" menu, select [Right edge is fed
first] or [Top edge is fed first] for the
orientation of the original.
• For original sizes for which two-sided
scanning is possible, see "REVERSING
SINGLE PASS FEEDER / SINGLE PASS
FEEDER" in "3. PERIPHERAL DEVICES
AND SUPPLIES" in the "Operation
manual (for general information and
copier)".
• If the angle of the image is not correct,
reset the original and click the [Preview]
button again.
• If the preview image is not oriented
correctly, click the [Rotate] button in the
preview screen. This rotates the preview
image 90 degrees clockwise, allowing you
to correct the orientation without resetting
the original.
☞Preview screen (page 16)
• If you inserted multiple pages in the SPF,
the machine previews only the top page of
the originals and then sends it to the
original exit area. Return the previewed
original to the SPF before starting the
scanning job.
Note
Note


