4 nüvi2200SeriesQuickStartManual
2. Plug the other end of the vehicle
power cable into a power outlet in
your vehicle.
3. If you are using a trafc receiver
in Europe, connect the external
antenna to the trafc receiver and
secure it to the windshield using
the suction cups.
After the device has been connected
to vehicle power, the following
should occur.
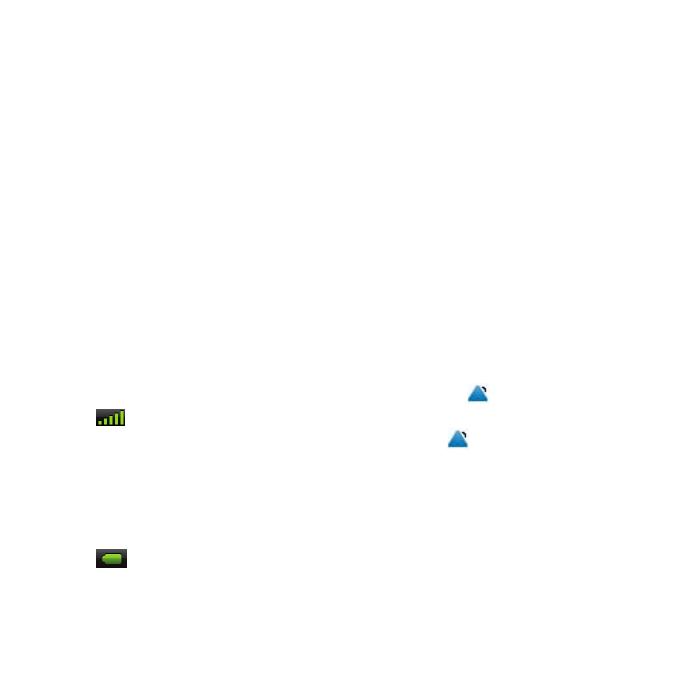
• The device turns on.
• The device acquires satellite
signals. When at least one of the
bars is green, your device has
acquired satellite signals.
NOTE: The device may need a
clear view of the sky to acquire
satellite signals.
• The device charges as you drive.
in the status bar indicates the
status of the internal battery.
About myDashboard
You can use myDashboard to register
your device, check for software and
map updates, access manuals, contact
product support, and more.
For more information, go to www
.garmin.com/dashboard.
Setting Up myDashboard
1. Connect the USB cable to the
USB connector on the device.
2. Connect the USB cable to the
USB port on your computer.
3. Double-click to open the
myDashboard Web page.
NOTE: If does not open, or
you are using Windows 7 or a
Mac
®
computer, go to www
.garmin.com/agent.
4. Follow the on-screen instructions.


