• Elkay recommends that drop-in sinks should be installed by a professional, experienced installer.
• Elkay is not responsible for the sink or countertop if damaged during installation.
• The clips provided are designed for a maximum countertop thickness of 1-3/4".
• The faucet deck must be supported on both sides while punching the faucet holes.
• Follow all local plumbing and building codes.
• Inspect sink for damage prior to beginning installation.
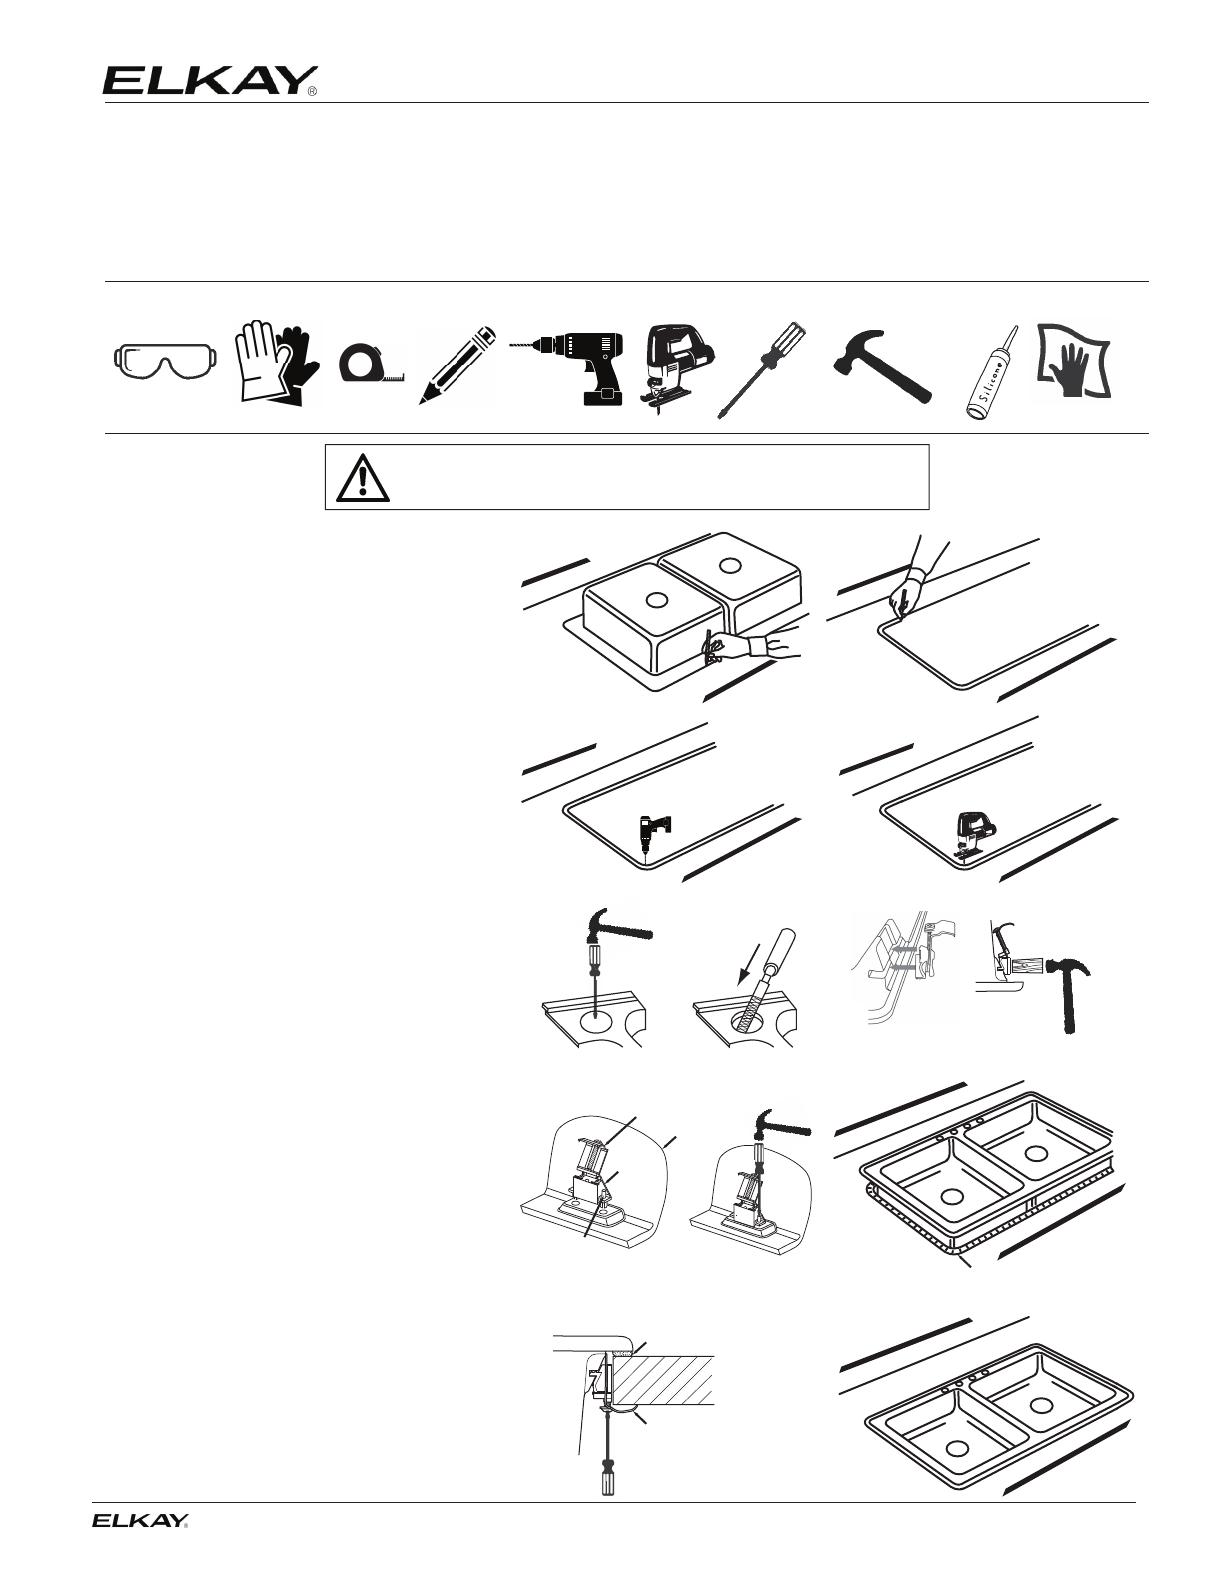
Required Tools (not included)
Installation
Attention Installer:
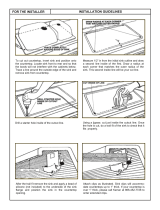
Position the sink upside down on the
countertop. Trace a line around the edge
of the sink.
Draw a line 5/16" inside of the outline of
the sink.
Drill a pilot hole in all four corners of the
inside line. Use a saber or jig saw to cut on
the inside line.
Place a support underneath the cutout
portion of the countertop to prevent it from
falling during cutting.
Identify the faucet holes by the emboss on
the underside of the faucet deck and the
corresponding circular labels located on the
top surface.
Before punching the holes please verify that
the circular labels are properly centered over
the faucet emboss. The faucet hole should be
carefully penetrated from above the sink using
chisel or screw driver and tapping lightly on the
circular labels.
If necessary the hole can been enlarged using
a metal hole saw, a jigsaw with a metal cutting
blade, or a metal file.
Determine if you sink was shipped with the
Orange Dowel Clip or the Black/Gray Slotted
Screw Clip.
Based on your clip type, align the clips with
the corresponding slots or holes. It may be
necessary to use a hammer and wood block
or screw driver to push clips into place.
Make sure metal portion of the clip is in the
open position.
Apply silicone caulk (not included) around
the cutout in the countertop surface.
Carefully lower the sink into the cutout.
Swing metal portion of clip (clamp) into the
clip base. Using a Phillips screw driver, turn
screw until clamp engages the countertop.
Use shims if necessary.
Wipe away any excess caulk with a rag.
Installation Instructions:
Quartz Drop-in Sinks
WARNING: Always wear safety goggles and gloves when using
power tools or handling the sink to prevent personal injury.
Silicone caulk
(Not furnished)
1333 Butterfield Road, Suite 200 | Downers Grove, IL 60515 | elkay.com
©2019 Elkay Manufacturing Company (8/19) 1000005238.pdf
SILICONE CAULK
(NOT INCLUDED)
CLOSED
CLAMP
CLAMP
Black/Gray Slotted Screw Clip
Orange Dowel Clip
CLIP
BASE
SINK
PLASTIC
PINS
1
2
3
4
5