Inventory
Plate Shear Assembly ...........................................1
Hex Bolts M10-1.5 X 40 (M1040) ...............................
2
Hex Bolts M12-1.75 X 40 (M1041) ..............................
2
Flat Washers 10mm (M1040) ...................................
2
Flat Washers 12mm (M1041) ...................................
2
Handle ............................................................
1
Shearing Dimensions (Mild Steel)
Maximum Shear Thickness ..................... 7 gauge (
3
⁄16")
Maximum Rod Diameter (Rebar/All Thread) .............
1
⁄2"
Note:
DO NOT attempt to shear hardened or stainless
steel.
You will damage or break your shear blades!
Assembly and Mounting
To assemble and mount your shear, do these steps:
1. Secure the handle to the plate shear assembly using
the included hex bolts and flat washers, as shown in
the parts diagram on the next page.
2. Place the shear on the workbench, and use the holes
in the base as a guide for drilling and attaching the
shear to the workbench.
3. We recommend using through bolts (hex bolts that
go through the workbench and are secured from the
other side with flat washers and hex nuts) if possi-
ble. If it is not possible to use through bolts, use lag
screws with flat washers and fasten the lag screws
directly into the workbench.
Basic Operation
To perform basic shearing operations, do these steps:
1. Raise the threaded stop if needed to allow room for
the workpiece.
2.
Turn the stop so the stop pad if firmly pressing the
workpiece against the lower blade.
3. With slow and even pressure, pull the handle down
to cut the workpiece.
Model M1040 & M1041
Plate Shear
Instruction Sheet
The shear blades are very sharp! Keep
body parts away from the cutting
area, or serious injury may result!
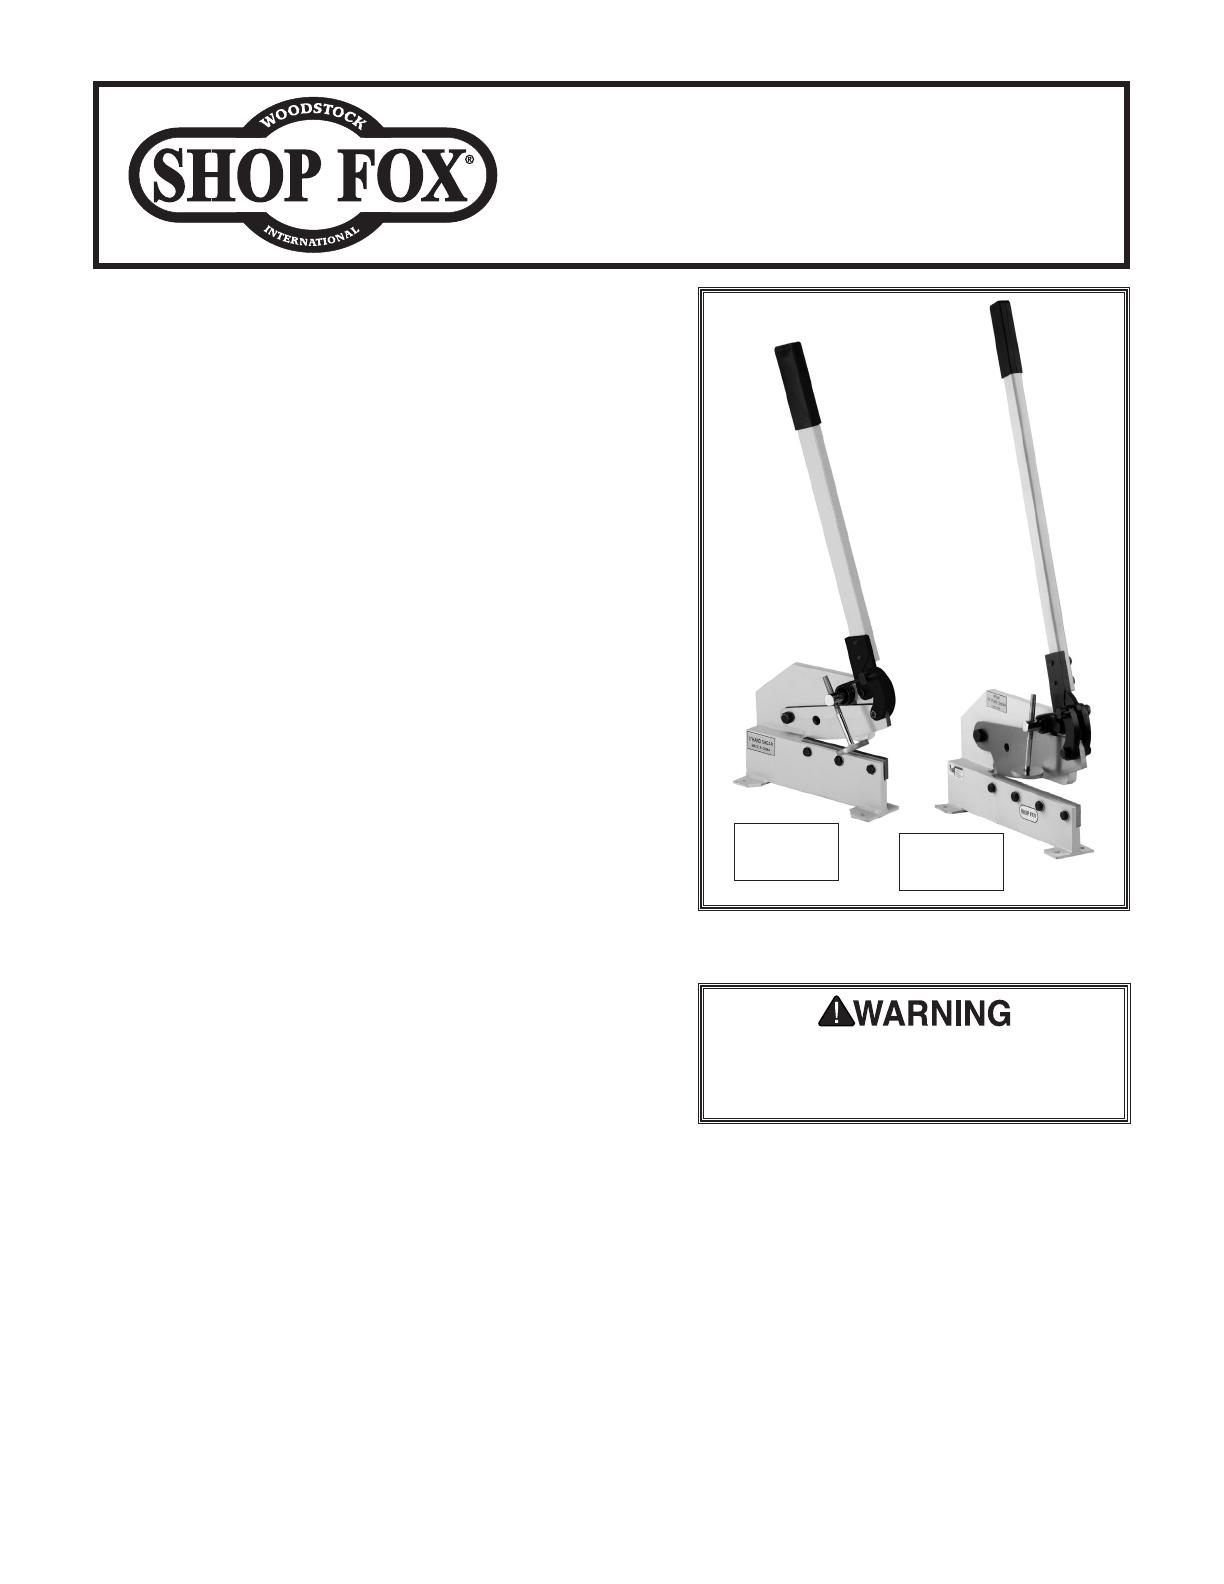
Figure 1. Model M1040 and M1041 Plate
Shears.
M1041
12" Shear
M1040
8" Shear
Note: If the material seems too thick
or too hard, do not force the shear!
Instead, use a metal-cutting bandsaw
to cut the workpiece.
Maintenance
• Always keep blades lubricated with a
light oil.
• Keep pivot points tight.
• Check mounting fasteners and all shear
hardware before every use for loose or
worn components.


