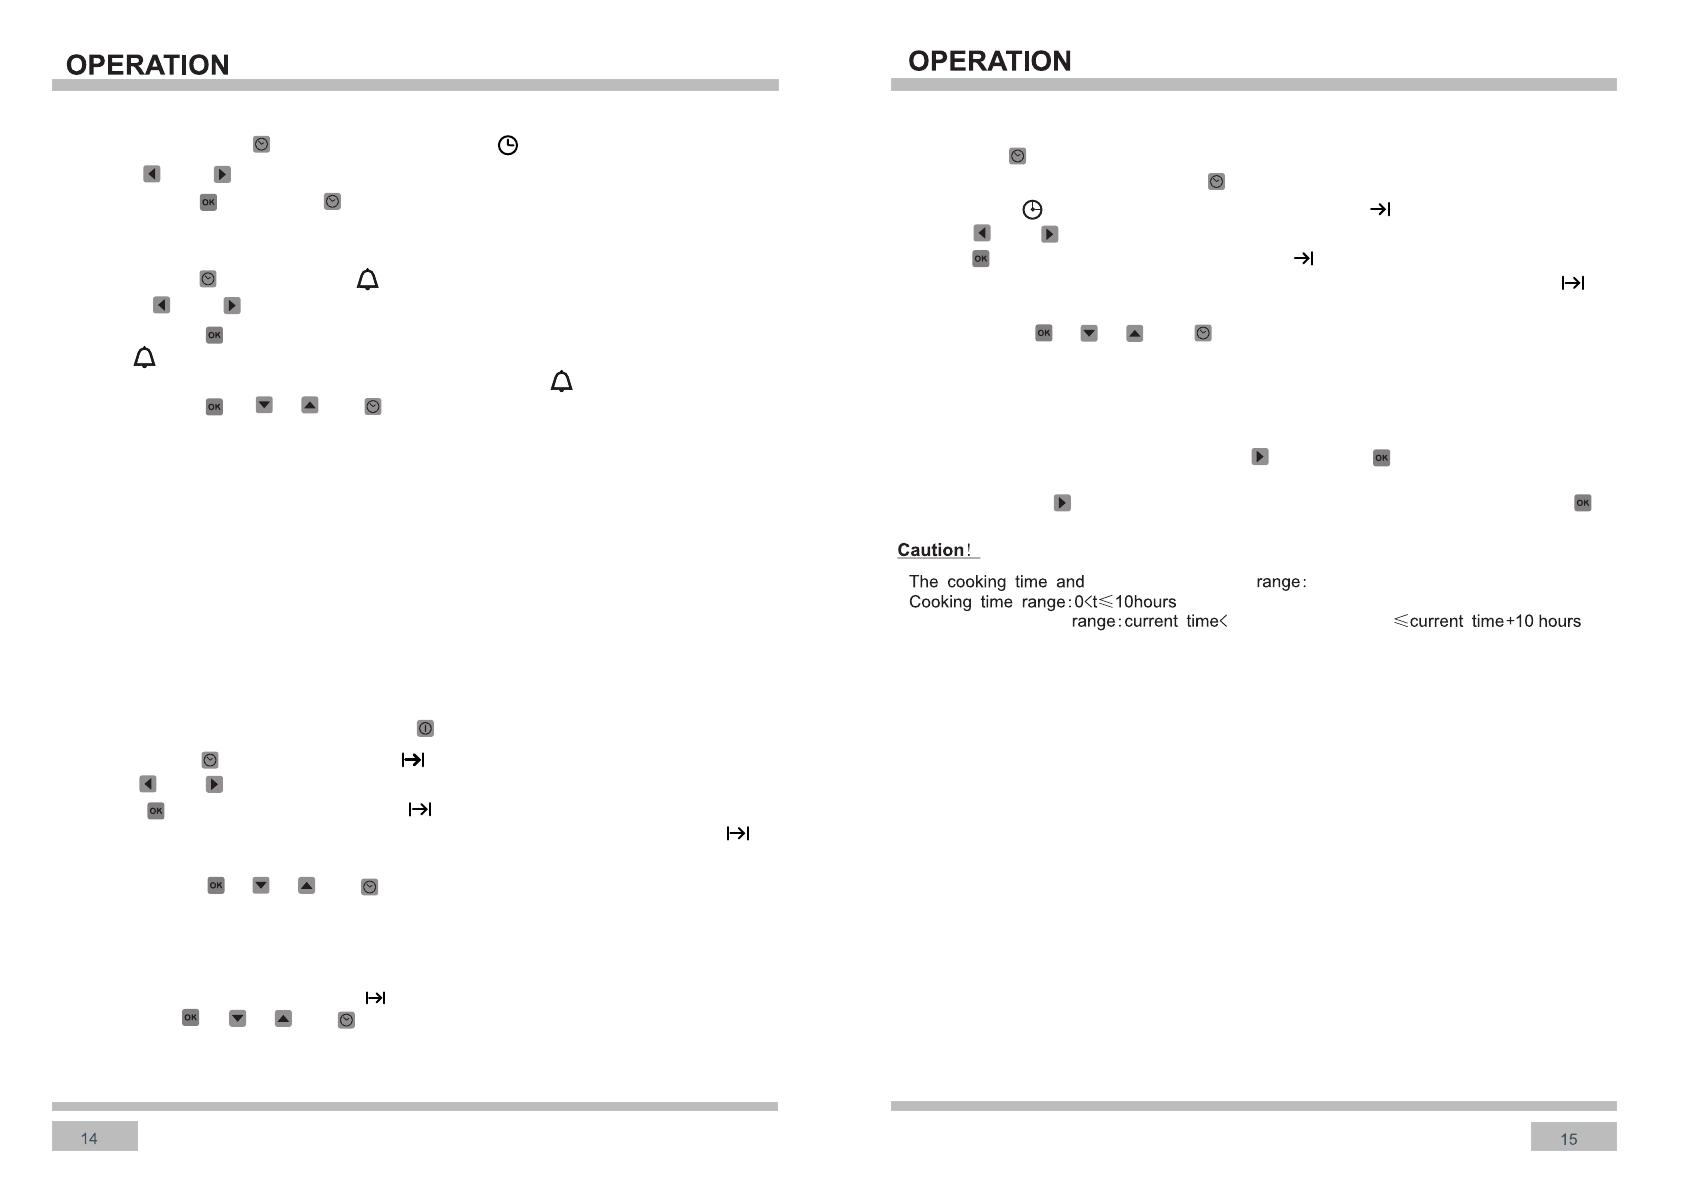
Haier HWO60S11TPX1 User manual

Category
Ovens
Type
User manual
HWO60S11TPX1
Cod:0040304193
User Manual
Built-in Electric Oven
18
20
21
27
Recipes........................................................................................................................28
Make use of residual heat from the
oven.If the cooking time is greater
than 40 minutes,switch off the oven
10 minutes before the end time.
Important when using the timer,set
appropriately shorter cooking times
according to the dish being prepared.
Make sure the oven door is properly
closed.
Heat can leak through spillages on the
door seals.Clean up any spillages
immediately.
Do not install the oven in the direct
vicinity of refrigerators/freezers.
Otherwise energy consumption
increases unnecessarily.
DISPOSAL OF THE APPLIANCE
Old appliances should not
simply be disposed of with
normal household waste,
but should be delivered to
a collection and recycling
centre for electric and
electronic equipment.
A symbol shown on the product, the
instruction manual or the packaging shows
that it is suitable for recycling.
Materials used inside the appliance are
recyclable and are labeled with information
concerning this. By recycling materials or
other parts from used devices you are
making a significant contribution to the
protection of our environment.
Information on appropriate disposal
centers for used devices can be provided
by your local authority.
The appliance and its accessible parts become hot
during use.
Care should be taken to avoid touching heating elements.
Children less than 8 years of age shall be kept away unless
supervised.continuously
During use the appliance becomes hot. Care should be taken
touching heating elements inside the ovento avoid
WARNING: Accessible parts may become hot during use.
Young children should be kept away
This appliance can be used by children aged from 8 years and
above and persons with reduced physical, sensory or mental
capabilities or lack of experience and knowledge if they have
been given supervision or instruction concerning use of the
appliance in a safe way and understand the hazards involved.
Children shall not play with the appliance. Cleaning and user
maintenance shall not be made by children without supervision.
4. Oven door
2. Display
1. Oven operation buttons
3. Oven door handle
4
3
The kitchen should be dry and have effective ventilation according to the
existing technical provisions.
Main lead behind the oven must be placed in such manner to avoid touching the
back panel of the oven because of the heat it develops during operation.
Remove any packaging materials(foils,artificial foam,nails,etc.)from the reach of
children,because they represent potential danger.Children may swallow small parts,
or suffocate with foils.
This is a built-in oven,which means that its back wall and one side wallcan be
placed next to a high piece of furniture or a wall.Coating or veneer used on fitted
furniture must be applied with a heat resistant adhesive(100),This prevents
surface deformation or detachment of the coating.If you are unsure of your
furniture's heat resistance,you should leave approximately 2cm of free space around
the oven.The wall behind the oven should be resistant to high temperatures.During
operation,its back side can warm up to around 50 above the ambient temperature
.
Make an opening with the dimensions given in the diagram for the oven to be fitted.
The appliance must be earthed.
Insert the oven completely into the opening without allowing the four screws in the
places shown in the diagram to fall out.
Before attempting the connection,
check whether the voltage indicated
on the rating plate corresponds to
the actual mains voltage.
Mains lead should be minimum1.5m
long.
Earthing wire should be installed in
such manner to be the last one pulled
out in case the safety relief device of
the mains lead should fail.
Mains lead behind the oven must be
placed in such manner to avoid
touching the back panel of the oven
because of the heat it develops
during operation.
The cable of corroct size rating must
1.5m .
2
m
-
zzzz
(by authorised electrician)
The means for disconnection from
the supply mains having a contact
separation in all poles that provide
full disconnection under over voltage
category iii shall be provided in the
the grounding wire shall be
longer than the other wires.
fixed wiring in accordance with the
wiring rules.
570
20
547
554
558
595
595
570
20
547
554
558
595
595
600
600
5
6
0
4
0
600
600
560
40
Remove packaging,clean the interior of the oven.
Take out and wash the oven fittings with warm water and a little washing-up liquid.
Switch on the ventilation in the room or open a window.
Heat the oven(to a temperature of 250,for approx.30 min.),remove any stains
and wash carefully.
Working model display
Time display
Temperature display
Child lock
OK button
ON/OFF button
Oven function
selection
Selector Buttons
Clock Function
Speed cook
Oven lamp
Timer
Cooking time
Current time
End of cooking time
Child Safety Device
When the ” is on, that the oven is heating.
Heating Indicator
Residual Heat Indicator
Speedcook
Speedcook function is mainly used for preheating the oven. And preheating functionis
1. Setting the function and temperature (See steps on page 12 “Feature Selection
/temperature regulation”).
2. Touch the rapid cooking button “ ” the temperature display will show “ ”.
the rapid cooking function is activated.
not yet complete, you can by pressing the speedcook button“ ”any time toexecute.
Remark:
Use the function and temperature selector at the same time can turn on/off the oven.
Above is the control panel diagram, actual function please refer to product.
Select or set a function, must press button“ ”.
Also will show the heating status , total 5 sections, each present 20%
of the setting temperature.
After oven stop working, temperature display show the residue heat
information. 5 sections each stand for 20% of setting temperature.
do the following:
Button
ON/OFF button
Oven function
selection
Clock Function
Oven lamp
Selector Buttons
Speedcook
Child lock button
OK button
Heating process used to confirm the selection.
Explanation
For upward downward selection of functional.
For on / off oven lamp;Select a function, the light will turn on.
When set the clock, alarm, cooking time,end
longer be switched on.
After set a functions, touch this type you can set different
temperatures.
of cooking time,touch this key time of addition and
subtraction can be realized
To enable rapid heating.After setting the function and
temperature, touch this button allows the oven temperature
reaches the set temperature quickly
Used to set the clock, alarm, cooking time,end of cooking time.
For on / off the oven.
As soon as the child safety device is engaged,the appliance can no
Child Safety Device
To avoid mal-operation while the oven is working, the child lock function has been
added to this oven series.
1. Touch “ ”button and hold for 5 seconds.
Time display area shows key icon , the appliance is locked.
3. This time Top element+Grill+Bottom element+Fan simultaneously work,
rapid increase in internal temperature oven.
4. After rapid heating to reach the set temperature,Icon disappears.“ ”
the“ ” is full grid logo.
5. Oven in step 1 settings continued heating.
2. All the buttons are disabled after the child lock active, and the key icon“ ”,
keeps blinking, to show that machine is locked.
3. Touch and hold“ ”button for 5 seconds to unlock.
Lighting function
Press to turn on/off the light when power on.
“ ”
Light will be automatically turn on while heating, touch key to turn off
“ ”
and re-turn on the light.
Opened the oven
1. Touch the button “ ” turn on the oven.
2. Touch button to select function.“ ”or “ ”
3. Touch button to set temperature.“ ”or “ ”
4. Touch ON/OFF button to switch off the oven“ ”
Function selection / Temperature regulation
1. Touch ON/OFF button to switch on the oven.
3. Touch button to select function.“ ”or “ ”
5. Touch button to set the temperature.“ ”or “ ”
6. Touch “ ”to confirm the selected temperature.
2. Heat program display empty .“ ”
4. A suggested temperature will appear on display and blinking when function selected.
7. Oven start working.
Never put food or tray on bottom of the oven.
Caution
Keep children away.
Set time before use.
The temperature scope is 50 - 250 (defrost is 20 60) .
“ ” “ ”Long press and can speed up temperature setting.
The clock can be set when the ON/OFF button in OFF position.
“ ”
Automatic shut-off feature
Each mode has a maximum working time, auto shut off function noted in the
Working Hours
Temperature
20-120 °C
121-200 °C
201-250 °C
24 h
6 h
4 h
When select oven cook time, its prior to the auto shut off function (assume that
set shut off temperature to 201-250, set cook time to 5 hours, so oven will not
auto shut off when working for 4hours, and keep working when reach 5 hours).
Operate the oven when time display or normal heating function as below:
When select 20 defrost function, the oven light used as a heating
element and can not turn off.
following criteria:
When functions conflicts
Use ON/OFF switch turn off the oven, the cooking time( )and the end
will be cancelled.
of cooking time( )
Change the temperature setting during working, time count down stop, press
“ ”,it will continue.
Press several keys at the same time, functions will not operate.
Change the function during working, time count down will stop.
When use touch control, to get the best result, remove your finger swift and
soft after touch, unless the manual have other directions.
Tips: Make sure your finger and buttons both dry and cool.
This is a 24 hour clock, make sure to set the right time before first use.
Caution
Setting temperature lower than 100no Speedcook .
Caution
Child Safety Device can be used when the ON/OFF button in any positon .
Lighting function can not be turn off while child safety device on .
Caution
Timer
To set the timer you should:
1. Touch button“ ”until the timer “ ” flashes on the display, and time display 0: 00.
2. Touch to set alarm.“ ”or “ ”
3. touch button“ ” to confirm.
4. The “ ” stop flashing, time count down begin.
5. Alarm sounds when time count down finished, alarm icon “ ” flashing
6. Touch button “ ”,“ ”,“ ”or “ ”,the alarm signal will go off. or it
will be turned off automatically after 90 seconds.
7. If you want to cancel the timer, you can set the time to “ 0:00 ”.
Always keep the control panel clean, or the grease may damage the touch panel.
Caution
Touch panel need to be regular cleaned by soft cloth.
The alarm function prior to cooking time and clock display (if all 3 functions are set up,
The alarm time range is 1 second to 23 hours 55 minutes. Alarm is just to remind.
Semi-automatic operation
This mode to set the oven cooking time, when time run out, oven stop working and alarm
sound to remind customer.
Set the cooking time when ON/OFF button is on, and the oven is working:
“ ”
1. Touch button“ ” twice, cooking time “ ” flashing, dispaly shows “ 0:00 ”.
2. Touch“ ”or “ ” to set the cooking time .
3. Touch “ ” to confirm, the cooking time lights on, time set saved.
4. Set cook time run out, oven stop heating, alarm sounds, the cooking time icon
and temperature icon both flashing.
5. Touch button “ ”,“ ”,“ ”or “ ”,the alarm signal will go off. or it
will be turned off automatically after period of time.
For example
Current time is “2:00”, set cook time to 1 hour, so oven stop heating when“ 3:00”.
Alarm sounds, the cooking time icon “ ” and temperature icon both flashing.
Touch button “ ”,“ ”,“ ”or “ ”,the alarm signal will
go off. or it will be turned off automatically after period of time.
6. If you want to cancel the cooking time, you can set the cooking time to “ 0:00 ”.
Automatic operation
Touch button to set end time only after set cook time.
Set end time when the ON/OFF button is on, oven is working, and cook time already set:
1. Touch button“ for 3 times,the end of cooking time icon“ flashing.
2. Touch“ ”or “ ” to set the end of cooking time .
3. Touch“ ” to confirm, the end of cooking time“ light on, setting is saved.
4. Oven stop heating when reach setting end time, alarm sounds, the cooking time
5. Touch button “ ”,“ ”,“ ”or “ ”,the alarm signal will go off. or alarm
and temperature icon both flashing.
signal will be turned off automatically after period of time.
For example
The current time is 2:00, set the cooking time to 1 hours, and set the end of cooking timeto
“3:00”, if not adjust end of cooking time by , “ ” but touch“ ” to save, then the oven
will stop heating by “ 3:00 ”.
If you touch button“ ” to adjust the end of cooking time to“3:30” , and touch button“ ”
to save ,then the oven start working at “ 2:30”and stop at “ 3:30”
End of cooking time = current time + cooking
time
End of cooking time
end of cooking time
end of cooking time
End of the work time priority display than the current time
the display will show the alarm count down).
We suggest that you supervise the first few cooks to make sure time and
temperature are right.
Then you can make adjustment to avoid over or insufficient cook.
1. At power on,displayed “00:00”.
2. Touch clock button , time display “12:00 ”,and “ keep flashing.
3. Touch “ ” or “ ” to set time.
4. Touch button “ ” or button “ ” to confirm, or will auto confirm after 30 seconds.
Fan,grill element
top heater
Economy Grill (variable) (1100w)
Use the economy grill to grill or brown
small amounts of food. Locate the grill
pan in the 4th or 5thshelf position .
pre-heat the grill for 5 minutes before
use .
Circular heater Fan
with Bottom Element
This operates the fan oven with the
convection element and the bottom
element allowing for cooking with
increased temperature from the
of the dish when using shelf
or 4 . set the oven operation
the default temperature
displayed and can be
button.
bottom
position 3
knob to .
of 220 is
adjusted and
Fan and bottom heater on
At this oven function , the oven activates
the bottom heater and fan function.
The mode is useful for baking low pastry
and preparation of preserved fruit
and
vegetables.
Pyrolytic Oven - No Shelves
- Default 430°C
NOTE: This function has an added safety
feature to prevent it from being selected
accidentally. To run the pyrolytic function,
select “Pyrolytic”on the “Function Selector
Display”, then touch the “Boost/Pyrolytic” key
for 5 seconds to confirm the selection.
This oven can clean itself by a process known
as pyrolysis, heating the cavity to a temperature
of approximately 430˚C. This will burn off the
residue from spattering and spillages caused by
cooking. Pyrolytic programmes should be used
when the oven smokes during preheating or
cooking or if the oven smells even when cold.
It is not necessary to run a pyrolytic programme
after every use of the oven.
Do not wait until the oven is coated in grease to
run a pyrolytic programme.
The smoke produced by pyrolysis is broken down
by passing through a catalyser.
Please note: Before any pyrolytic programme,
remove all shelves, trays and other accessories
from the oven and clean up any major spills to
avoid the risk of fire or excessive smoke.
Do not hang towels or cloths on the oven
handle during pyrolysis.
The programme immediately locks the door and
starts the cooling fan at a slow setting; the
cooling fan speed increases to its maximum
when the oven heat builds up.
P
The oven should be cleaned after
every time use.
Cool the oven completely before
cleaning.
Never clean the appliance with
pressurized hot steam cleaned.
The oven chamber should only be
washed with warm water and a
small amount of washing-up liquid.
-Close the oven door.
-Set the temperature knob to 50,
and the function knob to the bottom
heater position.
-Heat the oven chamber for
approximately 30 minutes.
-Open the oven door,wipe the
chamber inside with a cloth or sponge
and wash using warm water with
washing-up liquid.
After cleaning the oven chamber wipe
it dry.
Oven cleaning
Before any maintenance is started
involving electrical parts, the
appliance must be disconnected
from the power supply.
If the oven has been in use, let the
oven cavity and the heating elements
cool down before attempting any
maintenance.
Changing the bulb
Unscrew the protective cover. We
recommend that you wash and dry the
glass cover at this point.
Carefully remove the old bulb and
insert the new bulb suitable for high
temperatures (300ºC) having the
following specifications: 220-240V,
50Hz, 25W, G9 fitting.
Refit the protective cover.
IMPORTANT
Never use screwdrivers or other
utensils to remove the light cover.
This could damage the enamel of the
oven or the lampholder. Remove only
by hand.
IMPORTANT
Never replace the bulb with bare
hands as contamination from your
fingers can cause premature failure.
Always use a clean cloth or gloves.
Please note:
The bulb replacement is not covered
by your guarantee
l
l
l
Call the service centre
Some minor faults can be fixed by referring to the instructions given in the table
below.Before calling the customer support centre or the service centre check the
following points that are presented in the table.
“0.00”.
26 27
Grill tableGrill table
Type of meat for grillType of meat for grill Weight Weight
(in grams)(in grams)
Guide Guide
levellevel (from (from
bottom up)bottom up)
TemTemp(p(℃)
TempTemp(℃℃)
Grill timeGrill time
(in min.)(in min.)
Meat and sausagesMeat and sausages
2 beefsteaks, rare2 beefsteaks, rare 400400 55 240240 240240 1414--1616
2 beefsteaks, medium2 beefsteaks, medium 400400 55 240240 240240 1616--2020
2 beefsteaks, well done2 beefsteaks, well done 400400 55 240240 240240 2020--2323
2 pork scrag fillets2 pork scrag fillets 350350 55 240240 240240 1919--2323
2 pork chops2 pork chops 400400 55 240240 240240 2020--2323
2 veal staeks2 veal staeks 700700 55 240240 240240 1919--2222
4 lamb cutlets4 lamb cutlets 700700 55 240240 240240 1515--1818
4 grill sausages4 grill sausages 400400 55 240240 240240 99--1414
2 slices o2 slices of meat cheesef meat cheese 400400 55 240240 240240 99--1313
1 chicken, halved1 chicken, halved 14001400 33 220220--230230 240240--250250 2828--33(1.side)33(1.side)
2323--28(2.side.)28(2.side.)
FishFish
Salmon filletsSalmon fillets 400400 44 240240 240240 1919--2222
Fish in aluminium foilFish in aluminium foil 500500 44 230230 230230 1010--1313
ToastToast
4 slices of white bread4 slices of white bread 200200 55 240240 240240 1,51,5--33
2 s2 slices of whole meallices of whole meal 200200 55 240240 240240 22--33
Toast sandwichToast sandwich 600600 55 240240 240240 44--77
Meat/poultryMeat/poultry
ChickenChicken 10001000 33 170170--180180 180180--200200 6060--7070
Pork roastPork roast 15001500 33 150150--170170 160160--180180 9090--120120
Pork scragPork scrag 15001500 33 150150--170170 160160--180180 100100--180180
Pork knucklePork knuckle 10001000 33 150150--170170 160160--180180 120120--116060
Roast beef/ beef filletRoast beef/ beef fillet 15001500 33 180180--190190 190190--200200 4040--8080
2800W
800W
1000W
1000W
1800W
1800W
Fan
Full Grill
HWO60S11TPX1
  • Page 1 1
  • Page 2 2
  • Page 3 3
  • Page 4 4
  • Page 5 5
  • Page 6 6
  • Page 7 7
  • Page 8 8
  • Page 9 9
  • Page 10 10
  • Page 11 11
  • Page 12 12
  • Page 13 13
  • Page 14 14

Haier HWO60S11TPX1 User manual

Category
Ovens
Type
User manual

Ask a question and I''ll find the answer in the document

Finding information in a document is now easier with AI