Manufacturer Declarations
16 | XS WIRELESS
Manufacturer Declarations
Warranty
Sennheiser electronic GmbH & Co. KG gives a warranty of 24 months on this product. For
the current warranty conditions, please visit our web site at www.sennheiser.com or
contact your Sennheiser partner.
In compliance with the following requirements
• RoHS Directive (2002/95/EC)
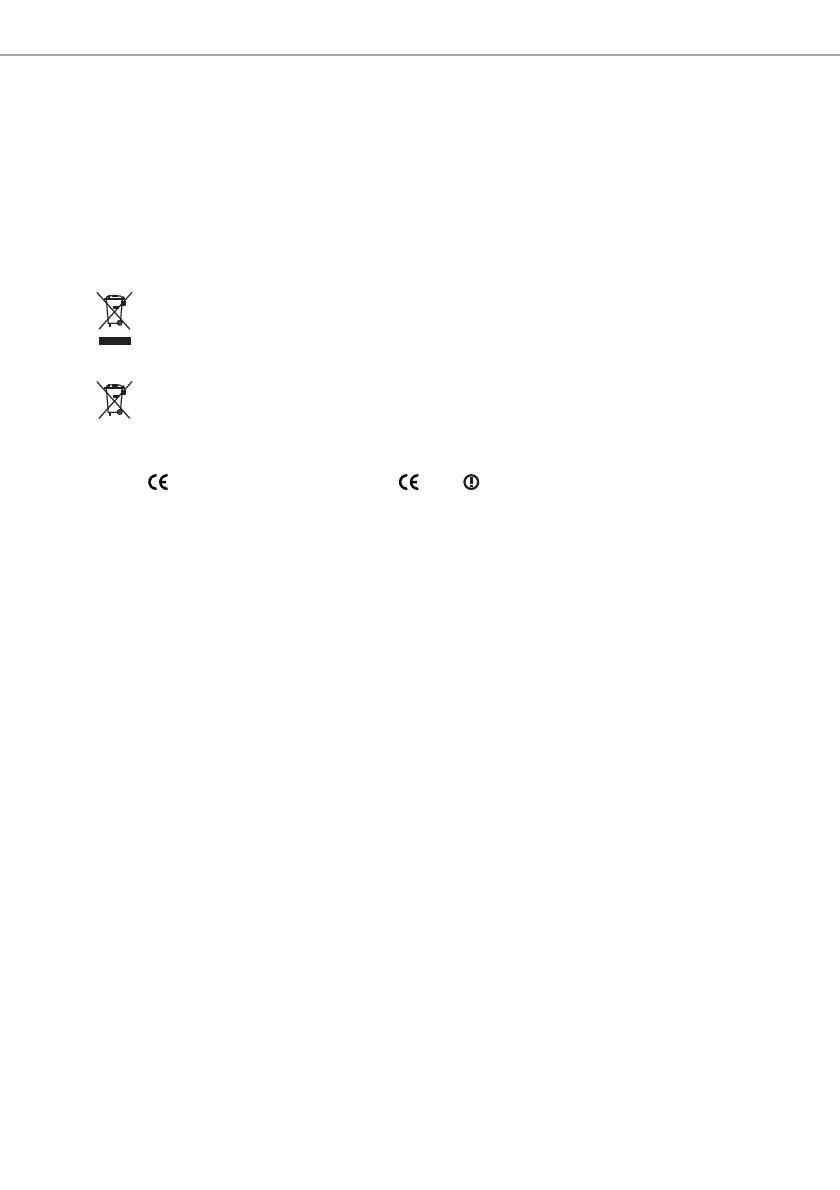
• WEEE Directive (2002/96/EC)
Please dispose of the products at the end of their operational lifetime by taking
them to your local collection point or recycling center for such equipment.
• Battery Directive (2006/66/EC)
The batteries supplied with the transmitters can be recycled. Please dispose of
them as special waste or return them to your specialist dealer. In order to protect
the environment, only dispose of exhausted batteries.
CE Declaration of Conformity
• EM10: , SK20, SKM 35, SKM 65:
• R&TTE Directive (1999/5/EC)
• EMC Directive (2004/108/EC)
• Low Voltage Directive (2006/95/EC)
The declaration is available at www.sennheiser.com. Before putting the products into
operation, please observe the respective country-specific regulations.
Statements regarding FCC and Industry Canada
This device complies with Part 15 of the FCC Rules and with Industry Canada licence-
exempt RSS standard(s). Operation is subject to the following two conditions: (1) this
device may not cause harmful interference, and (2) this device must accept any interfer-
ence received, including interference that may cause undesired operation.
This equipment has been tested and found to comply with the limits for a Class B digital
device, pursuant to Part 15 of the FCC Rules. These limits are designed to provide reason-
able protection against harmful interference in a residential installation. This equipment
generates, uses and can radiate radio frequency energy and, if not installed and used in
accordance with the instructions, may cause harmful interference to radio communica-
tions. However, there is no guarantee that interference will not occur in a particular instal-
lation. If this equipment does cause harmful interference to radio or television reception,
which can be determined by turning the equipment off and on, the user is encouraged to
try to correct the interference by one or more of the following measures:
• Reorient or relocate the receiving antenna.
• Increase the separation between the equipment and receiver.
• Connect the equipment into an outlet on a circuit different from that to which the
receiver is connected.
• Consult the dealer or an experienced radio/TV technician for help.
Changes or modifications made to this equipment not expressly approved by Sennheiser
electronic Corp. may void the FCC authorization to operate this equipment. Before putting
the device into operation, please observe the respective country-specific regulations!


