Tru-Test 9053315 Owner's manual

Type
Owner's manual

This manual is also suitable for

EziWeigh5i Weigh Scale Indicator Quickstart Guide
1
EziWeigh5i
QUICKSTART GUIDE
This guide takes you through your first use of the EziWeigh5i weigh scale indicator.
Contents
Unpacking the box......................................... 1
Charging the battery ...................................... 2
Getting around .............................................. 3
Installing ....................................................... 4
Setting up the indicator.................................. 5
Weighing an animal ....................................... 6
Caring for the indicator .................................. 6
For further details, visit www.tru-test.com.
1
Unpacking the box
Check that you have all of these items. If anything is missing, contact your supplier.
EziWeigh5i weigh scale
indicator (the indicator)
USB cable for charging
Mains power adaptor and
power plug
Power plugs for different
countries are included.
Bracket mounting kit
EziWeigh5i Weigh Scale Indicator Quickstart Guide
2
Charging the battery
Use the mains power adaptor to charge the indicator’s internal battery from the
mains power supply.
Note:
For best results, do not charge the battery if the temperature is less than 0
o
C,
or greater than 40
o
C.
EziWeigh5i Weigh Scale Indicator Quickstart Guide
3
3
Getting around
EziWeigh5i Weigh Scale Indicator Quickstart Guide
4
4
Installing
Before you can weigh animals, you need to connect the indicator to some load bars
or load cells.
Installing the indicator and load bars
EziWeigh5i Weigh Scale Indicator Quickstart Guide
5
5
Setting up the indicator
There are three buttons that adjust settings on the indicator.
Disabling auto zero
By default, the scale automatically zeroes when a load is removed from the weighing
platform or when the indicator first powers up. You may want to disable auto-
zeroing, for example:
if you are weighing a number of items together and it might take a while to load
the items on the scale (e.g. weighing wool bales). In this case, the indicator may
turn off after a period of inactivity and when powered up again, you would want
the indicator to display the weight of the load not zero.
if you are weighing small weights on the platform.
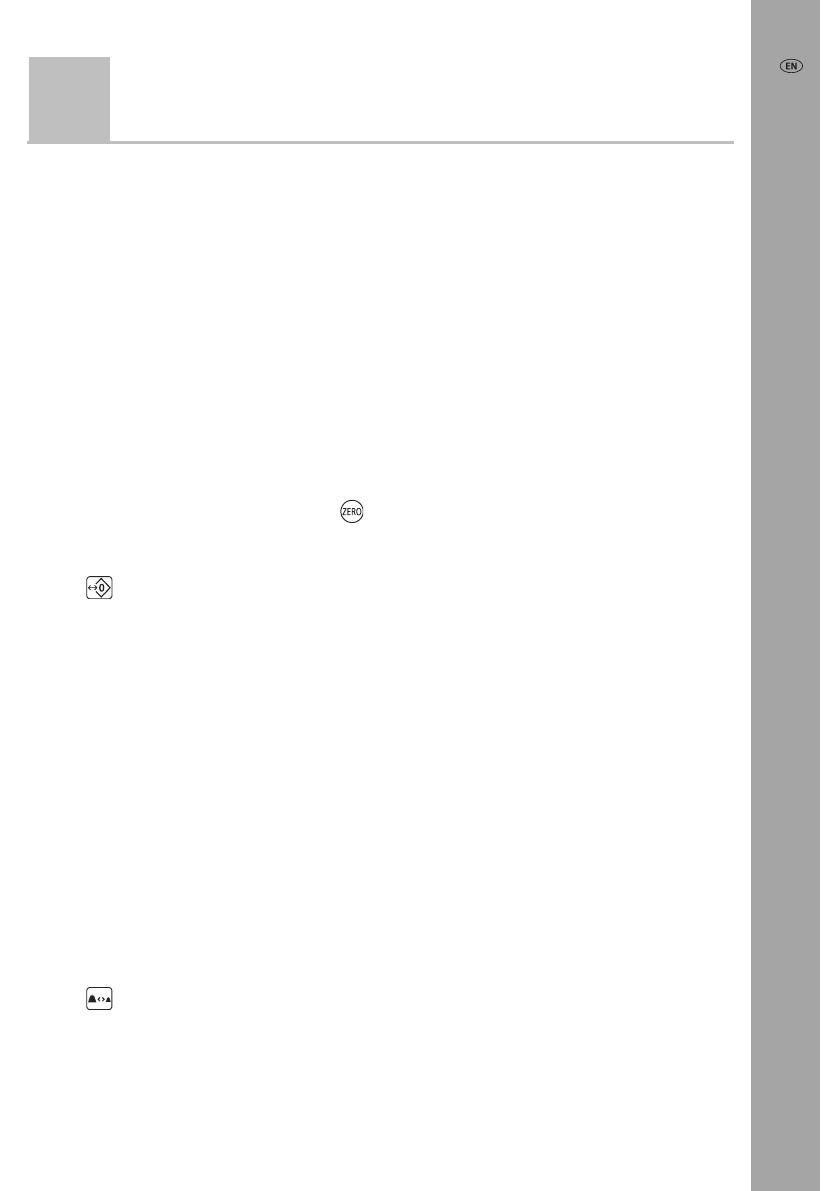
With auto zero disabled, you can use
to manually zero the scale when required.
To disable Auto Zero:
Press
until ‘Off’ displays on the screen.
Modifying the resolution
You can specify the minimum weighing resolution.
You may want to change the minimum resolution, for example, if you are weighing
very heavy loads and you are not too concerned with accuracy. By setting the
resolution to 5 kg, the indicator will weigh to the nearest 5 kg and arrive at a weight
more quickly. If you are weighing light loads, for example small animals, you may
require more accurate measurements. By setting the resolution to 0.1 kg, the
indicator will weigh to the nearest tenth of a kilogram, although it may take longer
for the scale to stabilise.
The resolution options depend on the type of load bars being used with the indicator.
To modify the resolution:
Press
repeatedly to set the resolution.
EziWeigh5i Weigh Scale Indicator Quickstart Guide
6
Adjusting the backlight
You can adjust the backlight to suit the lighting conditions. Use of the backlight will
affect battery consumption the run-time will double if the backlight is set to Low
instead of High.
To modify the backlight setting:
Press
repeatedly to set the backlight to High, Off or Low.
6
Weighing an animal
Before you begin:
Ensure that the indicator is displaying 0.0. If not, press
.
1 Move the animal onto the platform.
2 When the stable light illuminates, the indicator has locked onto the animal’s
weight.
3 Move the animal off the platform.
Note:
If the indicator is not displaying 0.0 between animals or there are problems
with inaccurate or unstable weights, make sure that the bars are firmly secured to the
concrete floor and free from stones or dirt and that the load bars are properly
connected to the indicator.
Caring for the indicator
Do not leave the indicator or load bars submerged in water. Store the indicator in a
cool, dry place.
Wipe the indicator using a damp cloth, warm water and soap. Other cleaners may
damage the case.
Fit the dust caps when there are no cables connected to the indicator. This will
prevent moisture and dirt from entering the connectors.
All trademarks with an * are not owned by Tru-Test Limited and belong to their respective owners.
  • Page 1 1
  • Page 2 2
  • Page 3 3
  • Page 4 4
  • Page 5 5
  • Page 6 6
  • Page 7 7
  • Page 8 8
  • Page 9 9
  • Page 10 10
  • Page 11 11
  • Page 12 12
  • Page 13 13
  • Page 14 14
  • Page 15 15
  • Page 16 16
  • Page 17 17
  • Page 18 18
  • Page 19 19
  • Page 20 20
  • Page 21 21
  • Page 22 22
  • Page 23 23
  • Page 24 24

Tru-Test 9053315 Owner's manual

Type
Owner's manual
This manual is also suitable for

Ask a question and I''ll find the answer in the document

Finding information in a document is now easier with AI