Instructions
5
1.4 General safety instructions
Follow all safety instructions in order to use
the appliance safely.
• Do not immerse the appliance, power
cable or plug in water or any other type
of liquid.
• Do not use the appliance if the power
cable or plug appear to be damaged or
if the appliance has been dropped or
damaged in any way.
• Do not place the appliance on top of or
close to gas or electric hobs that are
turned on or in a heated oven.
• The power cable is short in order to
prevent accidents. Do not use an
extension cable.
• In the event of a fault, repairs should only
be carried out by a qualified technician.
• Switch off the appliance immediately
after use.
• Never try to put out flames or a fire with
water: turn off the appliance, remove the
plug from the power outlet and smother
the flames with a lid or fire blanket.
• Read this user manual carefully before
using the appliance.
• Do not modify this appliance.
• Do not attempt to repair the appliance
yourself. Contact a qualified engineer.
• If the power supply cable becomes
damaged, contact technical support
immediately.
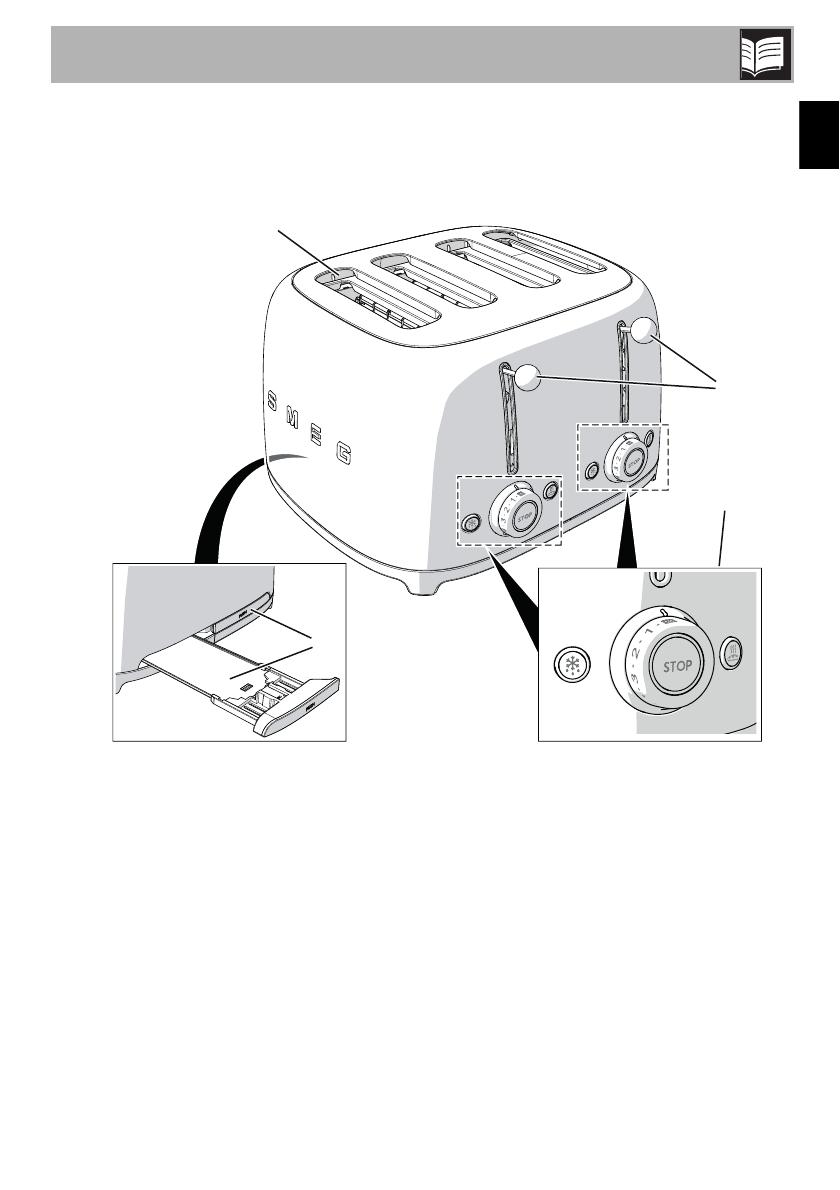
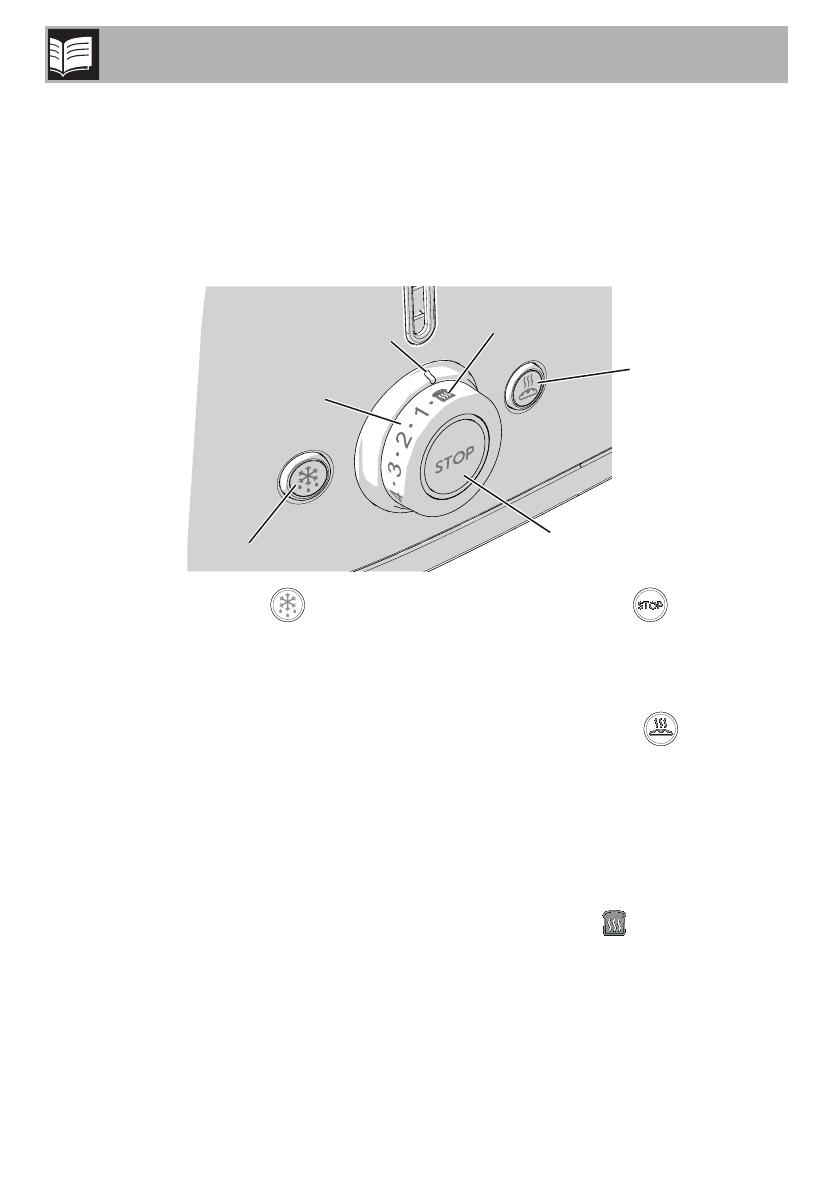
For this appliance
• The toaster can become very hot during
operation. Do not touch hot surfaces.
Use the knob and the control functions,
the breadlift and the other optional
accessories.
• Remove the plug from the power socket
when the toaster is not in use, before
cleaning it and if there is a fault. Allow
the appliance to cool down before
cleaning it.
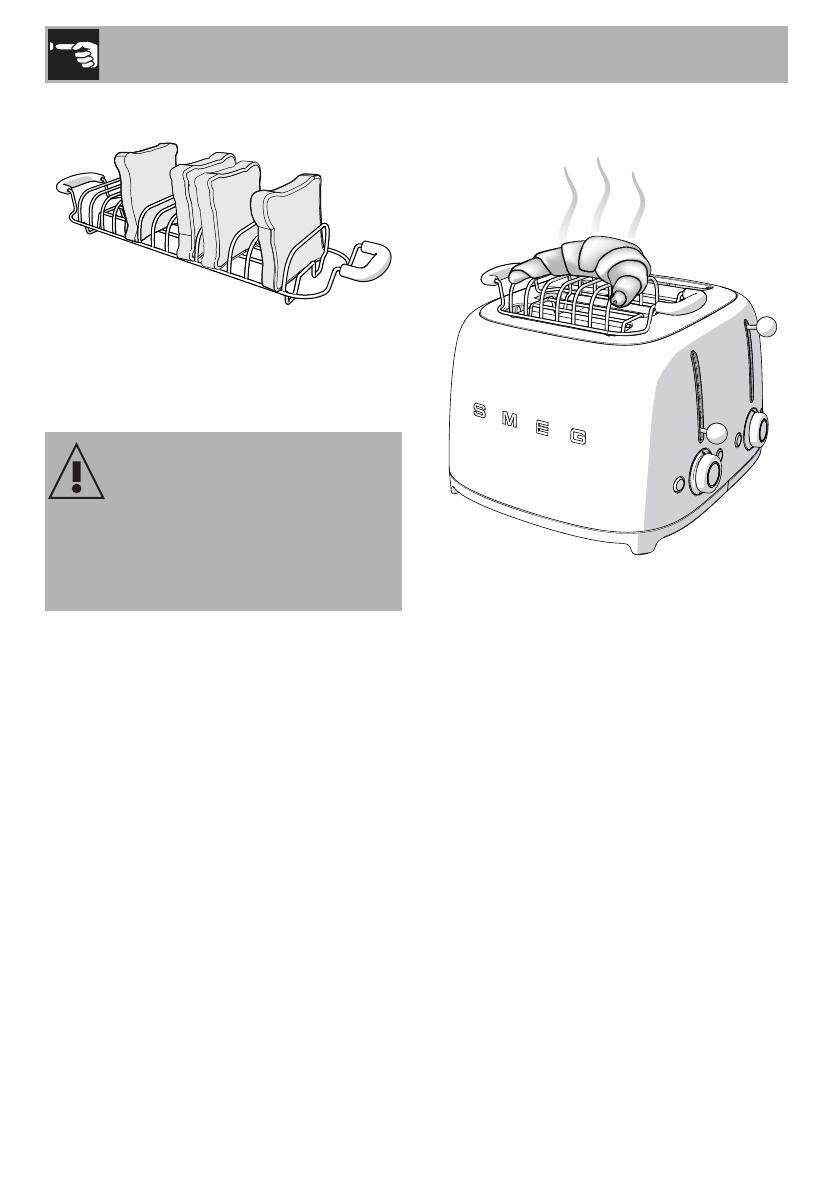
• Bread may burn. Therefore, do not use
the appliance close to or below
combustible materials such as curtains.
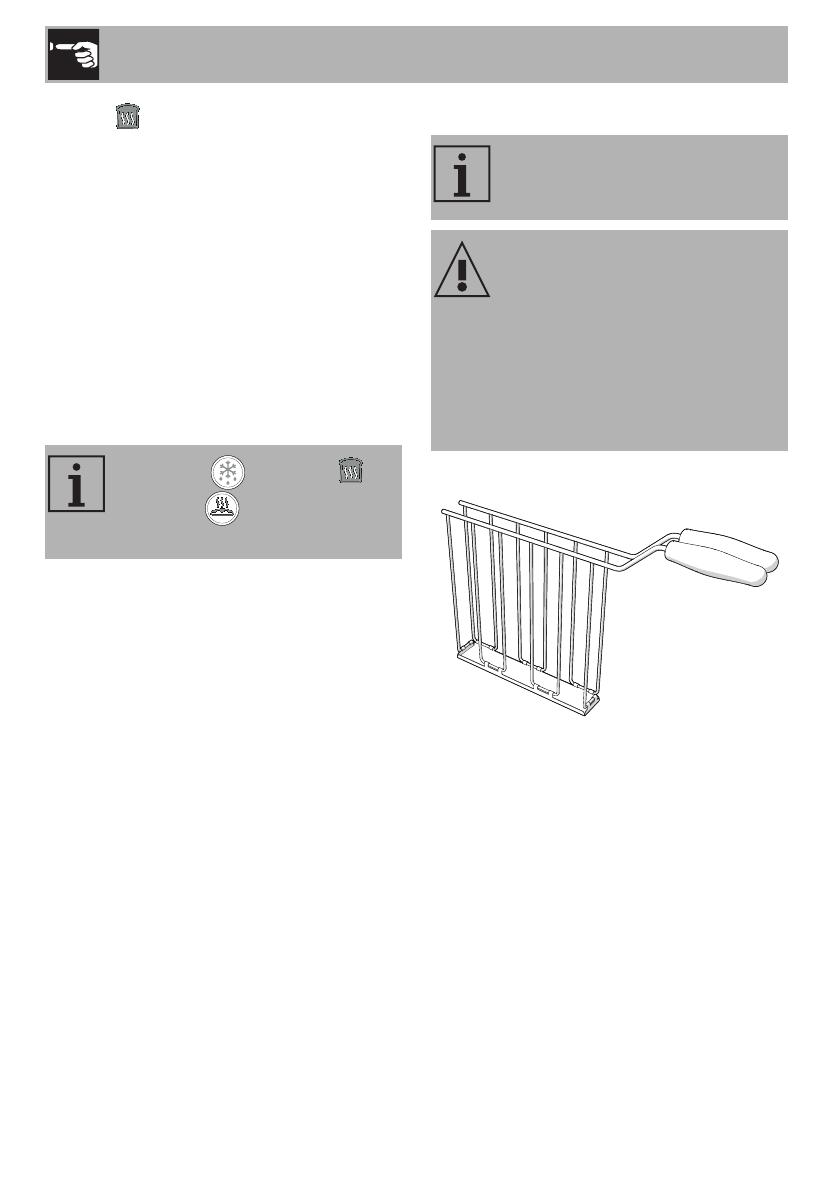
• Make sure that the breadlift is in the
raised position before you insert or
remove the plug.
• Make sure that air can circulate freely
around the toaster. Do not place
anything on top of the toaster.
• Do not try to remove the bread from the
toaster when it is still in operation.
• Do not place metallic objects such as
knives, forks or spoons on the appliance
when it is in use.
• Do not use metallic objects such as
knives, forks or spoons to clean the
toaster.
• The appliance must not be cleaned by
unsupervised children.