INTRODUCTION 10
To set up the EFI Splash RPX-iii for printing, perform the following tasks:
For information about configuring the EFI Splash RPX-iii for optimal printing in your
particular environment, see the Printing Guide and the Color Guide.
Step Task Reference
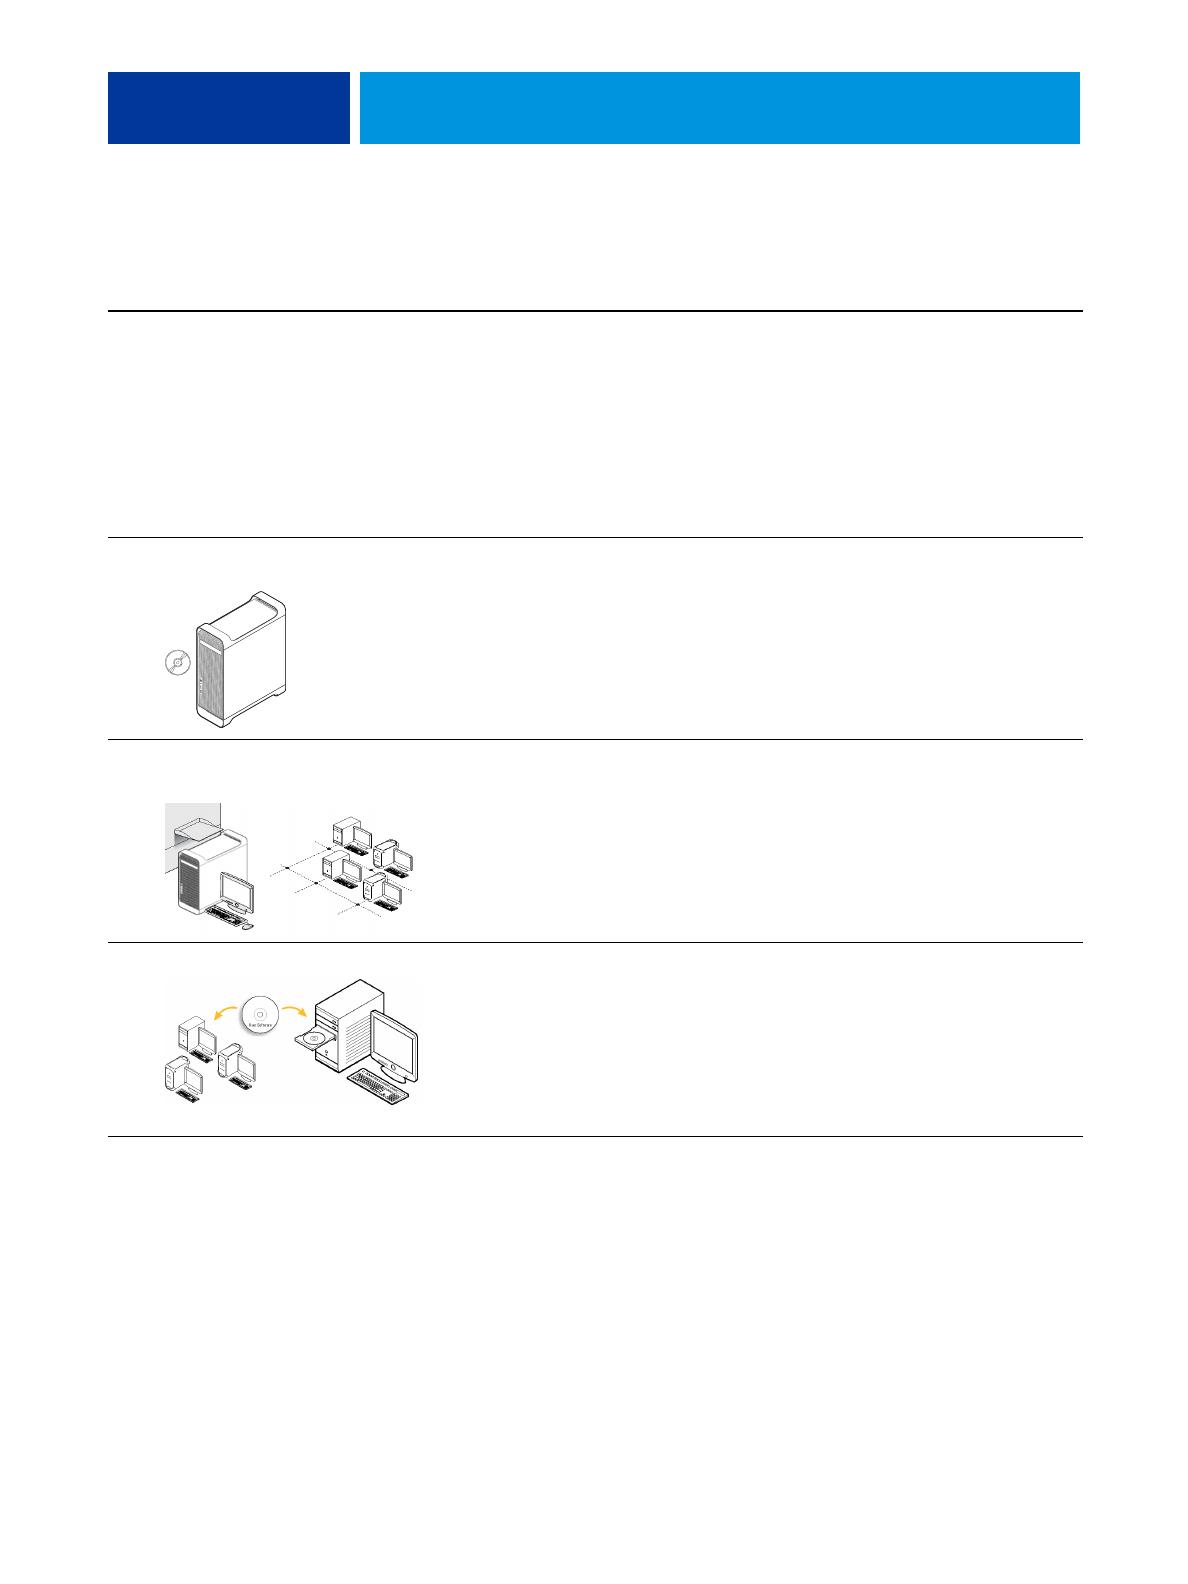
1
Connect the Macintosh
by Direct Connect or
Network Connect.
For Direct Connect, attach the Ethernet
crossover cable from the EFI
Splash RPX-iii to the Fiery.
If your configuration does not require
Direct Connect and uses Network
Connect, the Fiery may already be
installed on the network. Connect the
EFI Splash RPX-iii to the Fiery over the
network.
For information, see “Connecting the EFI
Splash RPX-iii to the Fiery” on page 11.
2
Install EFI Splash RPX-iii
Server Software.
Install Splash RPX-iii Server Software
on the EFI Splash RPX-iii.
Configure the Macintosh for EFI
Splash RPX-iii.
For more information, see “Configuring
Mac OS X for the EFI Splash RPX-iii” on
page 20.
3
Configure network settings for the EFI
Splash RPX-iii printing environment.
For information about configuring
network settings, see the Configuration
Guide.
4
Prepare users for printing. At each computer from which
users print:
• Install user software and copy
color files.
• Install the appropriate printer files
and connect to one or more print
connections.
For more information, see “Installing User
Software on a Mac OS Computer” on
page 28 or “Installing User Software on a
Windows Computer” on page 27.
For information about installing printer
drivers and printing from client computers,
see the Printing Guide.


