19
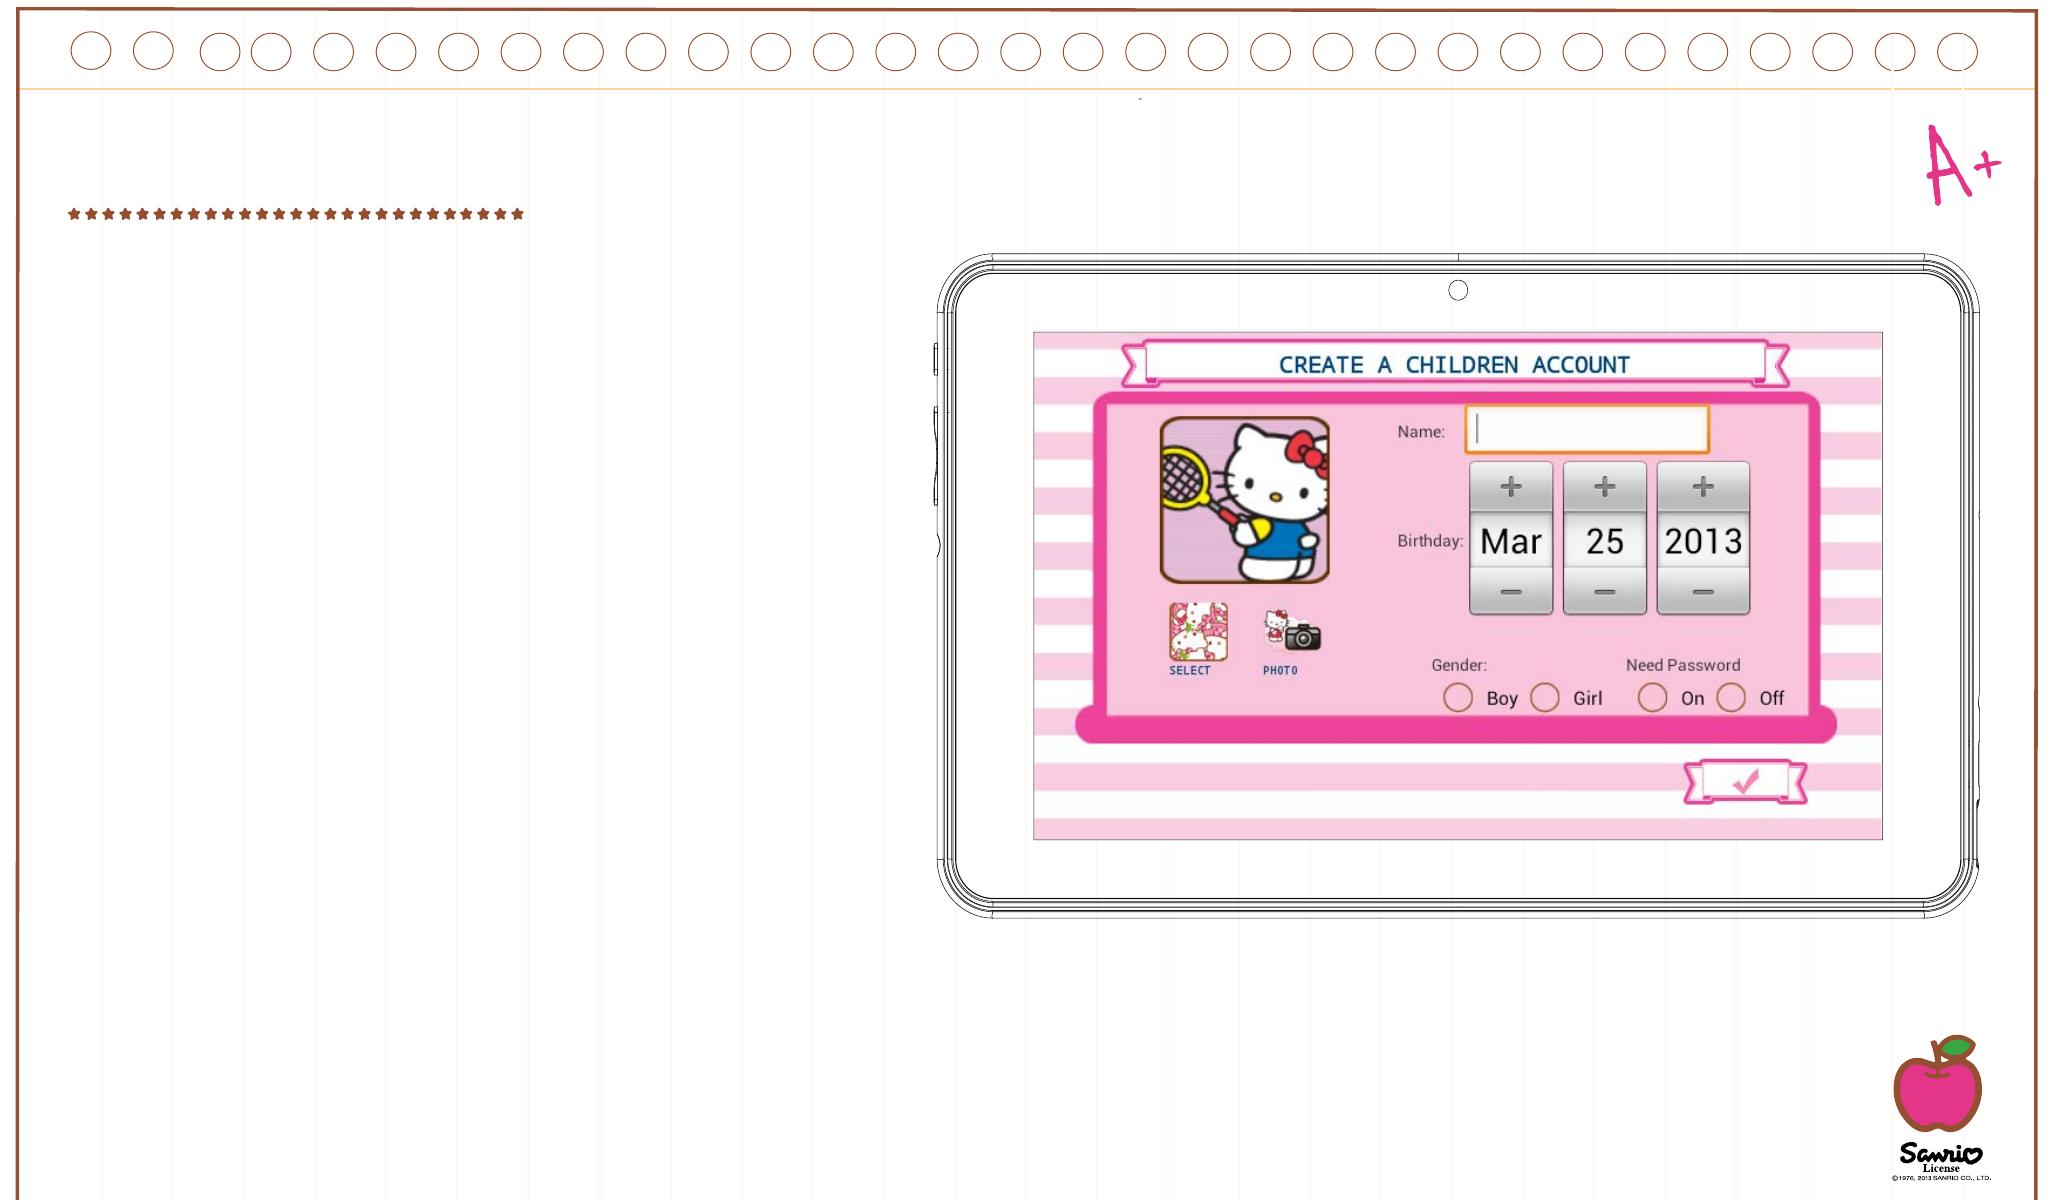
Create a Children Account
• Name: Insert your child’s name
• Birthday: Insert your child’s birthday
• Gender: Select your child’s gender
• Select: Choose your child’s ava-
tar from the preloaded images
• Photo: Take a picture and use
it as your child’s avatar
• Password: You can choose if you want to protect
your children account with a password, it’s good if
the tablet will be shared between
different children with different settings.
By default “No password” is selected.
If Password is selected you will be promp-
ted to enter the kid password when
you confirm the new account.
The password can be from 1 to 14 characters long, with
only letters and numbers.
You can also let children use a pattern password instead
of characters and numbers. If you want children to have
a pattern password select “Pattern”. Then you will be
prompted to create a pattern sliding your fingers that links at least 5 dots. In order to make the password easier to remember you
can’t use the same dot two times.


