5
7. Read the "Important Information", then
click the [Continue] button.
⇒ The [Software License Agreement] window
appears.
8. Read the "Software License Agreement",
then click the [Continue] button.
⇒ A confirmation message window appears.
9. To accept the agreement, click the [Agree]
button.
⇒ The [Standard Install on "(volume_name)"]
window appears.
10.
Click the [Install] button.
⇒ The installation is started.
⇒ The Cardiris installation window appears.
11.
Scroll down and read the "License" to the
end. Then, click the [Continue] button.
⇒ A confirmation message window appears.
12.
Click the [Agree] button.
⇒ The [Select Destination] window appears.
⇒ By default, Cardiris is installed in the Applica-
tions Folder.
13.
Click the [Continue] button.
⇒ The [Installation Type] window appears.
14.
Confirm that [Easy Install] is specified in
the [Installation Type] pop-up menu.
15.
Click the [Install] button.
⇒ The installation is started.
⇒ The [Finish Up] window appears.
16.
Click the [Quit] button.
⇒ The [Startup item registration] window
appears.
17.
Click the [OK] button.
⇒ When the installation is complete, the [Instal-
lation completed successfully] window
appears.
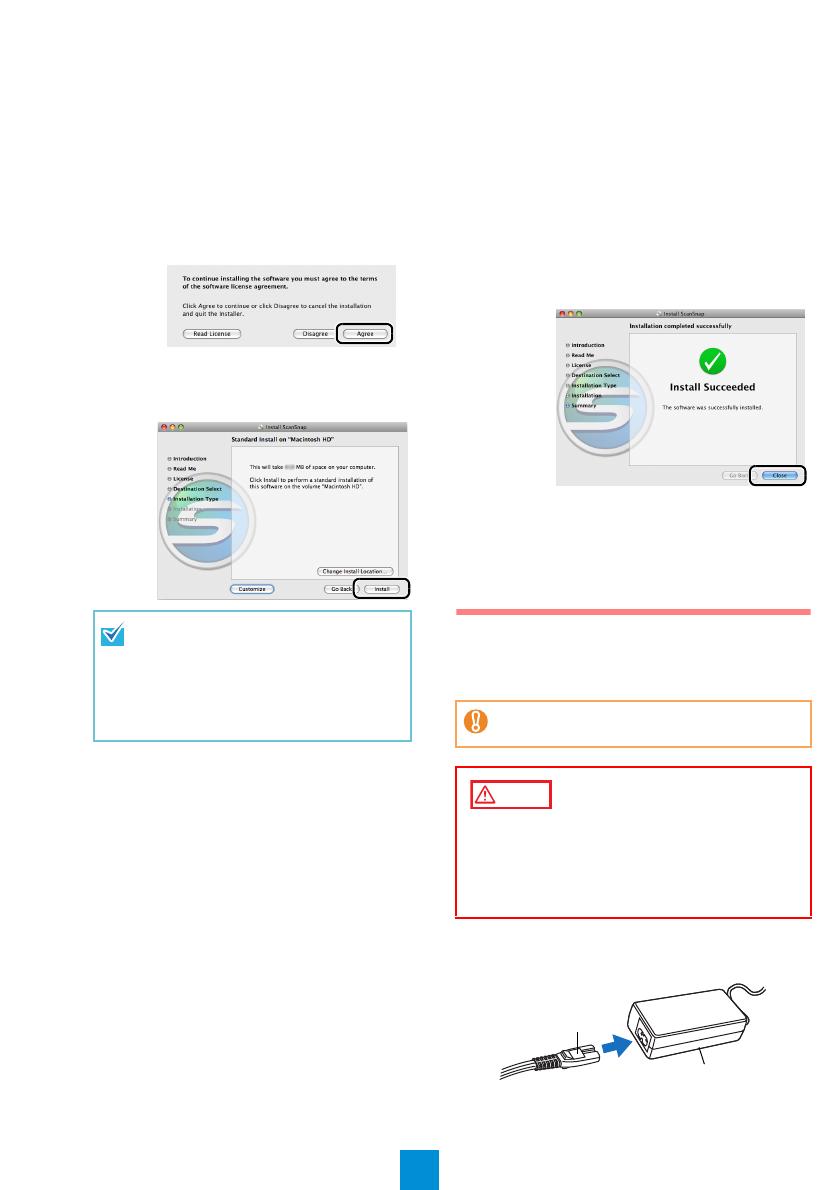
18.
Click the [Close] button.
19.
Remove the Setup DVD-ROM from the
DVD-ROM drive.
⇒ Software installation is complete. Proceed to
"Connecting the ScanSnap".
Connecting the ScanSnap
Connect the ScanSnap after the desired software has
been installed.
1. Connect the AC cable to the AC adapter
(collectively called the "power cable").
To install only ScanSnap Manager, click the
[Customize] button to show the [Custom
install on "(volume_ name)"] window, and
clear the [ABBYY FineReader for Scan-
Snap] and [Cardiris] checkboxes.
You cannot install "ABBYY FineReader for
ScanSnap" or "Cardiris" only.
Only one ScanSnap can be connected to a com-
puter at a time.
CAUTION
Do not use AC adapters other than the one supplied
with this ScanSnap. Doing so may cause damage to
the ScanSnap.
Manufacturer: SANKEN ELECTRIC Co,.LTD
Model number: SED80N2-24.0
AC adapter
AC cable


