Instructions for the User
48
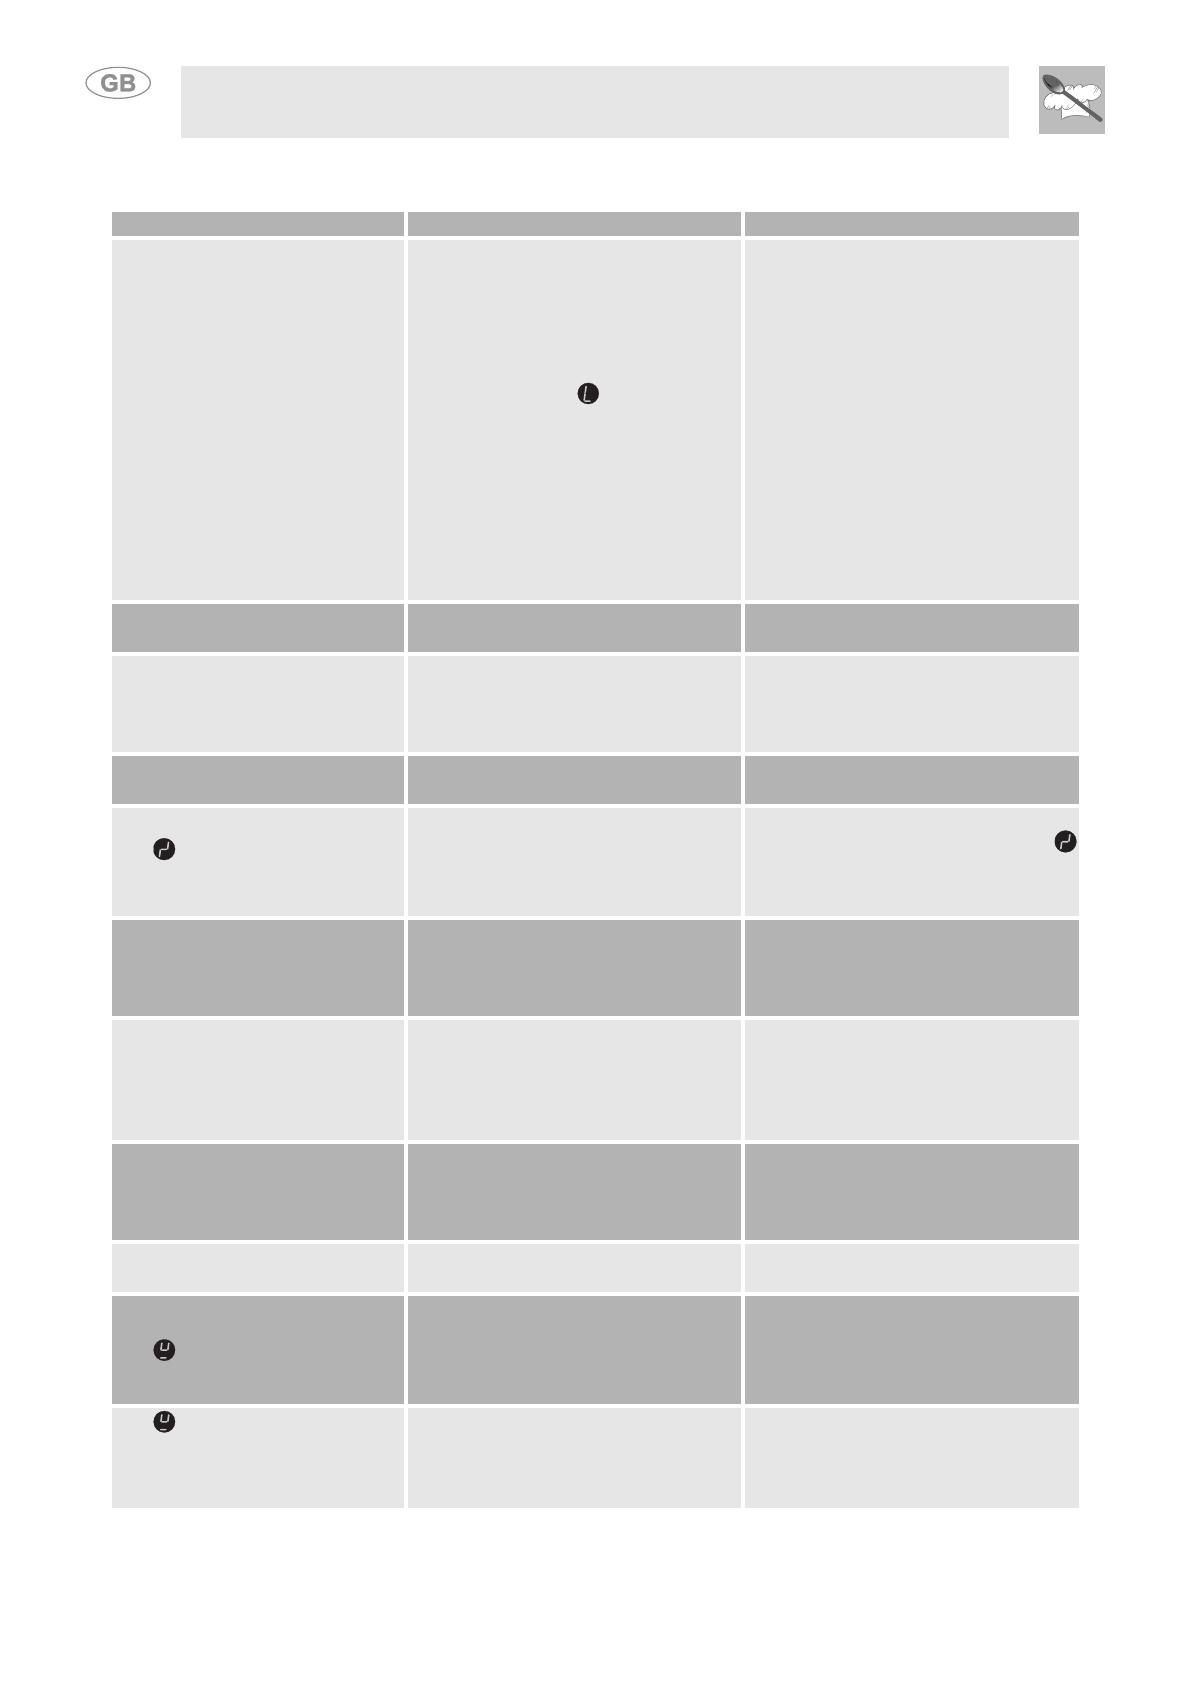
10. TROUBLE-SHOOTING
PROBLEM POSSIBLE CAUSES SOLUTION
The hob does not work.
- The hob is not wired in or it is not
switched on at the wall.
- There is a power failure.
- The fuse or the magnetothermal
switch of the appliance has blown.
- The sensor buttons are locked
(child lock) and is displayed.
- The buttons are partially covered
by a damp cloth, a liquid or a
metal object.
- Unsuitable saucepans have been
used.
- Switch on at the wall.
- Check power supply.
- Replace the fuse or reactivate the
magnetothermal switch of the
appliance.
- Unlock the sensor buttons (child
lock).
- Remove them.
- See "Saucepans suitable for use
in induction cooking" section.
The results of cooking are
unsatisfactory.
- Temperature is too high or too
low.
- Consult cooking guidelines.
The hob smokes.
- The hob is dirty.
- Food has spilled onto it.
- Clean the hob once cooking is
finished. Let it cool first.
- Use a larger saucepan.
The cooking zones do not come
on during timed cooking.
- Timed cooking programming
error.
- Check the instructions for use of
the timer.
The symbol will start to flash
and the buzzer will sound briefly.
- The touch control buttons have
been activated due to food falling
on the hob, saucepans or other
objects.
- Clean the surface or remove the
object. To turn off the flashing
symbol, press the same button or
turn the hob off and back on.
The fuses or the
magnetothermal switch of the
appliance are repeatedly
triggered.
- Call Technical Support or an
electrician.
The error code E2 is displayed.
- The electronics are too hot. - Check the installation of the hob
and make sure that it is
sufficiently ventilated. See the
"Protection from overheating"
section.
The error code U400 is
displayed. The controls
deactivate after 1 second and
the buzzer sounds.
- The hob has not been connected
up correctly.
- Connect the correct supply
voltage.
An ERxx or Ex error code is
displayed.
- There is a technical fault. - Contact Technical Support.
The symbol is displayed.
- A cooking zone has been turned
on but a saucepan has not been
placed on it (saucepan
recognition).
- The zone will only heat up when
the saucepan is present.
The symbol continues to
display regardless of whether a
saucepan has been placed on
the cooking zone.
- The saucepan is not suitable for
induction cooking or its base is
too small.
- Use a saucepan with a suitable
diameter.


