Service guide | Disassembling and assembling PAH 50-100
14
180R9098 | 521B1072 | DKCFN.PI.011.NC5.02 | 06.2017
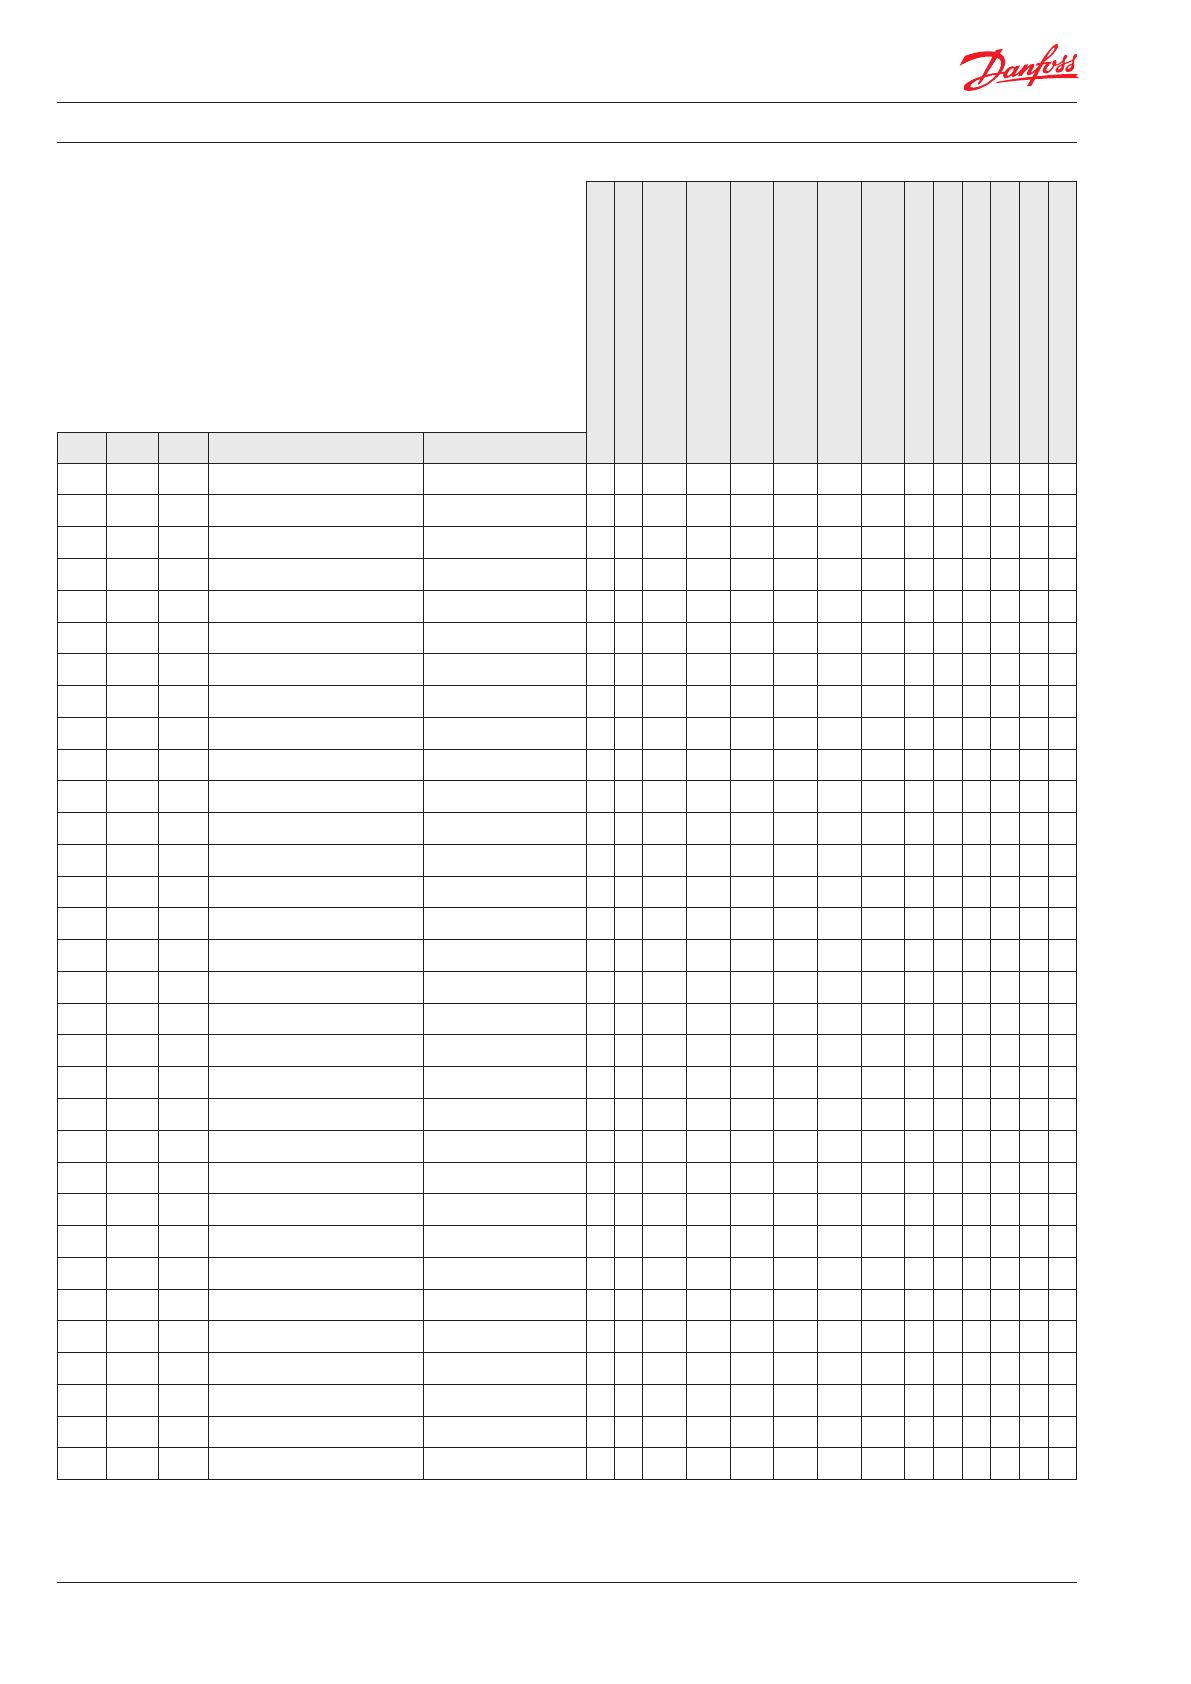
4. Service kit list for PAH 50-100
180B4121 - Screw & seal kit
180B4122 - Valve plate kit
180B4125 - Piston kit PAH 50-80
(Standard pump)
180B4493 - Piston kit PAH 100
(Standard pump)
180B4123 - Piston kit
(Tech. Water pump)
180B4126 - Cylinder Barrel
(Standard pump)
180B4124 - Cylinder Barrel
(Tech. water pump)
180B4127 - Cylinder Barrel CCW
(Standard pump)
180B4009 - Swash plate kit PAH 50
180B4010 - Swash plate kit PAH 63
180B4011 - Swash plate kit PAH 70
180B4012 - Swash plate kit PAH 80
180B4492 - Swash plate kit PAH 100
180Z0237 - Tool set
Pos. Qty. Unit Designation Material
- 1 Pcs.
Shaft bush, torpedo - X
- 1 Pcs.
Press tool for 35 mm shaft - X
- 1 Pcs.
Mounting screw - X
1 1 Pcs.
Housing AISI 304
2 2 Pcs.
Pin AISI 304 X
3 2 Pcs.
Plug AISI 304
4 2 Pcs.
O-ring NBR X
31 1 PC
Swash plate Stainless steel (1.4057) X X X X X
34 2 PC
Pin AISI 304 X
61 1 PC
Cylinder barrel Stainless steel (1.4057) X X X
64 1 PC
Retainer ball Stainless steel (1.4057) X X X
65 1 PC
Retaining plate Stainless steel (1.4057) X X X
66 9 PC
Piston Stainless steel (1.4057) X X X
67 1 PC
Key AISI 304 X
91 1 PC
Port plate AISI 304 / PEEK X
92 1 PC
Valve plate Stainless steel (1.4057) X
93 9 PC
Back-up ring PTFE X X
94 9 PC
O-ring NBR X X
181 1 PC
Port flange AISI 304
182 1 PC
O-ring NBR X
183 1 PC
Guide pin AISI 304
184 1 PC
Pin AISI 304 X
186 8 PC
Screw AISI 304 X
187 1 PC
Threaded plug AISI 304
188 1 PC
Threaded plug AISI 304
211 1 PC
Mounting flange AISI 304
212 1 PC
O-ring NBR X
215 1 PC
Shaft seal AISI 304 / NBR X
218 8 PC
Screw AISI 304 X
219 1 PC
Screw AISI 304 X
220 1 PC
Usit-ring AISI 304 / NBR X
- 1 Pcs.
Service instruction (180R9098) X X X X X X X X X X X X X


