
The conguration procedure described here uses the following setup as an example.
■ OS: Windows 10 ■ Printer: EPSON SC-PX5V II/Canon PIXUS PRO-10S
■ Paper: EPSON EPSON Photo Paper <Glossy>/Canon Glossy Pro Platinum Grade
■ Image retouching software: Adobe Photoshop CC
Printer Settings
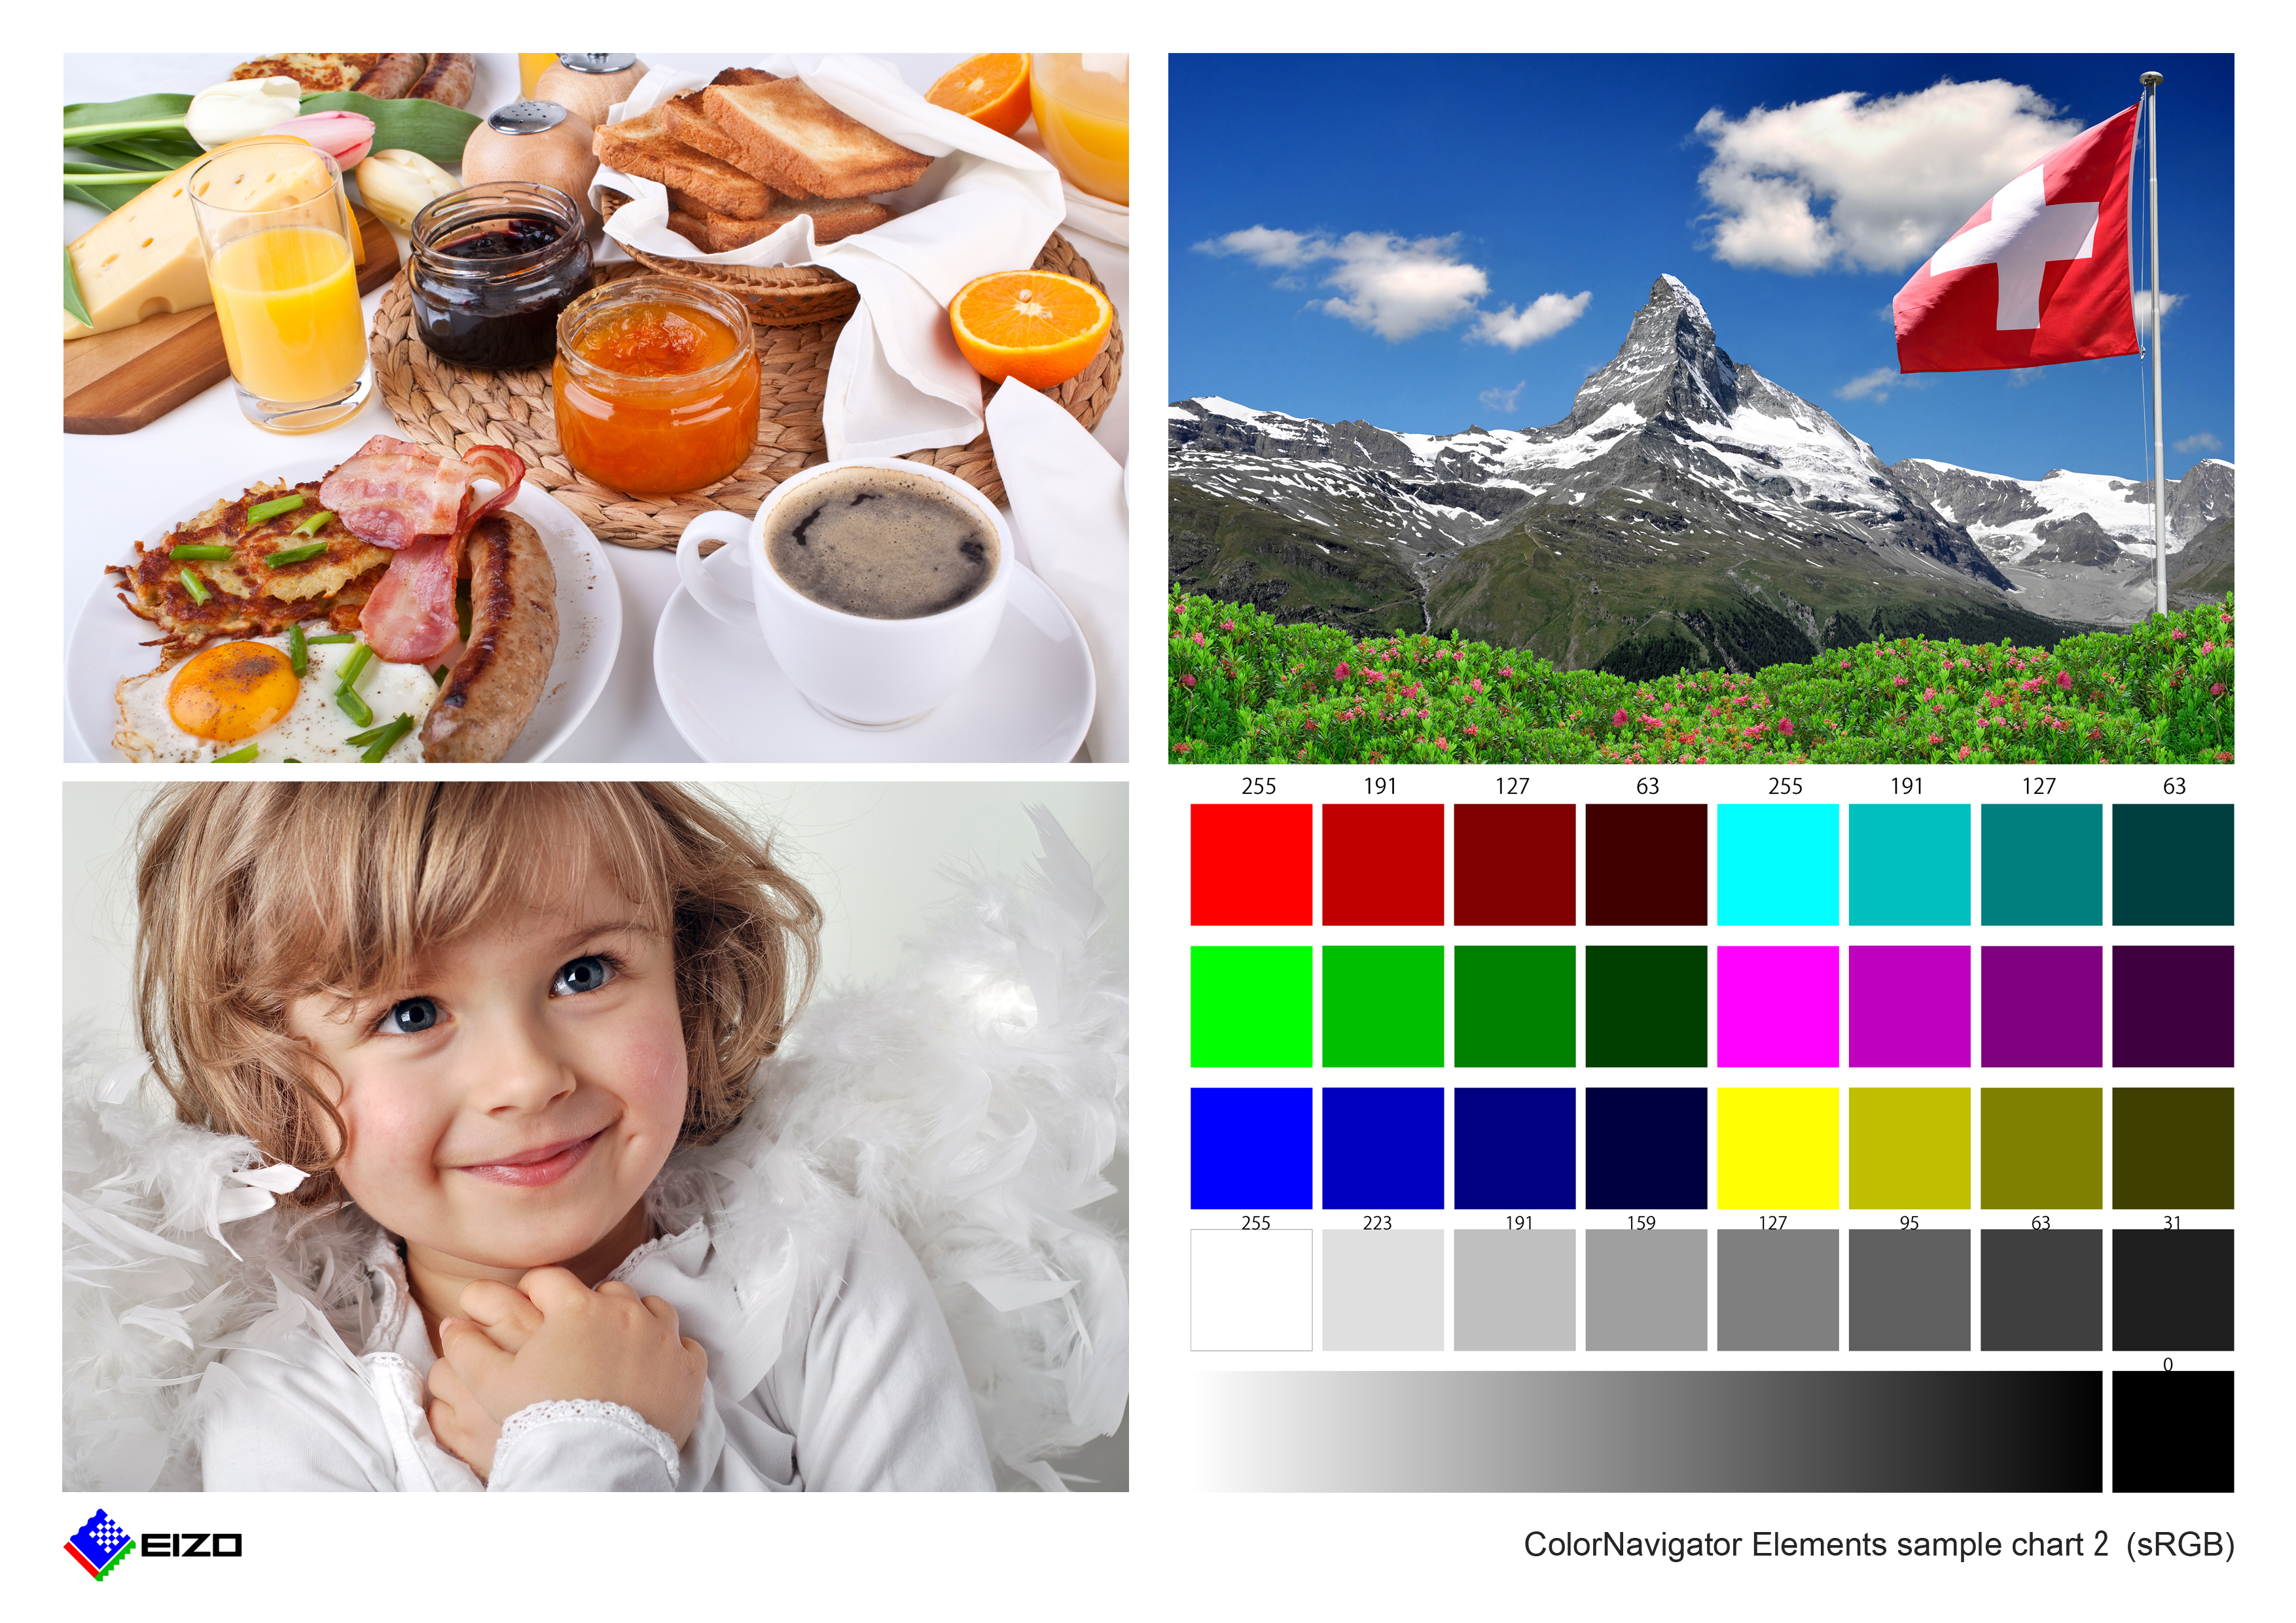
EIZO also oers print samples you can use for test printing. For details, please visit the EIZO website.
www.eizoglobal.com/library/management/matching/result/
ColorNavigatorElements_sample_chart2_sRGB.jpg
For details on the printer settings using the other image retouching software or using it on a macOS, visit the EIZO
website.
www.eizoglobal.com/library/management/matching/printer/step4.html
5. Congure the Printer
To be able to print retouched photo data accurately, it is important to congure the color matching settings on your printer.
Open a photo image used for color matching on the retouching software and congure your printer.
Customize proof setup on retouching software (1/3)
In the “View” pull-down menu of Adobe Photoshop, select
“Proof Setup” - “Custom...”.
Customize proof setup on retouching software (2/3)
Once the “Customize Proof Condition” window for
Print Setup appears, go to
1
“Device to Simulate”
and select a prole for paper* you will use. For
2
“Rendering Intent”, select “Relative Colorimetric”. Uncheck
3
“Black Point Compensation” and check
4
“Preview”. Then,
click the “OK” button.
* Prole used for printing Glossy Pro Platinum Grade paper on PRO-
10S “Canon PRO-10S <PT> 1/2/3 Photo Paper Pro Platinum”
* Prole used for printing EPSON Photo Paper <Glossy> on SC-
PX5VII “SC-PX5V2 Photo Paper(G)”
Customize proof setup on retouching software (3/3)
In the “File” pull-down menu, select “Print”. When the Printer
Setup window opens, congure the “Printer Setup” on the
right. For the
1
“Printer:” eld, select “EPSON SC-PX5V2”
or “Canon PIXUS PRO-10 Series”. After selecting the
2
Vertical or Horizontal icon in the “Layout:” eld, click
3
“Print Settings”.
1
2
3
Congure the EPSON printer driver (1/3)
Congure the EPSON printer driver (2/3)
Congure the EPSON printer driver (3/3)
The Properties window for the printer opens. Select the
1
“Main” tab and go to
2
“Media Type” and select paper type
you will use. Since the images are printed according to the
color management settings on Photoshop, set
3
“Mode:” on
the printer to “O (No Color Adjustment)” and select a paper
size to print in the
4
“Size” eld. Then, click “OK”.
Open the Printer Setup window again, and congure the
“Color Management” setting.
For
1
“Color Handling”, select “Photoshop Manages Colors”.
For
2
“Printer Prole”, select a prole for paper* you will use
in the pull-down list. Finally, go to
3
“Rendering Intent” and
select “Relative Colorimetric”, which is the recommended
settings for EIZO products. Then, check
4
“Black Point
Compensation”.
* Prole used for printing EPSON Photo Paper <Glossy> on SC-
PX5VII “SC-PX5V2 Photo Paper(G)”
In the “Positions and Size” eld, select an area to print and
specify the size, then click the “Print” button.
EPSON Printers
1
2
3
1
2
3
4
4
1
2
3
4
5
6
This section introduces how to set up the printer driver for EPSON SC-PX5V II.
For Canon PIXUS PRO-10S, see “Canon Printers” on page 19.
17 18
1
2
3
4


