9
en
Settings
Youcancustomizethesettingsonthe
appliance�
Youcanmakethefollowingadjustments:
Water hardness
Thewaterhardnesssettingcanbeadjusted
onthisappliance.Itisimportanttosetthe
waterhardnesscorrectlysothattheappli-
ancecanaccuratelyindicatewhenitistime
torunthedescaleprocess.Thefactory
settingforthewaterhardnessis4.Youcan
establishthewaterhardnesseitherbyusing
theteststripprovidedorbyaskingyour
localwaterprovider.
Diptheteststripinthewaterbriey,shakeit
gentlyandchecktheresultafteroneminute.
Level Waterhardness
German (°dH) French(°fH)
1
2
3
4
1-7
8-14
15-21
22-30
1-13
14-25
26-38
39-54
Ifyouwishtochangethedefaultdegree
ofwaterhardness,orifyouhaveinserted
awaterlter,proceedasfollows:
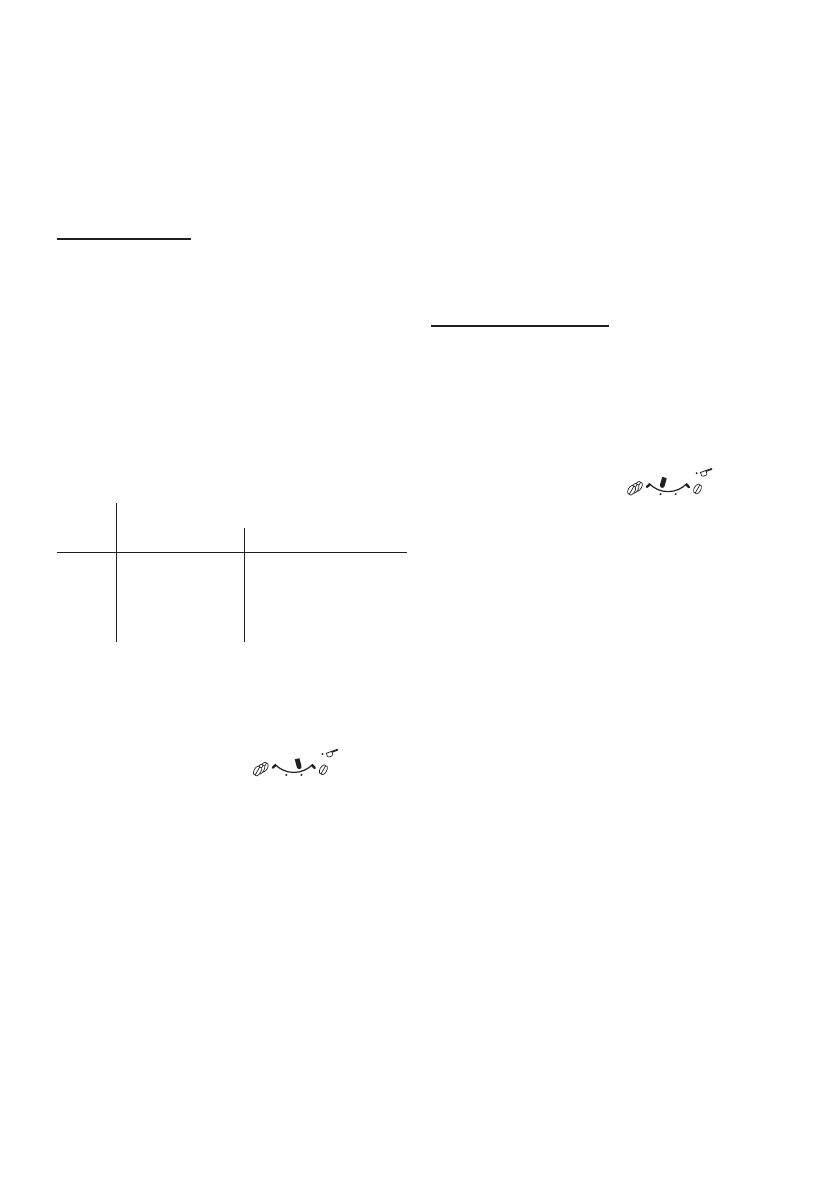
1� Turntherotary
knob(13)toposition
2� PressandholdbuttonsB (11) and
A(12)simultaneouslyforatleast
5seconds.Thesetwaterhardnessis
indicatedbythenumberofLEDsthat
nowlightup.
3� Nowpressthestartbutton(10)repeat-
edlyuntiltherequiredwaterhardness
isindicated,e.g.,forwaterhardness3,
LEDs D,E and Fwilllightup.
4. Pressandholdthestartbutton(10)
foratleast5seconds.Thesetnumber
ofLEDswilllightuptoindicatethat
theselectedwaterhardnesshasbeen
savedsuccessfully.
Important:Ifawaterlterisused(see
“Accessories”),proceedasfollows,see
“Waterlter”.
Note:Ifnobuttonispressedwithin
90seconds,theapplianceswitchesto
stand-bymodewithoutsavingthenew
settings.Inthiscase,thepreviouslysaved
waterhardnesssettingisretained.
Automatic switch-off
Hereyoucansettheperiodoftimeafter
whichtheapplianceshouldswitchoffauto-
maticallyfollowingthelastdrinkpreparation.
Atimebetween15minutesand4hourscan
beset.Tosavepoweryoucanspecifya
shorterperiod.
1� Turntherotary
knob(13)toposition
2� Pressandholdbuttons
B (11) and A
(12)simultaneouslyforatleast5seconds.
Thetimeafterwhichtheappliance
shouldswitchoffisindicatedbythe
numberofLEDsthatnowlightup.
3� Nowpressthestartbutton(10)repeat-
edlyuntiltherequirednumberofLEDs
lightuptoindicatetheswitch-offtime:
D=15minutes
D and E=30minutes
D,E and F=45minutes
D,E,F and G=1hour
D,E,F,G and H=2hours
D,E,F,G,H and I=4hours
4. Pressandholdthestartbutton(10)for
atleast5seconds.Thesetnumberof
LEDswilllightuptoindicatethatthe
selectedswitch-offtimehasbeensaved
successfully.
Note:Ifnobuttonispressedwithin
90seconds,theapplianceswitchesto
stand-bymodewithoutsavingthenew
settings.Inthiscase,thepreviouslysaved
switch-offtimeisretained.


