11EN
1 Take out the expired air purication
lter according to the lter code
displayed on the screen, and gently
put the expired lter into the trash
bin (g. ).
Note
• Do not touch the pleated lter surface,
or smell the lter as it has collected
pollutants from the air.
2 Remove all packaging material of the
new lter (g. f).
3 Place the new lter into the
appliance (g. g).
4 Touch and hold the reset button
for 3 seconds to reset the lter
lifetime counter (g. €).
Note
• Cleanse your hands after changing the
lter.
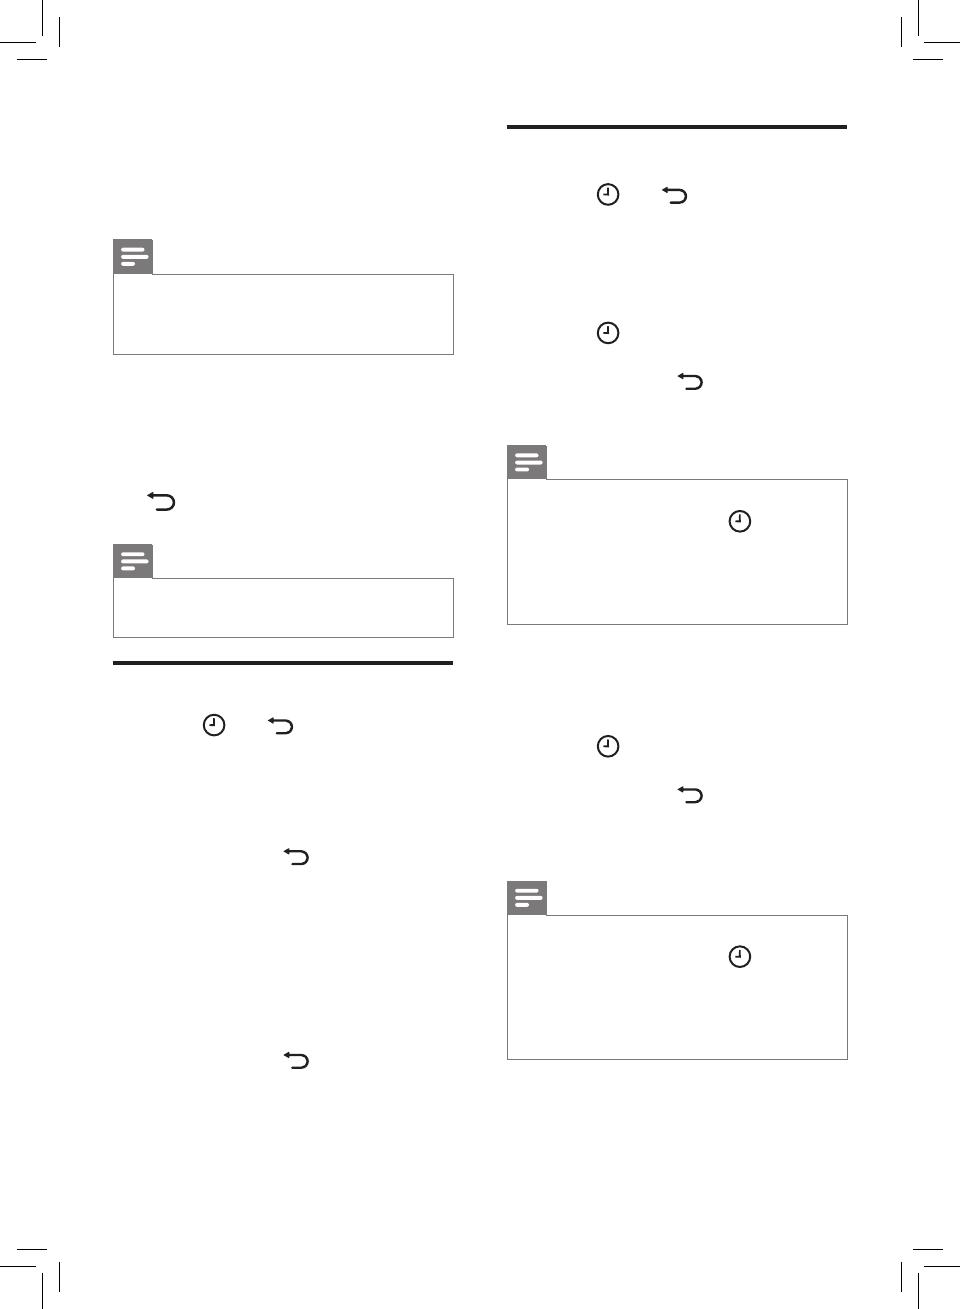
Filter force reset
1 Touch and simultaneously
for 3 seconds to enter the lter force
reset mode (g. ).
» Code (A3) of the NanoProtect
lter HEPA Series 3 displays on
the screen.
2 Touch and hold for 3 seconds to
force reset the lter lifetime of the
NanoProtect lter HEPA Series 3
(g. €).
3 Code (C7) of the Nanoprotect lter
AC displays on the screen after the
lifetime of the NanoProtect lter
HEPA Series 3 lter HEPA has been
reset (g. ‚).
4 Touch and hold for 3 seconds to
force reset the lter lifetime of the
NanoProtect lter AC and exit the
lter force reset mode (g. ƒ).
Filter type change
1 Touch and simultaneously
for 3 seconds to enter the lter type
change mode (g. ).
» Code (A3) of the NanoProtect
lter HEPA Series 3 displays on
the screen.
2 Touch to select the lter code of
the new lter you will use (g. „).
3 Touch and hold for 3 seconds
to conrm the lter code of the new
lter (g. …).
Note
• After you have selected the lter code
of the new lter using the button,
if you do not touch any other buttons
in 10 seconds, the appliance will
automatically conrm the lter code of
the new lter.
4 Code (C7) of the Nanoprotect lter
AC displays on the screen after the
rst lter type has been changed
(g. ‚).
5 Touch to select the new lter
code of the second lter (g. †).
6 Touch and hold for 3 seconds to
conrm the lter code of the second
lter and exit the lter type change
mode (g. ‡).
Note
• After you have selected the lter code
of the new lter using the button,
if you do not touch any other buttons
in 10 seconds, the appliance will
automatically conrm the lter code of
the new lter.


