16
TROUBLESHOOTING
The printer driver cannot be
correctly installed by Plug and
Play (Windows 2000/XP)
In Windows 2000/XP, if the printer driver cannot
be correctly installed by Plug and Play (for
example, Plug and Play takes place without
copying the required files for the printer driver
installation), follow these steps to remove
unneeded devices and then install the printer
driver as explained in "Installation in Windows
XP (USB/Parallel cable)" (p. 5).
1
Click the "start" button, click "Control
Panel", and then click "Performance and
Maintenance".
In Windows 2000, click the "Start" button,
select "Settings", and then click "Control
Panel".
2
Click "System", click the "Hardware"
tab, and click the "Device Manager"
button.
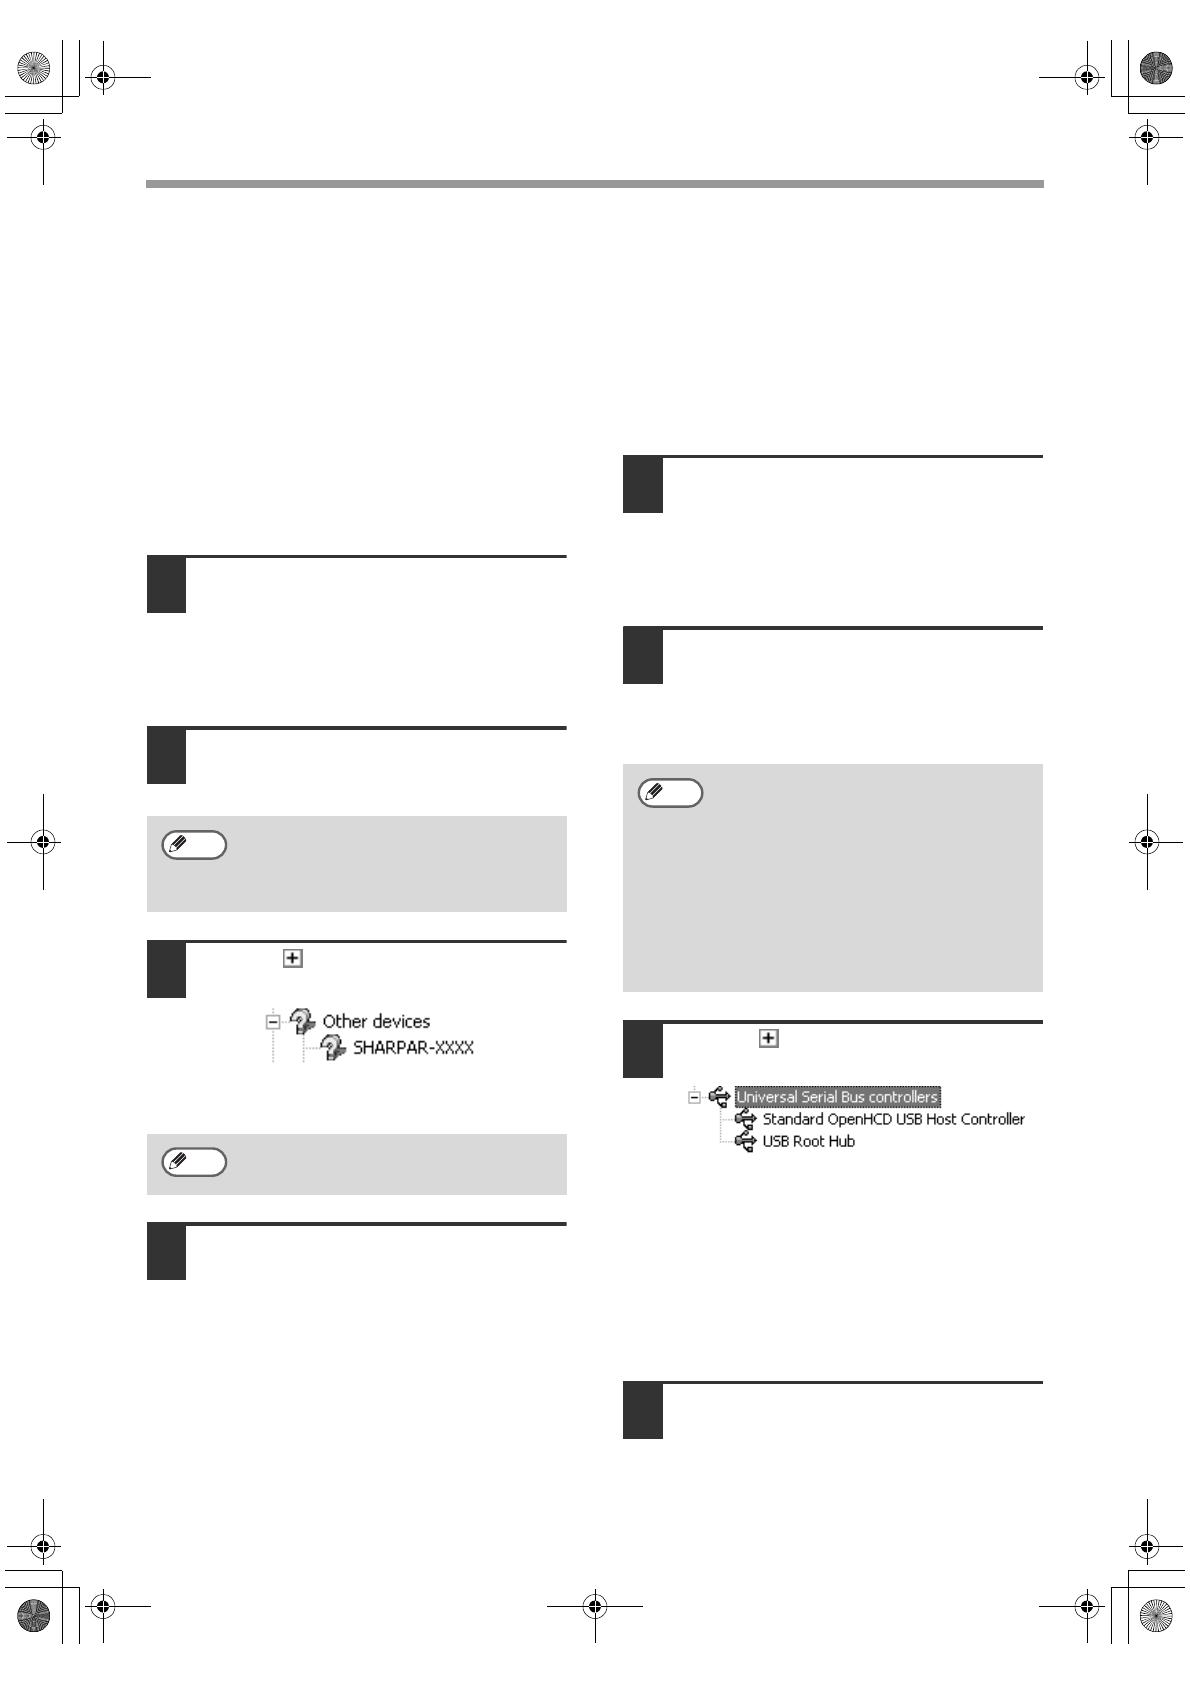
3
Click the icon beside "Other
devices".
If "SHARP AR-XXXX" appears, select and
delete it.
4
Install the software as explained in
"Installation in Windows XP
(USB/Parallel cable)".
Plug and play screen does not
appear (when using a USB cable)
If the Plug and Play screen does not appear after
you connect the machine to your computer with a
USB cable and turn on the machine, follow the
steps below to verify that the USB port is
available.
1
Click the "start" button, click "Control
Panel", and then click "Performance and
Maintenance".
In Windows 98/Me/2000, click the "Start"
button, select "Settings", and then click
"Control Panel".
2
Click "System", click the "Hardware"
tab, and click the "Device Manager"
button.
"Universal Serial Bus controllers" will
appear in the list of devices.
3
Click the icon beside "Universal
Serial Bus controllers".
Two items should appear: your controller
chipset type and Root Hub. If these items
appear, you can use the USB port. If the
"Universal Serial Bus controllers" shows a
yellow exclamation point or does not
appear, you must check your computer
manual for USB troubleshooting or contact
your computer manufacturer.
4
Once you have verified that the USB port
is enabled, install the software as
explained in "Installation in Windows
XP (USB/Parallel cable)".
In Windows 2000, double-click the
"System" icon, click the "Hardware"
tab, and click the "Device Manager"
button.
If "Other devices" does not appear,
close the "Device Manager" window.
Note
Note
• In Windows 98/Me, double-click the
"System" icon and click the "Device
Manager" tab.
• In Windows 2000, double-click the
"System" icon, click the "Hardware"
tab, and click the "Device Manager"
button.
• If the "System" icon does not appear
in Windows Me, click "view all
Control Panel options".
Note
!!install_ar230270.book 16 ページ 2004年2月19日 木曜日 午後1時17分


