User Guide 11
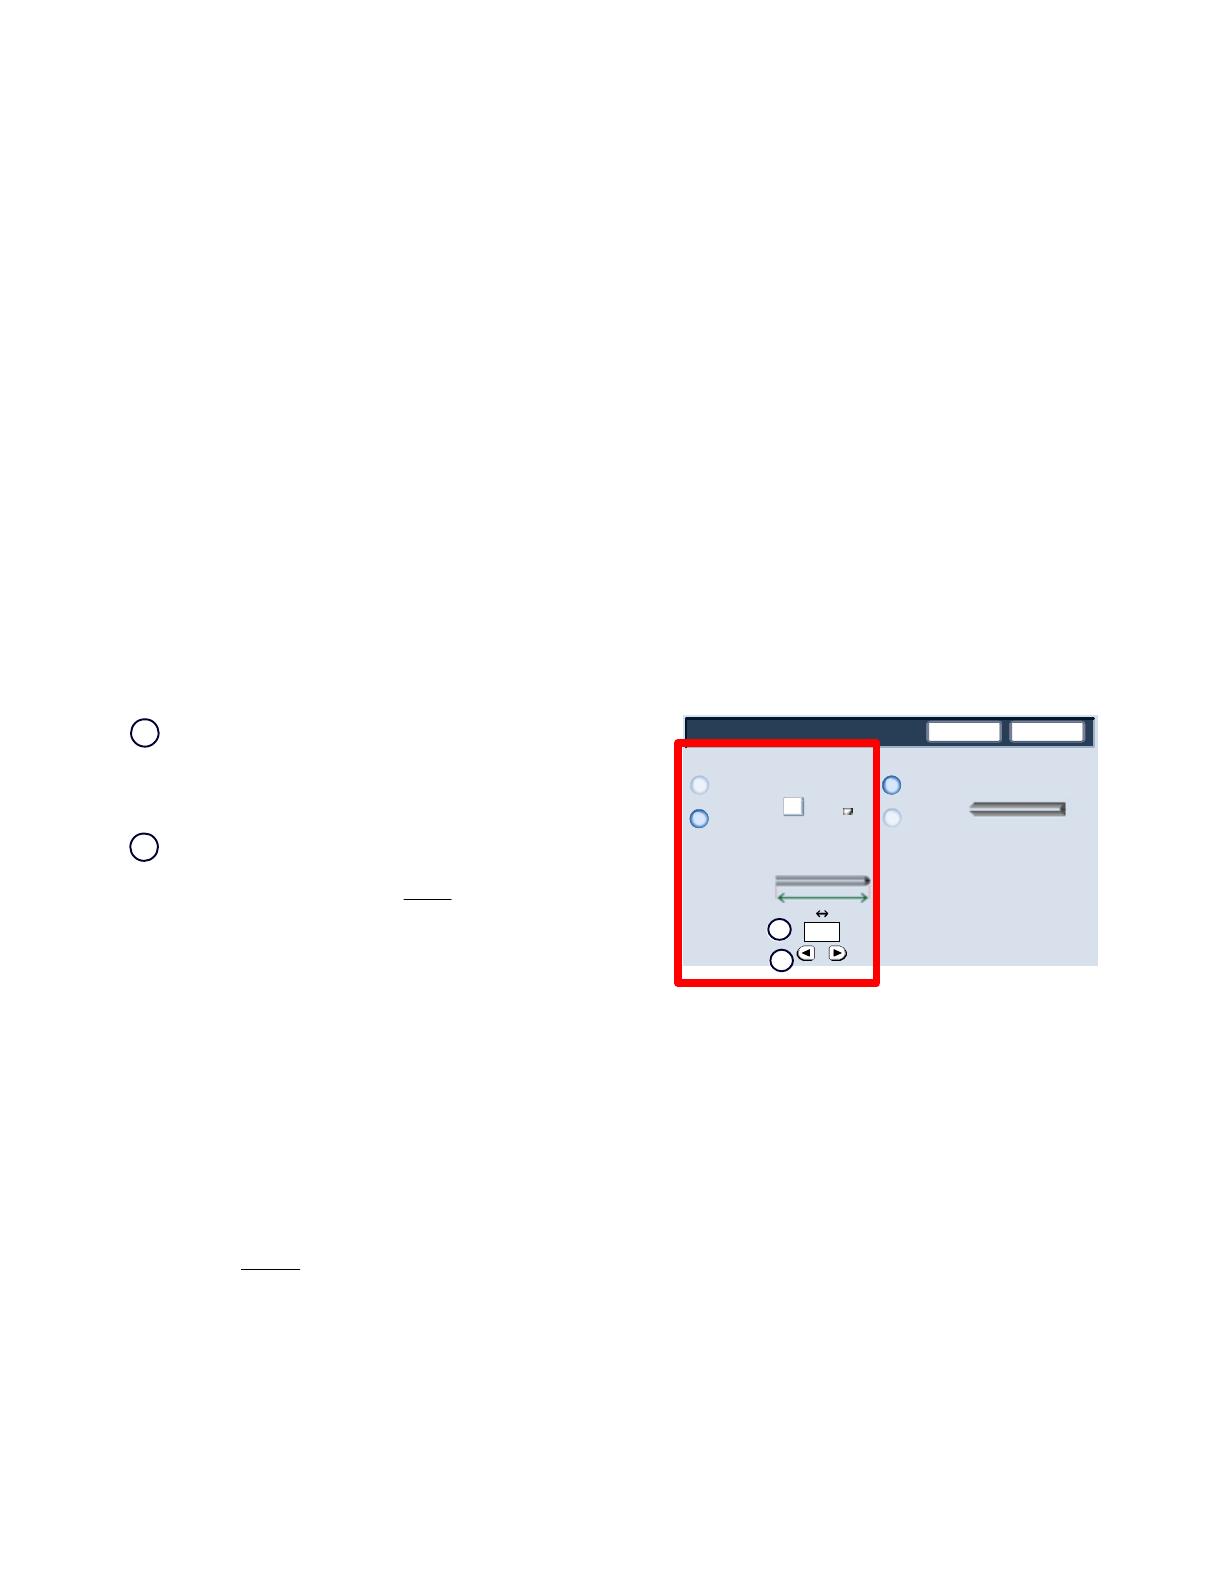
OverviewSquareFold Trimmer Module
Save
Off
Booklet Trimming / Pressing
On
Cancel
Trimming
Paper Supply...
Tray 3
11 x 17"
Plain
Cut to Size
Book Pressing
Off
On
0
mm
195.8 213.8
1.
2.
Booklets exiting/leaving the SquareFold Trimmer Module may contain trim remnants/scraps from the previously
trimmed booklet. This is due to static electricity build-up and is normal. If booklets contain trim remnants/scraps, simply
remove and discard them.
Trim settings cannot
be adjusted to remove less than 2 mm (0.078 in.) or more than 20 mm (0.787 in.) of edge
material from the booklet. Adjustments less than 2 mm (0.078 in.) may produce poor trim quality, and adjustments
greater 20 mm (0.078 in.) will result in no trimming to the booklet edge.
Touch the left/right arrow buttons to decrease or increase
the trimmer setting. Adjustments are made in 0.1
mm/0.003 9 in. increments.
Important!: You may have to experiment with various settings in order to determine the best settings for your
particular job. Also, you may want to run one or more test prints/copies before running larger jobs in order to ensure
the best possible booklet output.
The trimmer setting is based on:
The number of sheets in the finished booklet,•
The finished booklet • width
size (such as 8.5 in./210
mm or 5.5 in/149 mm),
The media type (coated/uncoated, glossy, etc.), •
and
The media weight•
Tip
The Trimmer options are found in the following areas:
On the machine's UI •
From the print server on the • Properties window for a selected network print job, and
From the • Properties window of a selected print job on your workstation
Trimmer options
The Trimmer feature can be switched on or off based on user preference. When the feature is switched on, you can
adjust the trim setting in 0.1 mm/0.003 9 in. increments depending on your requirements for the finished booklet job.
For the remainder of this section, only the machine's UI is shown. The descriptions given for the Trimmer options are
applicable for both copy and network print jobs, and applies to any print server connected to the machine. To see the
actual screens for each print server, go to the desired print server and follow the instructions given in the previous
section entitled "Network print jobs."
Note
Choose the setting that best fits your needs for the booklet output.
1.
2.
Tip
Note


