ii
CONTENTS
Precautions................................................................................................................................................. 1
How to Handle Discs .............................................................................................................................. 1
Lithium Battery Cell Warnings ................................................................................................................ 1
Installation .................................................................................................................................................. 2
Prepare Radio ........................................................................................................................................ 2
Mount Radio ....................................................................................................................................... 2-3
Wiring Connections ................................................................................................................................ 3
.......................................................................................................................3
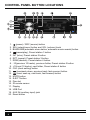
Control Panel Button Locations .................................................................................................................. 4
General Operation ...................................................................................................................................... 5
Remote Control
........................................................................................................................................
9
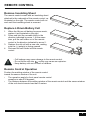
Remove Insulating Sheet
.....................................................................................................................
9
Replace Lithium Battery Cell
................................................................................................................
9
Remote Control Operation
...................................................................................................................
9
Button Names and Locations ................................................................................................................10
Troubleshooting ........................................................................................................................................ 11
........................................................................................................................................... 12
Removal of the Main Unit
Turn Unit On/Off ..................................................................................................................................... 5
Adjust Volume (VOL) ............................................................................................................................. 5
Adjust Menu Options (SEL)....................................................................................................................5
Set the Clock (CLK) ............................................................................................................................... 5
Change the Source (SRC) ..................................................................................................................... 5
Loudness On/off (LOUD) ....................................................................................................................... 5
Mute On/off (MUTE) ...............................................................................................................................5
Local/DX (LOC) ..................................................................................................................................... 6
Stereo/Mono (ST) .................................................................................................................................. 6
Preset Equalizer (EQ) .............................................................................................................................5
Reset System (RESET) ......................................................................................................................... 5
Radio Operation ......................................................................................................................................... 6
Switch Between US and EU Frequency ................................................................................................ 6
Change Bands (BAND) .......................................................................................................................... 6
Manual Tuning (|<< / >>|) ....................................................................................................................... 6
Auto Seek Tuning (|<< / >>|) .................................................................................................................. 6
Automatic Music Search (AMS) ............................................................................................................. 6
Store/Recall Preset Stations (1 - 6) ....................................................................................................... 6
Disc/USB Operation.................................................................................................................................... 7
Insert Disc/USB ...................................................................................................................................... 7
Eject Disc/USB ....................................................................................................................................... 7
Play/Pause ............................................................................................................................................. 7
Next/Previous Track ............................................................................................................................... 7
Fast Forward/Backward ......................................................................................................................... 7
Track Search .......................................................................................................................................... 8
Track/Folder Navigation ......................................................................................................................... 8


 1
1
 2
2
 3
3
 4
4
 5
5
 6
6
 7
7
 8
8
 9
9
 10
10
 11
11
 12
12
 13
13
 14
14
 15
15


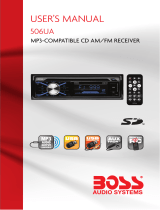 Boss Audio Systems 506UA Owner's manual
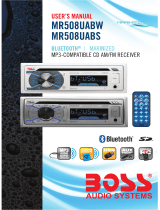
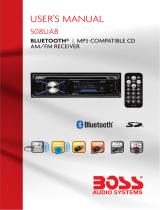 Boss Audio Systems MR508UAB-S-W User manual
Boss Audio Systems 750BRGB User manual
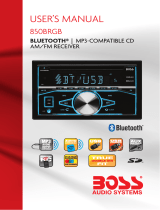 Boss Audio Systems 850BRGB User manual
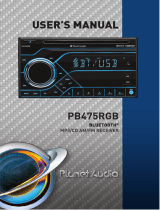 Planet Aaudio PB475RGB User manual
 Boss Audio Systems MR508UAB-S-W Owner's manual
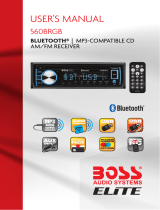 Boss Audio Systems 560BRGB User manual
 Boss Audio Systems 658UA User manual
Boss Audio Systems A2 User manual
Boss Audio Systems 550B User manual