Kenmore 1581784080 User manual

Category
Sewing machines
Type
User manual
MANUAL
MODEL1 /1 / 7831/
178140/ 1 / 7842/17843
/i7891/17892
DP69537
TAB OF NTENTS
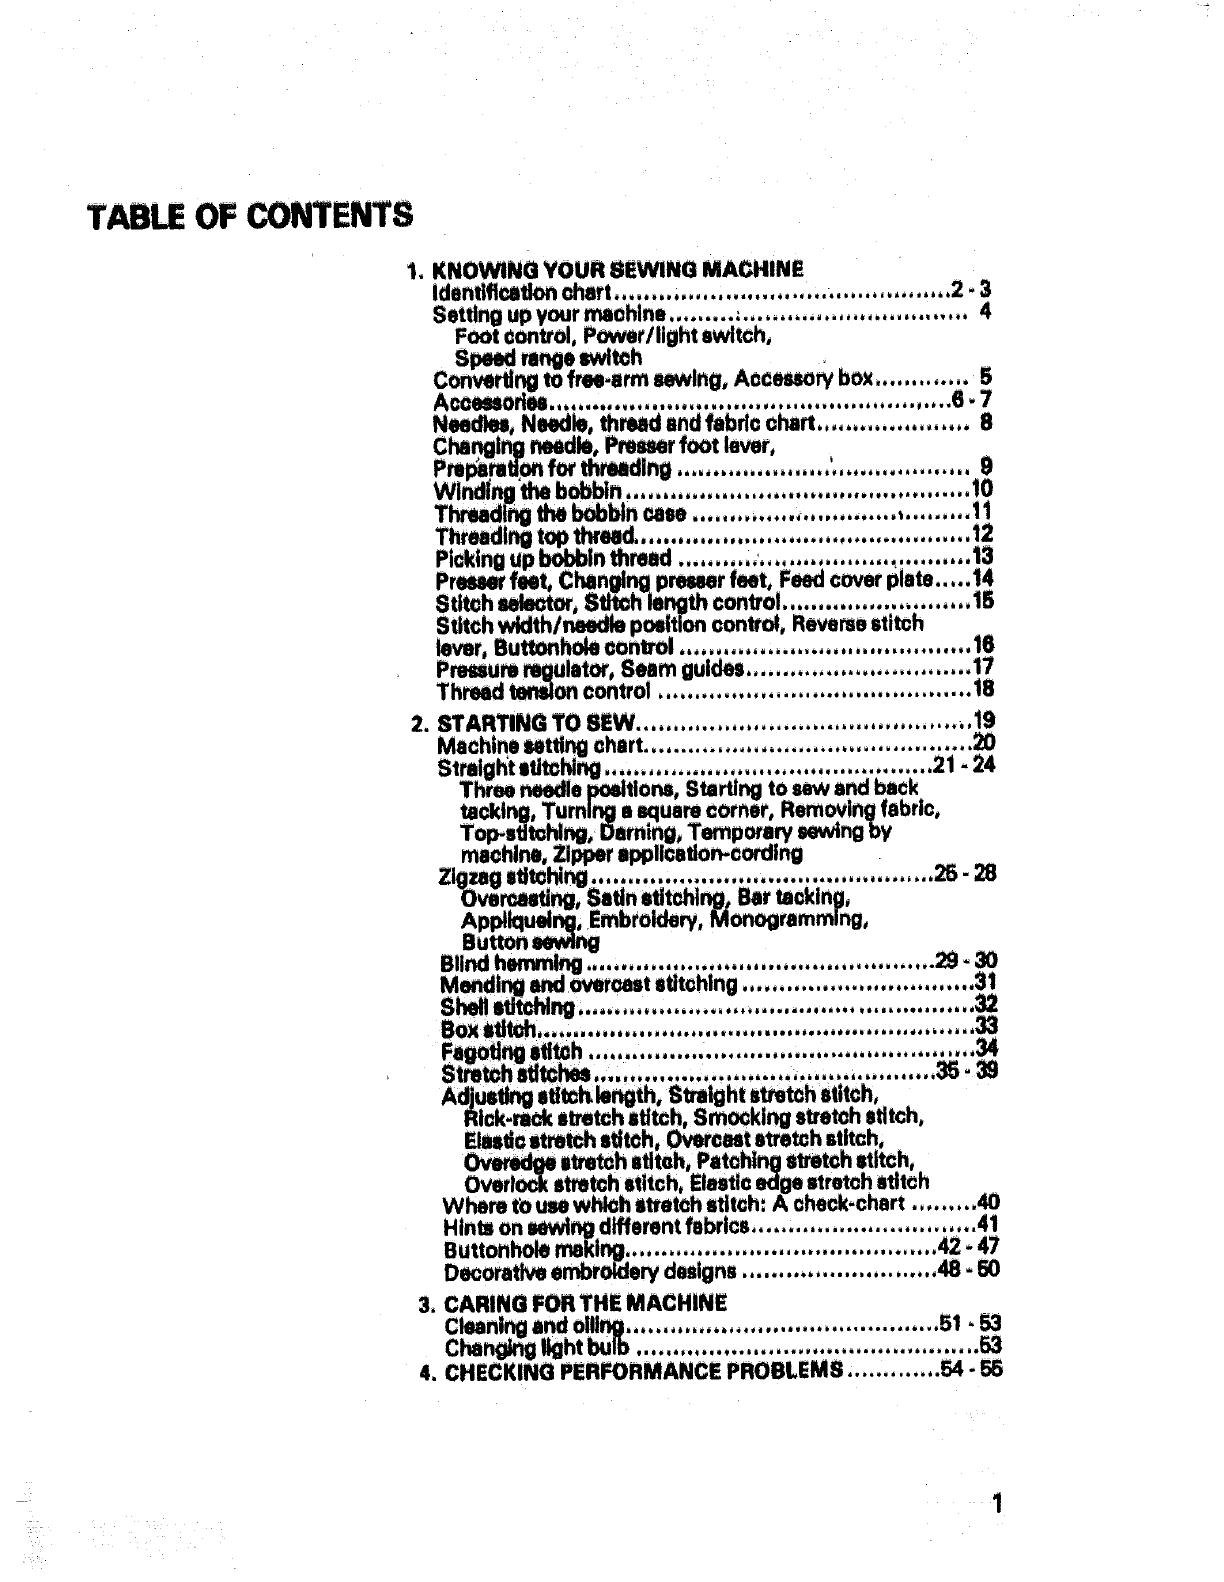
1. KNOWING YOUR SEWING MACHINE
identlflca_ _art ........ ,..................................... 2 - 3
Setting up your machine ........ ._............................... 4
Foot 0ontrol, Power/light switch,
Needles, Needle, thread and fabric chart,,.,., ............ .. 8
Changingneedle, Pmeserfoot lever,
Pin.ration for threading .... ,.... ,........... '.,................. 9
Wlnd"Ing'the bobbin, .............................................. !0
T_d[ng the _bln _se ........ ,..... ,....... ...... ,......... 11
Threading top thrud,, ............ ,............. ,................. 12
Piddng up bobbinthread ......... ,......... ,......... _.......... 13
Presserfeet, Changingp_r feet, F_ €_er plate..... 14
StlWh _, StJ_h length control.......................... 15
Stitch width/_le positioncontrot, Reveresstitch
lever, Buttonholecontrol ............ ,........................... 16
2. STARTING TO SEW ............................................ ,.19
Machine letting chart ........................................... :.20
Stratgh't stitching ... ......................................... 21 24
Thiee needle _tions, Starting to sew and back
tacking, Turning a _usm corner, Rsmovinglabric,
Top-stitching, Darning, Temporary sewingby
machine, Zipper application-cording
Zigzag lititahing.. ........ ,.................................... 25- 28
Ove_ng, Satin stitching, Bar tackin_i,
AppUqustr_, Embroidery, Monogramming,
Button _ng
Adjustingiitltcl_length, Stmtght stretch stitch,
Rick_-,,;;rit_stretch stitch, Smocking s_toh stitch,
Elastiostm_ stitch, Over©ut stretch stltch_
i_h stitch, Patchings_tch wtitch,
Overio_ stretch stitch, Elasticedge stretchstitch .
Wham t_ use which stretch stitch: A check-chart ......... 40
Hints on sewing different fsbdcs,........................... ,,.4!
Buttonhole roaring.., ....................................... 42: 47
Decorativeembroiderydesigns ........................... 48 50
3, CARING FORTHE MACHINE
4. CHECKING PER_RMANCE PROBLEMS, ............ 54 -
1. KNOWING YOUR _NG MACHINE
IDE_RCATION CHART
Thud cutter
T_ _ temion c_trol
Bobbin winder tenon disc
)lever
channel
Facecover
Thread
A_ box/
extension table
Preset foot thumb screw
lever
Thread cutter
foot
Needle plate
Bobbin cover plate
Needle ) screw
Thread guide
Needle
Bobbin window
2
Built-inbutton_ control *
Bobbin wl_ ehaft
Bobbin wl_r latch
* Available _ndtng
uponmodel.
Stitch width control
Stitch selector
Reversestitch lever
Stitch length control
S_ ra_ _tch *
Power/llght switch
Stitch length
indicator
RKr threed guide
Hand wheel/push-pull
clutch
Swing-sway_ _n
Nomenclature plate
Fool control plug
receptacle
Foot control
Foldaway carryinghandle
Rear thread guide
P_r foot lever
Buttonhole attachment
Owner's marlua|
3
S_NG UP YOUR MACHINE
1, Install your Kenmoresewing machi_ in s
Kenmore .blnet Or OP.,e_or set the
Foot control
2_ Your K_e sewing _chine has been
thoroughlycited at the factory. Be sumto
wipeoff the_ie p_We_ endbed
_ie ur_tlv I_ore uwl_:e garment,
It i_ wise to practice on a mrap of fabric
so any lurplul oil is a_.
FOOT CONTROL
Make wre power/light switch le off. Plug
foot control plug into machine receptacle,
Then oon_t cord into any i10-120 volt
A, C, wall outlet.
Power/light
switch
S_ran_
switch
POWER/LIGHT SWITCH
Your machine will not operate un_ the
power/light switch is turned on, Turning on
the _r sute_tically illuminates the
stitching sru. if you're interrupted or stop
sewing and leave the machine, turn off the
power/light switch.
SPEED RANGE SWITCH
Your machine has two ranges of speed-a
low range for slower, intricate work and a
highone for faster, generalwork, On the low
setting the machine will sew no faster then
approximately one-half the speed of the high
one, even when the foot control is fully
depre_d.
4
CONVERTING TO FREE-ARM
SEWING
This machine can be used either as e flatbed
or H a freearm model. With the accessory
box in place, the machine is a flatbed model
With e ierge, working liut_ece, which slopes
og_ntlytoward you to help the smooth flow
fabric.
By removing the accessory box, the machine
converts into free-arm machine for sewing
children's clothes, cuffs, trouser legs,
armholes and other awkward places,
1. To remove the accessory box, grip It
firmly between fingers end thumb at the
left end and lift it. To replace, slide the
accessory box back Into place until it
clicks,
2. With the accessory box removed the
machine is ready for freeerm sewing.
®
ACCE_ORY BOX
Open accessory box by lifting) the tid up and
fo_rd as shown end you'll find a vadety of
aecessories inside, Turn next page for
components.
_ 5
SNAP.ON FEET
Straight ititch Stllnda_ zlgztlg Satin stitch Built-in buttonh¢_ Zlpt_ Prmmerfoot
foot t_lo, E6483) foot |No, ET_IE) foot (No_ 57998) guidefoot (No. E6484) holder
(No, b_NI4l (No. 56481)
ONE.PIECE FEET
(No. 45W6) (No. 46727) INo. 46729) (No, 43820| {No. 6784) Presser foot
thumb screw
(No. 135)
largeS_-ptn|No._Pl_) (No,__)c°verplate Butt_e guide Buttonhole _es Butl_
tO 1 _ iNo. _) covw_
INO. _) 2 (No, _1) (No. 607"_3)small - (No. _)
3 -- (No, _)
/ /
Buttonhole Buttonhole Screw drivers Lint brush B_n winder Light bulb
foot opener large - (No. _1i) (No. _) rubber ring (No. 6797)
(No. 67979) iNo. 41040) (No. _) roll - tNo. _12) (No. 1_)
6
OPTIONAL ACCESSORIES
Roller foot INo. 6765)
Blindhem foot (No, _1
- Holds fa_ folded f_
blind _ _ng.
srd _ther mtke behind h.
RKO_ tot i_n
k_ttm or vinyl.
Even-feedingfoot tNo. 6888)
-F_ both fabricleyeNi_lts_dy
tohelp_t bundCtXlOfUltra Su_
fabric,matin,tricotoroth_ sltckfabrics,
S_ g-Brown INo. _1
Size 11-0_ INo. _1)
Size 14:Red iNo. 6662)
SLm1_ (N_.6553)
S_ l_O_ INo._)
Needle threader
iNo, 43780)
10 plastic bobbins (No. _)
OII/O,er
(Com_nm:_cc Oil)
(No, 6890)
10 _s. Ballpoint color-coded
|No. 6747)
Sire 9-S_tB_ x 4 IX,i.
Size 11-S_/O_ x 4 _.
Size 14-StlvertRed x 2 pcs.
' 2 pcs. Double _ (No. _49)
5 r_. Q,N_- Blue (No. 6746)
Ac_ set(No._), .
- e_r_ your_ct_ne _oum ._
_mpte _lng to deatilecl gathor-
_, quitting, _ntng and more_
I_ludu _mem, guides amJ
O $_. Presserfeet let you attac_
b_td, i_ zl_ and cording.
7
.if you do not havea Kenmore needle, please
i
Use KENMORE needles. The size of the
needle should conf_ with the size of the
thud and both should be suitable to the
fabric. Ken_ _les ere colcx.©oded by
size for your €onvenle_ (See chert below).
Never use a bent needle or one with a dull
point.
ruing, use "o NEI.:I)Lg"..end _OF'OOT"_.*.
*Available at most Seam retail stores and
catal_.
NEED_, _R_D AND FABRIC CHART
i i i,,llll ill i,ll l iH
F_
el ill ]l]]ll ]1 l [I i Ill III I [
_: Batiste,Dimlzy0
ChiffOn.S_lkl, Syrithei_ Jerk,
|llllll. VOill, Ortlii_
SlH AND _ _ STITCH LENGTH
COLOR k'Tnl_
i iiiii iiiiiii]ii ....................... ....... ,m:,,, i, ....................
,..w,, ,,._
11,ORA_ SJkA Winch
ii i]lllhl iiii ]111iiiiiii nil iI ...................................... : ....................... "' '
lnlunO. Pique, Silrl_kM,
Satin, Knlts,Vinyl SUltlngs,
Linen,Wool Crepe, Lelnher
MED4UMWIWII.ilT:C(_o,_,
r,r ¸ r -Illlr "1, III " , I ,J III III mJi
r-lit r'll YiYrlr¸ i- i Ii i ,11 T'III ....
X'.AV'V',MUOm':_.
Uphomeff, Co,onDiJck,
Heavy Twills, Ciirwls
I 7""[ rl I]I i¸¸
i4-1_D pet inch
SilkA
..................... _ il ii_i ............................... ................. ........
or t to 10 istt©hes
i.kww.Outy per inch
lS.PUflPLE Slik A
s_
I Till I III '1 [' _ .................. _ .....
Ill-PURPLE
__ _ ill 11_OMEN Butlonhole Twill _
............... .... o._u. ..................... .........
S_thlile _ llnd _: O.BLUE P_ter CoflilCo$1on Wr_ i0 for _tdM
potyntw Dou4b4eKnit., Nylon _ 50M_ Cotton
T_, J_, SZreil_ Terry, "0 _T" '" 1 tO1:) Stretch
_ndex, C_ Tri_ Stitches
.............. i_ i liii .... Ni ,lilill pi,iMili ( lil(Irl]lliT .........................
8
CHANGING NEEDLE
Raise _is bar to its highest p_itlon by
turning the hand w_l toward you. Loosen
the _e clamp screw, Holding the _le
with _ _ __ _ _o dip the
needle into the _tebar. When It is in as far
as tt will go, tighten the needle €l_p screw,
PREUER UVER
PruNr foot lever _ a two _itlon lift.
In order to place haaw fabric under the
presser foot or to cha_ the _ foot
raise _ _ foot lever to its maximum
upward _tl_ as shown.
EPARATION R DiNG
Swing away spool pin fully to the back of
machine. Place spool of thread on the e_
pin and cover with cap for smith supply of
thread;_
Extra spool pin , is provided on top of
machine. This is used only when winding
bobbin and sewing with double needle.
Pull it up when using.
9
WINDING THE BOBBIN
®
!
®
I. Pull out retractable spool pin and place
thread spool on the pin. To windbobbin,
draw thread from spool through bobbin
winder tension disc as indicated, and pull
end of thread toward bobbin winder.
2. Wind thread around bobbin aev,oral times
in direction of arrow; place bobbin on
bobbirl winder shaft,
3, Push bobbin winder latch against bobbin
until it €lk_kl. Then pull Hand Wheel
away from machine to disengage clutch
10
_'_/_I _ outto
----il
(see diagram below), Start machine by
pressing down on foot control,
4. When bobbin is fuN, winding stops
automatically. Push in Hand Wheel.
Remove bobbin from shaft and trim
thread end.
Treat hand wheel as a "clutch"
It controls the needle drive mechanism so
that when pulled out (disengaged), the
machine will not operate while the bobbin
is being wound.
THR_DING THE BOBBIN CASE
i
®
®
®
O
6
,
Pull thread through slot (B) toward the
rear of machine and leave _out 4 inches
of thread,
Replace bobbin cover plats allowing
thread to emerge through slot in needle
plate,
1, Raise needle to its highut position by
rotating hand wheel toward you.
2, Rmove bobbin cover plate by lifting up
the front,
3. I_rt bobbin into bobbin case making
sure bobbin rotates counter clockwise,
4. Pull thread through slot (A) and then to
the left,
!
il
THR DiNG TOP READ
1, Rain thread take,up lever to its highest
position by turning hand wheel toward you,
Raise preuer foot lever,
Place thread' Wool on _ pin. Piece
appropriate spool cap over the _. See
Fig. 1.
Holding thread taut with right hand, draw
thread through rear thread guides (A and B)
and Into threading channel (C) toward you,
(Fig, 1)
2, Draw thread down channel (C) end up
channel (O). Thread take-up lever IE) by
guiding thread through the slot and lead
thread down through channel (D) again.
Pass thread through lower thread guide (F)
and needle bar thread guide (G) and thread
n_le from front to back, (Fig. 2 and 3)
12
THMADING DOUBLE NEEDLE*
Place second spool of thread on _ond spool
pin, end thread machine as you would for a
single needle except double thread _idee are
provided at (F) and (G) in Fig. 2 end 3. Draw one
thread through each of these and through each
side of _ie from front to beck. Make certain
threeds are not crossed.
*Available at most Sears retail stores and
catalog,
O
PICKING UP BOBBIN READ
1. Raise pr_ foot lever. Hold n_ie
threed I_y in left hand and rotate
he,heel toward you _ complete
turn. (Fig. 1)
2. Bring bobbin thread up by pulling upper
thread. (Fig. 2) ®
3. Pull both threads under and to the back
of the presser foot, leaving 3 to 4 inches
of thread clear, (Fig, 3)
/
®
FIg.2
If you can no1: pick up bottom thread by
following chore steps, then check:
1, is needle threaded ?
2, Is thread tangled around needle ?
3, Is bobbin case threaded correctly with
thread going through slots A and Ber
shown on page 11, Fig. 4 end 5 ?
4, Is there 4 inches of thread coming from
bobbin case and through slot of needle
plate as shown on _ge 11, Fig. 6?
5. Is thread from bobbin case tangled ?
Fig. 3
13
t
)
i4
F_. i
Fig. 2
FIo. 4
PREUER FE_
/'hismachineis fittedwlzha zigzagP_r
1. Straight stitch foot
2, Satin stitch foot
3, Buttonhole foot
4. Built.in buttonhole guide foot
6. Zipper foot
CHANGING _EUER FEn
Make sure needle is tn the up position, Raise
presser foot lever.
_.on miser f_
. Raise foot _ leVer 1o remove zne
foot, {Fig, 1)
2, Place desired foot on the needle plate
aligning _te holes, Lower the p_r
foot le_ so that foot holder snaps on the
foot, (Fig. 2)
One.pkN:e presser feet (Fig, 3)
1, L_n IXesser foot thumb scxew and
remove the foQt holder,
2, Insert _red foot from the left, Lower
the presser foot lever and tighten the
screw using the large screw ddver to
make certain the foot is secure.
For m_lnas with prestJey foot lock (Fig, 4).
To change presser feet, simply drop Pr_r
Foot L_k and slip foot away from the
Presser Bar. Raise Pr_r Foot L_r _ond
the normal up position and place _ foot on
presser bar, To lock foot securely, raise
presser foot lock es high as possible,
FEED COVER PLATE
There are a few ti_ when you want to
control the feeding of the fabric yourself.
Raise needle to its highest position and raise
presser foot, Place feed cover plate over
needle plate aligning two pins of feed cover
plate with ho_ of _e plate. Yo_ may
then determine the movement of the fabrk_
STITCH 8ELECTOR
All of the stitches t_t are made by your
Kenm_ _chine ere illustrated on the stitch
sel_tor, You can obtain your desired stitch
by imply turning the dial.
Stitch patternsare color-coded to recommnd
setting ranges on stitch length end width
dials,
Orange pattm
Yellow
Hue _4n buttonhole
STITCH UNG_ CO_ROL
NUMBER- THE SHORTER THE STITCH.
The nu_ on stitch lert_ contro! IndP,,ates
the _xirnate nu_ of stitc_ Per inch,
The Itit_h _ you ues win be de_Ined by
the thickness of the fabrl© you am _,
A _ _h es_ _ld be ulmd for
thicket fe_ or _ layem of fabric,
The middle range of the control is the i2 stitch
per inch range which is the most commonly
u_.
Recom_ed seffing ranges are color-coded
In four colors to stitch patterns on the selector
dkd.
The orange marking m between 0 and 24 is
_e _t_ng u_ for the _est _tchn _¢h as
m satin _tchi_,
Yemow
_ pauern_
buttonhole range
!5
8TITCH WIDTH/NEEDLE
PosrrloN CONTROL
The width of all the Stitche_ produced on this
machine, with the obvious exception of
I
I
i
!
I
i
Revere stitch _er
I
i
I
To decrease or increase the width of s stitch,
turn the stitch width control dial from .!.. 4,
The-higher the number the wider the atltch.
Recommended settingrenges are color.
coded to patterns on the stitch selector dial.
When _ng with a double needle*, control
the stitch Width within white zone on the dial.
NOTE: Doubleneedle will hit needle plate
and break if stitch width la set out of
white zone on the dial,
Some models enable you to straight stitch
with the needle in any of threepoeitiorw -
left, right or center, These positions are
designated as L, R or C on the stitch width
dial. Details for sewing in these positions are
given on page 2!1 and 36.
_Available at most Sears retail stores and
catalog,
R ERSE L ER
It is best to begin and finish seams with
stitches taken tn reve_ about _ Inch. This
is called 'BACK TACKING. Back tacki_
fastens the ends of the seams firmly and
prevents raveling.
When reverse stitching is needed, push down
the lever end hold there dud_ ironing. The
fabric will im_iately start feeding back.
war= and seam will be fastened. See page tg
and 21 for details.
NOTE: When you operate the lever while
ruing straight stretch stitch: the
machine sews only straight stitches
and does not uw straight stitch in
reverse.
Do not use the lever while sewing
zigzag stretch stitches. The machine
sews only zigzag stitches in reverse.
_ i rr ( i ii _j ii_
16
BUTTONHOLE CONTROL
This control iS used in making bar tacked
buttonholes with two con_ settings.
Detailed instructions are given on page 43,
(This feature is built into the stitch selector
on some models,)
PRESSURE REGU_TOR
Presser foot pressure is vital for strsight
seame, uniform etitch length and even
handling of both isyml of hlbdo, To adjust
pressure; use pressure regulator whk:h Is
located inside the face cover, To Incremm
p_ure, turn thediald6ckwlse, To decrease
pressure,turn thedlal€ounterclockwise.
8_M GUIDE8
Seam guides ate engraved in needle plate at
both s_ of feed dog holes to help you line
up the febHo and keep it atrsighL The
standard seam width is 5/8", So these li_
are emphasized, easy to follow.
Each dimension on _le plate indicates
seam width from needle al Center position.
If using either Right or Left _le position,
add or subtract 1/8" to the marking.
Alsothe crosslinesere "cornering guides" to
h_ when turning n square €omer 5/8" from
the fabric_e. tFo¢detailson €_erlng, see
page_.)
v
CorneringGuide
o
17
STRAIGHT STITCHING
Decrease ktereue
temllotl tensioh
Top stitch
too tight too lOOse
ZIGZAG STITCHING
For molt febdu the top thread tlm_on control
_o,ld beut inthewhitezonebetwwn3endS.
If, when you start to sew. you find that the
ztJtchlngisIrr_ulK, youwillneedto adjustthe
tension_,
+" w
Make any adjustrnlmtl with ptess_ foot 'down.
1, If the lhrsadl orekx_king on the top iu_face
withthetopthrsadlytngftat,thelop_ is
tOO tioht. Timeton can be _ by
turning the tension centre4 to the teh (lower
n,ml_rs).
2, If the m/area is heppenin9 with the threads
onthe undemideof thefe_o, the tonzlonis
too loeb, This can be oorreCt_ by tumtn9
the tensioncontrolto the right (higl_
numberz),
ZIGZAG STITCHING
In the cm of zigzag stitching, the wider the
zigzag setting, the more chem_e there Is of
puckering, If this occurs decrease the top
tar.don ilightly and/or reduce the zl_ag width.
BOBBIN THREAD TENSION
The bobbin thread tension has been correctly
set at the factory, so you do not need to adjust
it,
h r _ i r i i i i ,
MORE _lS8 ON _R_D _NSlON BALANCE
A perfect stitch is obtained when the tension
is well balanced, but the tension balance may
vary according to the type end size of _le,
thread and fabric, The fabdc determines size of
thread and needle, The presser foot pressure
and the thread tension control should also be
adjusted properly,
FABRICS:
Heavy fabric, stiff . increase top thread
tension, Use larger size needle, heavier thread
and longer stitch length,
18
Heaw fabrics, soft - Decrease top thread
tension. Use longer stitch length,
Light, sheer fabdcs - Oecrease top thread
tension and presser foot prate. Use shorter
stitch length, Sew slowly,
THREADS:
Poiyester and silk, Decrease top thread tension.
Nylon- Increase top thread tension,
2. STARTING TO SEW
Now that you m faunmw with the eontrols on your machine and with the accessories provided
for the machine, you sireready to start to low with your sewing meohine, Below am some good
habits to follow eaK:htime you sit down to low:
1. Check the needkl-lt should be straight, 5.
properly set and sharp on the point.
it should be thecorrect size for the fad_tc
andthmzdbeingused. Do not be afraid
_ochangeyourneedlefrequently.Many
of the new fabrics made of synthetic
blends, tend to dull the needles more
easily than fabdcs made of natural fibers.
I
r
I
Run the machine at slow even speed.
The more prelate you put on the foot
control, the falter the machine will sew.
,
Before placing the rnaterbl on the 6.
machine,see that the ends of the threads
havebeen drawn about 3-4 inches to the
rear of the machine. Hold on to threads
dudng the sewing of the first 3 or 4
stitches of the seam. ,t
Fasten each seam by back tacking tit the
beginning arid end of the seam,
3. Test the _hlne stitch on 8 scrap of
fabric you plan to use, The fsb_ _ld
be double thtcknm. Adjust t_ _hi_
for the length of stitch and tension
sultabte to your fabric.
4. Feb_ should be placed under the presser
foot with the bulk of the mterkd to the
left of the needle end the _ht edge of the
mat_i_d_ on the5/8' seammarking
on the _ plate when making a simple
seem,
7.
8_
9,
Finish sewing _h seam with tim needle
izt Its highest point exr_lq)t turning a
square€or_. (Seepage_.)
Guide the fabdc gentP,/with your hand.
N_ pull or hold the fa_ in such o way
that the n_i feeding is altered.
W_ turning the hand wheel manually,
always turn it toward you.
19
  • Page 1 1
  • Page 2 2
  • Page 3 3
  • Page 4 4
  • Page 5 5
  • Page 6 6
  • Page 7 7
  • Page 8 8
  • Page 9 9
  • Page 10 10
  • Page 11 11
  • Page 12 12
  • Page 13 13
  • Page 14 14
  • Page 15 15
  • Page 16 16
  • Page 17 17
  • Page 18 18
  • Page 19 19
  • Page 20 20
  • Page 21 21
  • Page 22 22
  • Page 23 23
  • Page 24 24
  • Page 25 25
  • Page 26 26
  • Page 27 27
  • Page 28 28
  • Page 29 29
  • Page 30 30
  • Page 31 31
  • Page 32 32
  • Page 33 33
  • Page 34 34
  • Page 35 35
  • Page 36 36
  • Page 37 37
  • Page 38 38
  • Page 39 39
  • Page 40 40
  • Page 41 41
  • Page 42 42
  • Page 43 43
  • Page 44 44
  • Page 45 45
  • Page 46 46
  • Page 47 47
  • Page 48 48
  • Page 49 49
  • Page 50 50
  • Page 51 51
  • Page 52 52
  • Page 53 53
  • Page 54 54
  • Page 55 55
  • Page 56 56
  • Page 57 57
  • Page 58 58
  • Page 59 59

Kenmore 1581784080 User manual

Category
Sewing machines
Type
User manual

Ask a question and I''ll find the answer in the document

Finding information in a document is now easier with AI