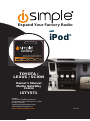
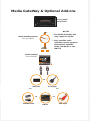
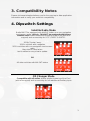
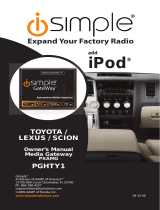
PAC ISTY571 is an iPod integration module that connects to your car's factory radio via the 24-pin micro-fit connector. It enables you to listen to music from your iPod through your car's existing speakers, and it also allows you to control the playback of your iPod using your car's factory radio controls. The PAC ISTY571 supports a variety of iPod models, including the iPod touch, iPod nano, and iPod classic. It also supports a variety of file formats, including MP3, WMA, and AAC.
In addition to its iPod integration capabilities, the PAC ISTY571 also includes a number of other features, such as: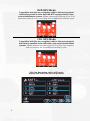


-
 1
1
-
 2
2
-
 3
3
-
 4
4
-
 5
5
-
 6
6
-
 7
7
-
 8
8
-
 9
9
-
 10
10
-
 11
11
-
 12
12
-
 13
13
-
 14
14
-
 15
15
-
 16
16


PAC ISTY571 is an iPod integration module that connects to your car's factory radio via the 24-pin micro-fit connector. It enables you to listen to music from your iPod through your car's existing speakers, and it also allows you to control the playback of your iPod using your car's factory radio controls. The PAC ISTY571 supports a variety of iPod models, including the iPod touch, iPod nano, and iPod classic. It also supports a variety of file formats, including MP3, WMA, and AAC.
In addition to its iPod integration capabilities, the PAC ISTY571 also includes a number of other features, such as:
Ask a question and I''ll find the answer in the document
Finding information in a document is now easier with AI
Related papers


Other documents
-
iSimple Car Stereo System PXAMG User manual
-
 AAMP of America iSimple Owner's manual
-
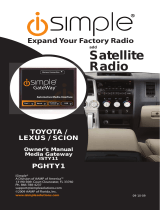 Simple Car Satellite Radio System PGHTY1 User manual
-
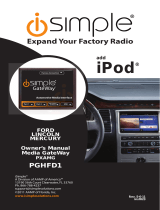 Simple Mobile ISIMPLE PGHFD1 User manual
-
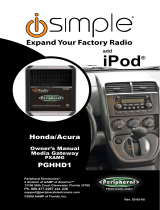 Peripheral Electronics PGHHD1 User manual
-
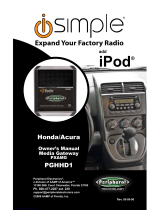 Peripheral Electronics PGHHD1 User manual
-
AAMP of America PGHFD1 Owner's manual
-
 Neo Car Audio HD1 Owner's manual
-
-
 Peripheral Electronics ISBM72 User manual


