16
GB
Whirlpool is a registered trademark of Whirlpool, USA.
© Whirlpool Sweden AB 2012. All rights reserved. Made in Sweden.
5019-300-00751
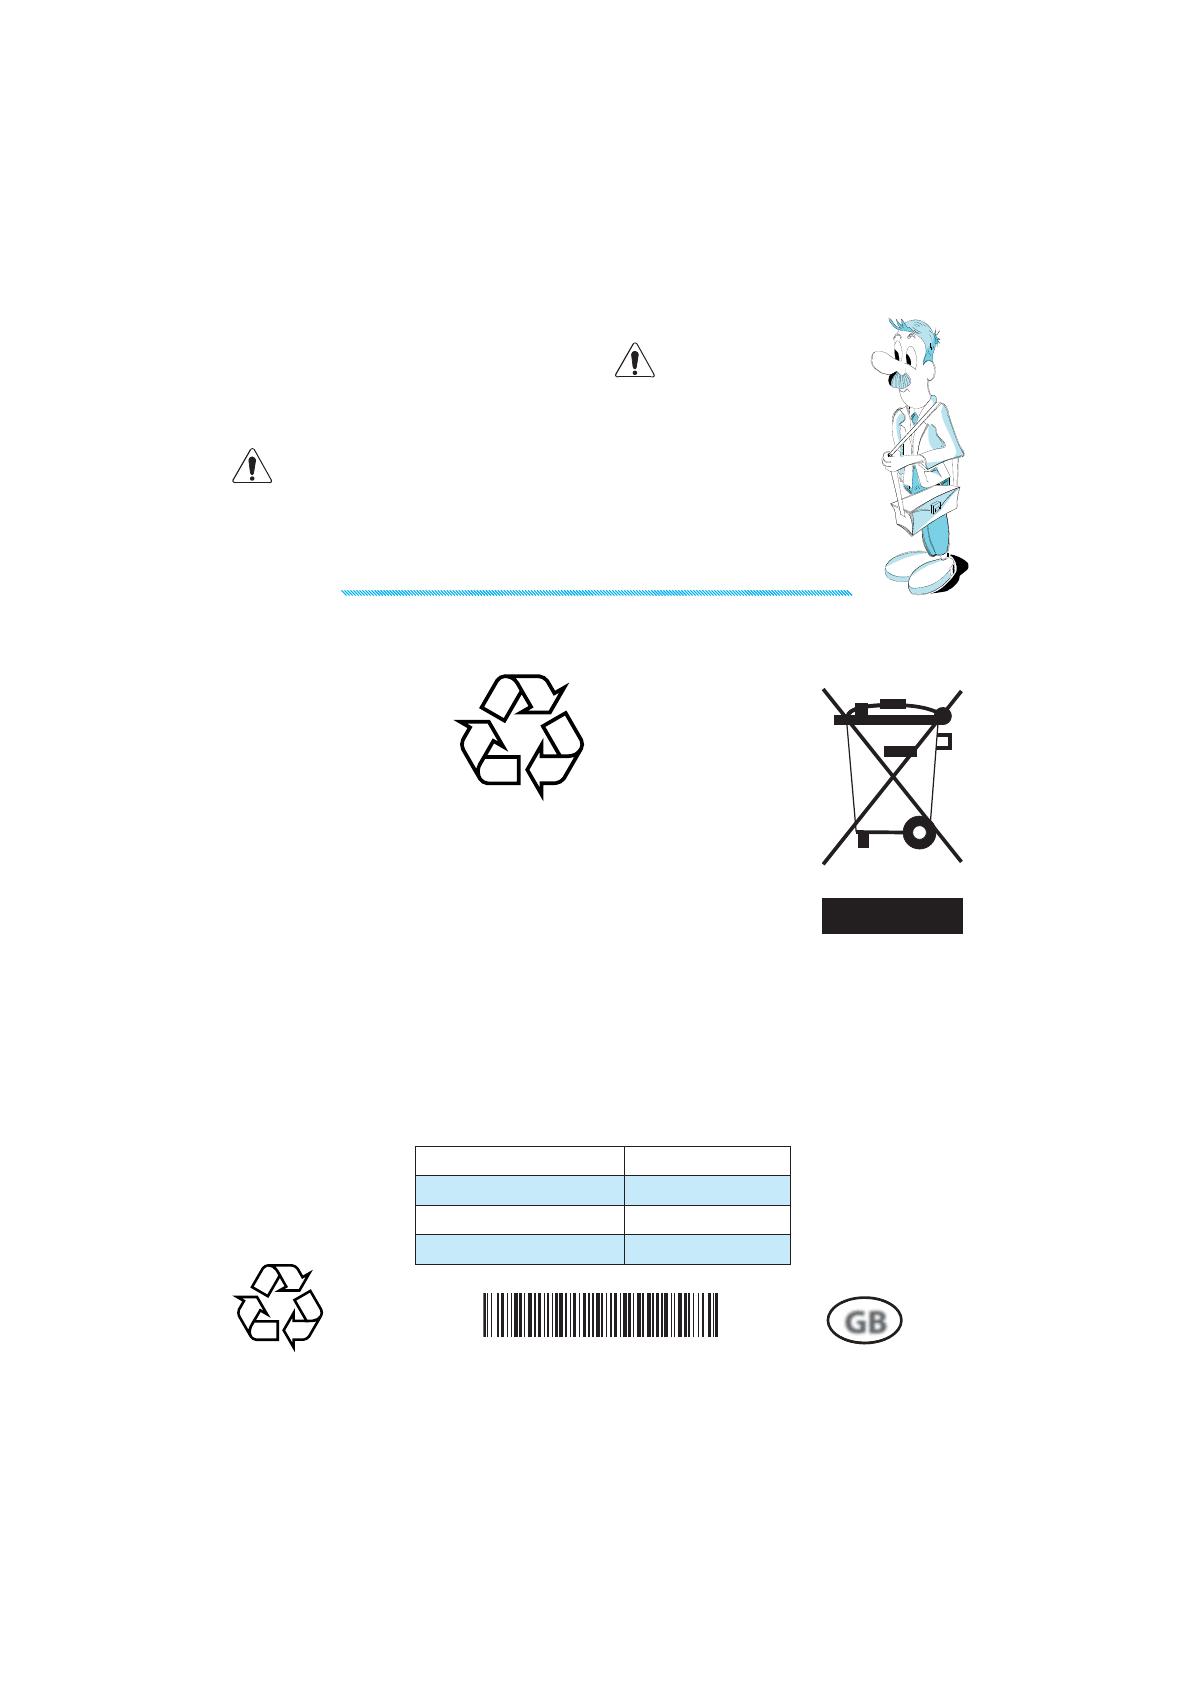
ENVIRONMENTAL HINTS
THE PACKING BOX may be fully recy-
cled as confirmed by the recy-
cling symbol. Follow local dis-
posal regulations. Keep po-
tentially hazardous packag-
ing (plastic bags, polystyrene
etc.) out of the reach of children.
THIS APPLIANCE is marked according to the Euro-
pean directive 2002/96/EC on Waste Electrical
and Electronic Equipment (WEEE). By ensuring
this product is disposed of correctly, you will
help prevent potential negative consequences
for the environment and human health, which
could otherwise be caused by inappropriate
waste handling of this product.
THE SYMBOL on the product, or on the docu-
ments accompanying the
product, indicates that this
appliance may not be treat-
ed as household waste. In-
stead it shall be handed over
to the applicable collection
point for the recycling of elec-
trical and electronic equip-
ment.
DISPOSAL must be carried
out in accordance with lo-
cal environmental regula-
tions for waste disposal.
For more detailed information about treat-
ment, recovery and recycling of this prod-
uct, please contact your local city office, your
household waste disposal service or the shop
where you purchased the product.
Before scrapping, cut off the mains cord so
that the appliance cannot be connected to the
mains.
TROUBLE SHOOTING GUIDE
WHEN CALLING FOR SERVICE, please give the se-
rial number and type number of the appli-
ance (see Service label). Consult your warranty
booklet for further advice.
I
F THE MAINS CORD NEEDS REPLACING it should
be replaced by the original mains cord,
which is available via our service organi-
zation. The mains cord may only be re-
placed by a trained service technician.
S
ERVICE ONLY TO BE CARRIED OUT
BY A TRAINED SERVICE TECHNICIAN.
It is hazardous for anyone other
than a trained person to carry
out any service or repair oper-
ation, which involves the re-
moval of any cover.
D
O NOT REMOVE ANY COVER.
SUPPLY VOLTAGE 220 - 230 V/50 HZ
RATED POWER INPUT 1100 W
F
USE 10 A (UK 13 A)
O
UTER DIMENSIONS (HXWXD) 382 X 595 X 305


