10
EXPRESS COOKING
With express cooking, you touch the EXPRESS
button a number of times to state cooking time
and the oven will work at full power level.
Suppose you want to set the oven to microwave
for 1 minute at 100% power level.
1. Touch the EXPRESS button 3 times, “1:00” will
appear in the display.
2. Touch START button.
WEIGHT DEFROST
Automatically sets proper defrosting cycle once
you have entered the weight of the food to be
thawed Maximum allowable weight for each
category is shown below.
Suppose you want to defrost 600g shrimp.
1. Touch WEIGHT DEFROST button 3 times. "d3"
will appear in the display.
2. Touch 1-MIN. button 6 times.
3. Touch START button.
NOTE:
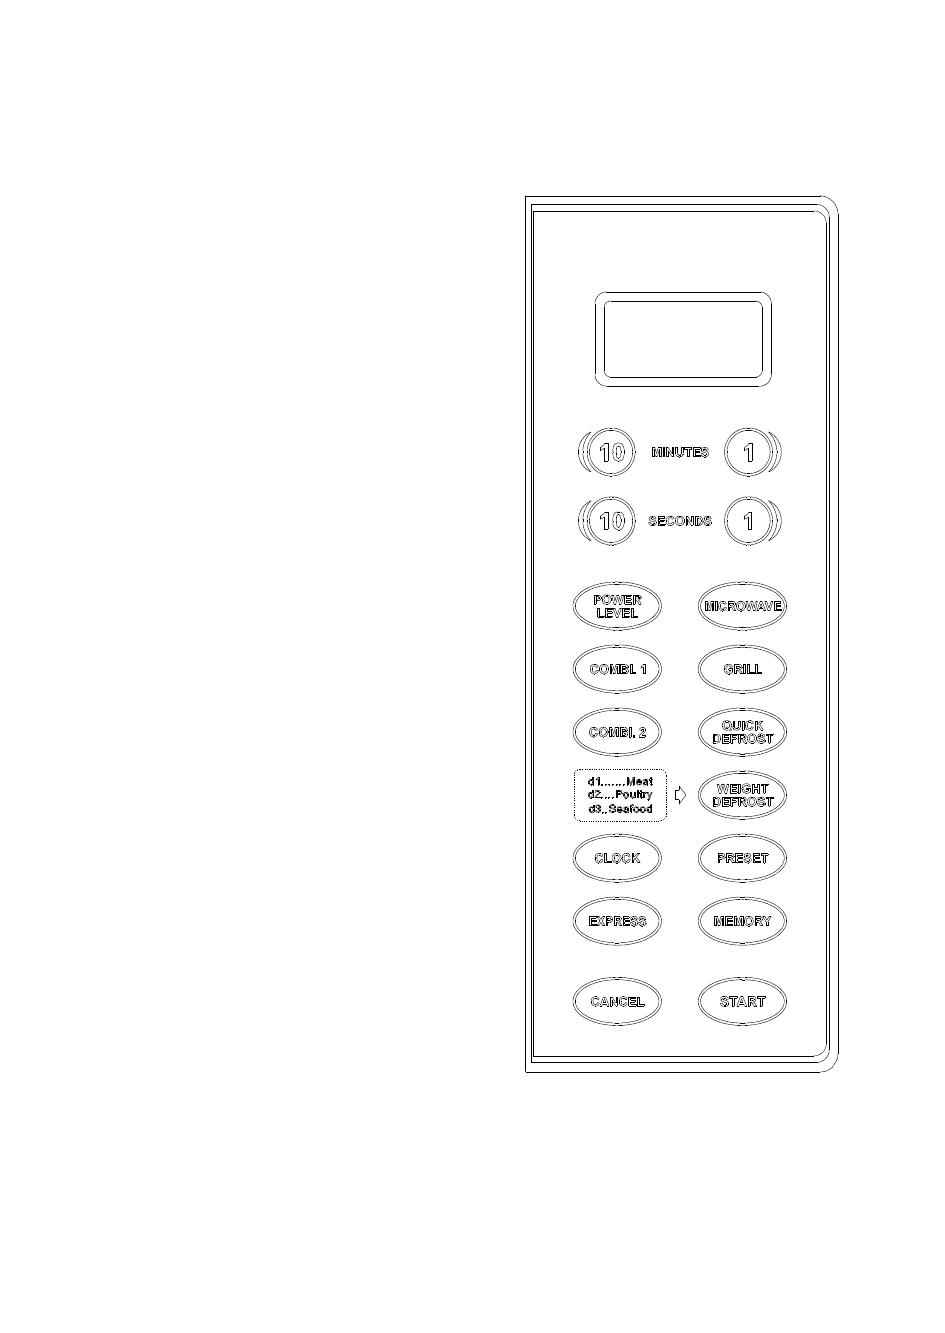
NUMBER PADS
10 MINUTES =1000g 1 MINUTES =100g
10 SECONDS = 10g 1 SECONDES =1g
You may need to turn food over at the middle of
cooking time to obtain uniform cooking.
The oven will not start if you happen to enter
weight in excess of the maximum recommended.
For food exceeding these maximum weights, use
the QUICK DEFROST program.
To serve as a reminder, after a cooking or
defrosting function has completed, the oven makes
beeps every two minutes until the door is opened
or the CANCEL button is touched.
QUICK DEFROST
With QUICK DEFROST, you need to input
defrosting time,
Suppose you want to set the oven to QUICK
DEFROST for 5 minutes and 30 seconds.
1. Touch QUICK DEFROST button.
2. Touch 1-min. button 5 times and 10-sec. button
3 times.
3. Touch START button.
SETTING TIMER
To set the minute timer, do the following,
1. Touch MICROWAVE button.
2. Use number buttons to input needed time.
3. Touch POWER LEVEL button 6 times and the
display will show “0”.
4. Touch START button.
NOTE:
This additional feature is used for timing things
done outside the oven. Three beeps will sound at
the end of the elapsed time. The oven light and
cooling fan will turn on while the time is counting
down, but there is no microwave present.
SAFETY LOCK
use to prevent unsupervised operation of the oven
by little children. The CHILD LOCK indicator will
show up on display screen, and the oven can not
be operated while the CHILD LOCK is set.
1. To set the CHILD LOCK: Press and hold the
CANCEL button for 3 seconds, a beep sounds
and LOCK indicator lights.
2. To cancel the CHILD LOCK: Press and hold the
CANCEL button for 3 seconds until lock
indicator on display goes off.
NOTE:
You can not operate the oven while the child lock
is set.
TO STOP THE OVEN DURING OPERATION
Open the door.
You can restart the oven by closing the door and
touching START button.
NOTE:
Oven stops operating the moment when door is
opened.
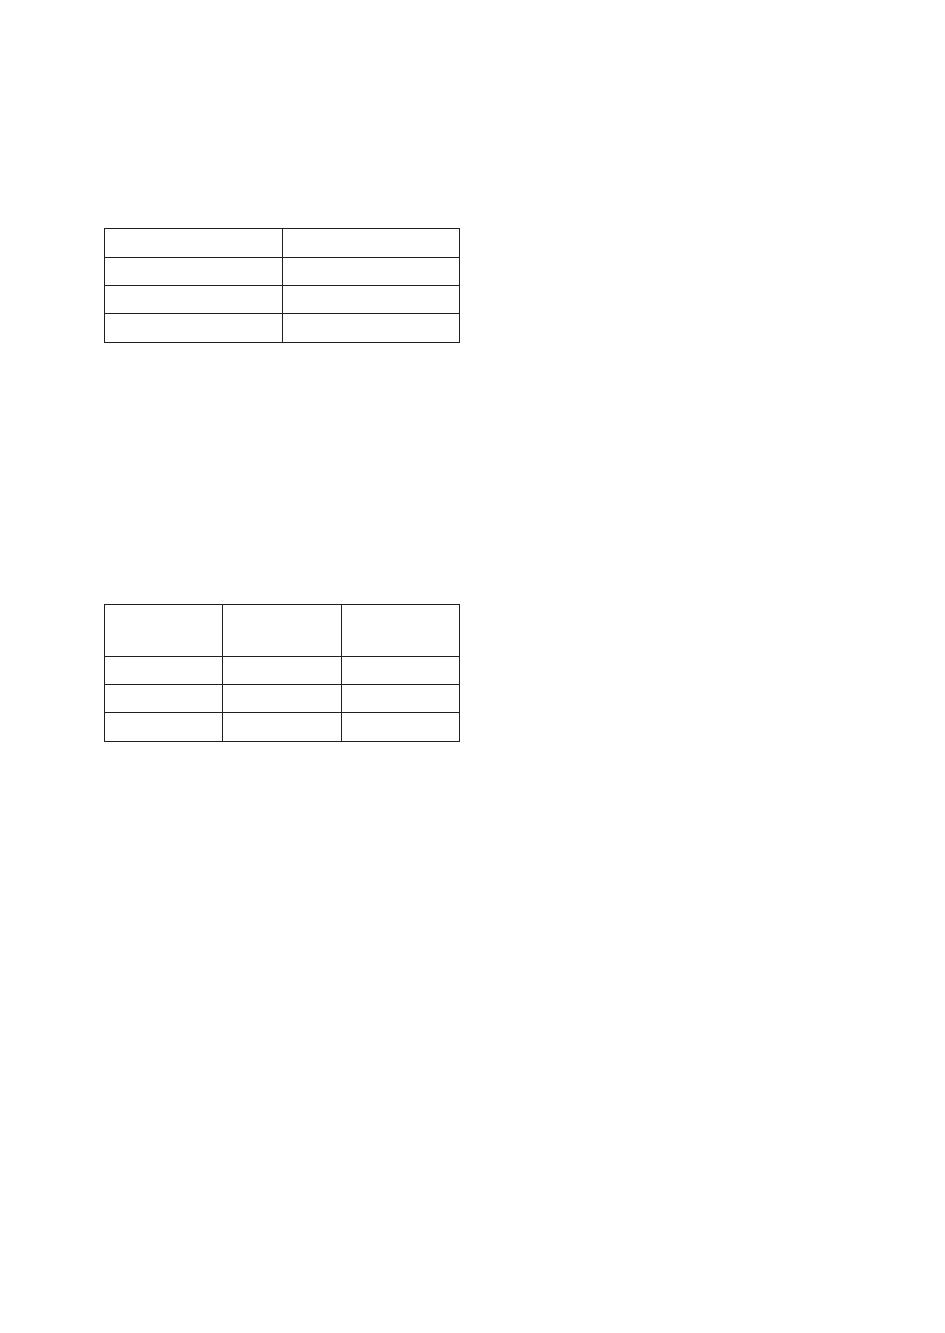
Touch Once 15 seconds
To u c h Tw i c e 30 seconds
Touch 3 Times 1 minute
Touch 4 Times 2 minutes
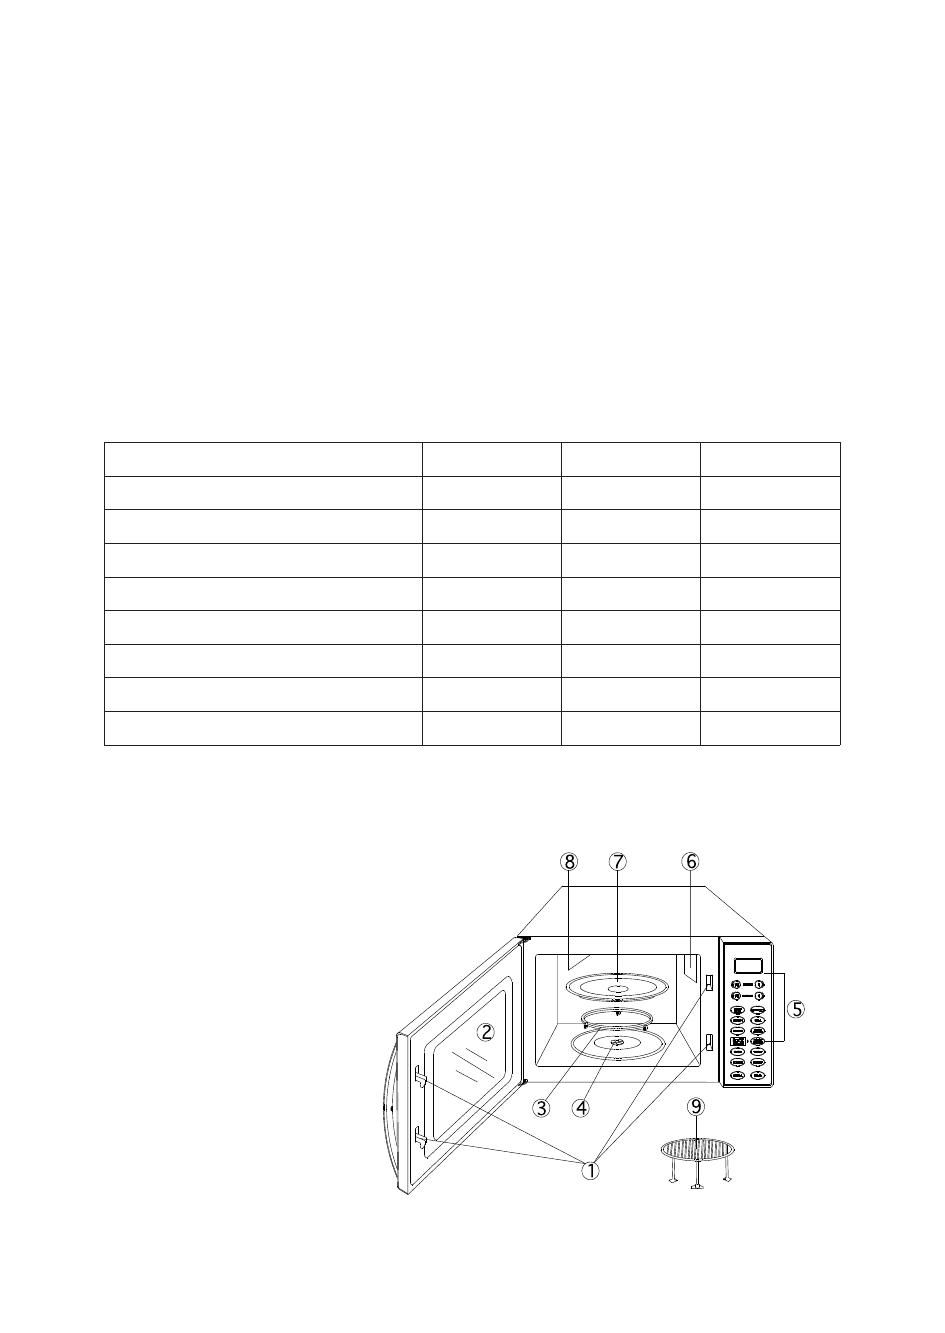
FOOD
CATEGORY
MAXIMUM
WEIGHT
DISPLAY
Meat 2300g d1
Poultry 4000g d2
Seafood 900g d3