9
Add Fuel
Fuel must meet these requirements:
• Clean, fresh, unleaded gasoline.
• A minimum of 87 octane/87 AKI (91 RON). For
high altitude use, see High Altitude.
• Gasoline with up to 10% ethanol (gasohol) is
acceptable.
NOTICE Use of unapproved fuels could damage
generator and voids warranty.
• DO NOT use unapproved gasoline such as E15 and E85.
• DO NOT mix oil in gasoline or modify engine to run on
alternate fuels.
To protect the fuel system from gum formation, mix in a
fuel stabilizer when adding fuel. See Storage. All fuel is
not the same. If you experience starting or performance
problems after using fuel, switch to a different fuel
provider or change brands. This engine is certified to
operate on gasoline. The emission control system for this
engine is EM (Engine Modifications).
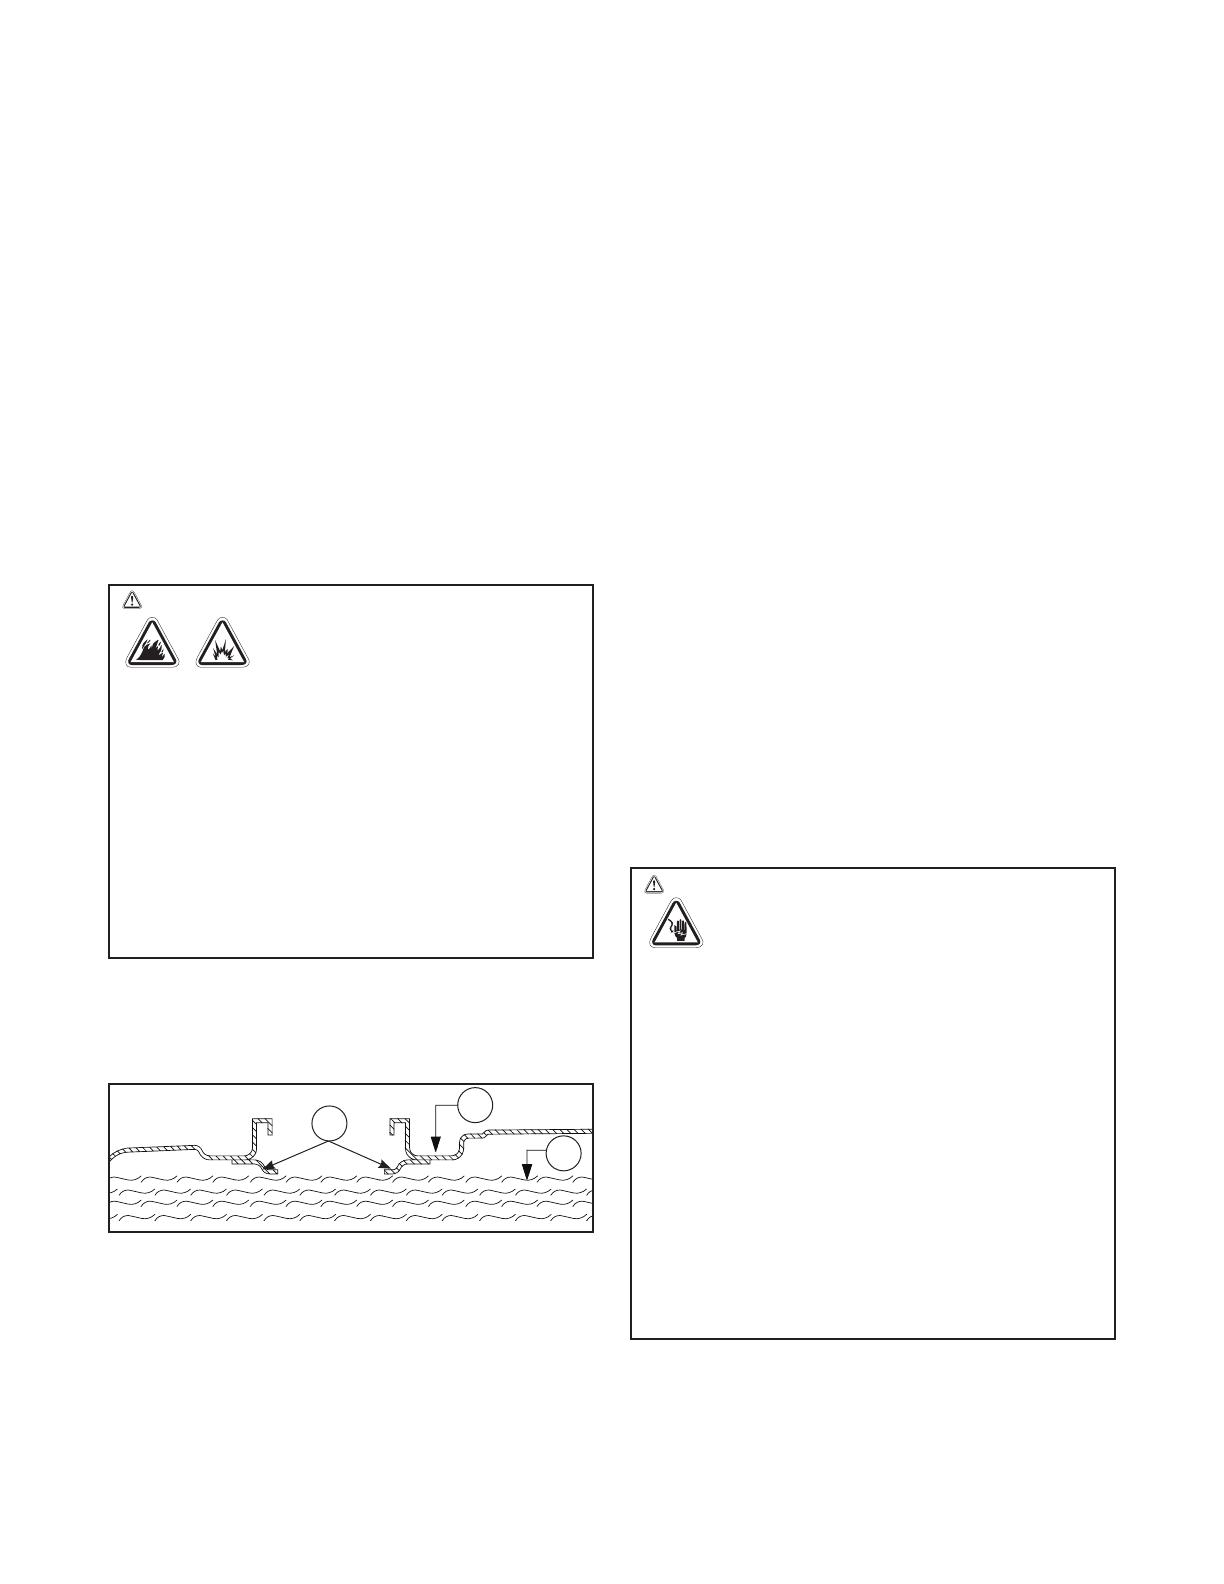
1. Clean area around fuel fill cap, remove cap.
2. Slowly add unleaded gasoline (A) to fuel tank
(B). Be careful not to fill above the baffle (C).
This allows adequate space for fuel expansion as
shown.
3. Install fuel cap and let any spilled fuel evaporate
before starting engine.
High Altitude
At altitudes over 5,000 ft. (1524 m), a minimum
85 octane / 85 AKI (89 RON) gasoline is acceptable.
To remain emissions compliant, high altitude
adjustment is required. Operation without this
adjustment will cause decreased performance,
increased fuel consumption, and increased emissions.
See an authorized dealer for high altitude adjustment
information. Operation of the engine at altitudes
below 2,500 ft. (762 m) with the high altitude kit is not
recommended.
System Ground
The generator has a system ground that connects the
generator frame components to the ground terminals
on the AC output receptacles. The system ground is
connected to the AC neutral wire (the neutral is bonded
to the generator frame).
Special Requirements
There may be Federal or State Occupational Safety
and Health Administration (OSHA) regulations, local
codes, or ordinances that apply to the intended use of
the generator. Please consult a qualified electrician,
electrical inspector, or the local agency having
jurisdiction:
• In some areas, generators are required to be
registered with local utility companies.
• If the generator is used at a construction site,
there may be additional regulations which must be
observed.
Connecting to a Building’s Electrical
System
Connections for standby power to a building’s electrical
system must use a listed transfer switch installed by
a current licensed electrician. The connection must
isolate the generator power from the utility power and
must comply with all applicable laws and electrical
codes.
FUEL
TANK
C
B
A
WARNING
Generator voltage could cause
electrical shock or burn resulting in death or
serious injury.
• Use listed transfer equipment, suitable for the intended
use, to prevent backfeed by isolating generator from
electric utility workers.
• When using generator for backup power, notify utility
company.
• Use a ground fault circuit interrupter (GFCI) in any damp
or highly conductive area, such as metal decking or steel
work.
• DO NOT touch bare wires or receptacles.
• DO NOT use generator with electrical cords which are
worn, frayed, bare or otherwise damaged.
• DO NOT operate generator in the rain or wet weather.
• DO NOT handle generator or electrical cords while
standing in water, while barefoot, or while hands or feet
are wet.
• DO NOT allow unqualified persons or children to operate
or service generator.
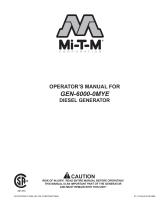
WARNING Fuel and its vapors are extremely
flammable and explosive which could
cause burns, fire or explosion
resulting in death or serious injury.
WHEN ADDING FUEL
• Turn generator engine OFF and let it cool at least 2 minutes
before removing fuel cap. Loosen cap slowly to relieve
pressure in tank.
• Fill fuel tank outdoors.
• DO NOT overfill tank. Allow space for fuel expansion.
• If fuel spills, wait until it evaporates before starting engine.
• Keep fuel away from sparks, open flames, pilot lights,
heat, and other ignition sources.
• Check fuel lines, tank, cap and fittings frequently for
cracks or leaks. Replace if necessary.
• DO NOT light a cigarette or smoke.