Gorenje BPDDM00L00E06 User manual

Category
Cooker hoods
Type
User manual
Questo modello è adatto per piani di cottura a GAS con una configurazione massima mostrata nel
disegno sotto ed è adatto per l’uso con tutti i piani di cottura a GAS con una potenza totale non
superiore a 12,25KW.
This model is suitable for GAS hobs with the maximum configuration shown in the drawing below and is
suitable for use with all GAS hobs with a total power output not exceeding 12.25 kW.
Das vorliegende Modell ist passend für Gasöfen, deren maximale Konfiguration auf der nachfolgenden
Skizze dargestellt ist und eignet sich zur Anwendung mit allen Gasöfen, deren Leistung 12,25 kW nicht
überschreitet.
Le présent modèle convient aux cuisinières à gaz de configuration maximum démonstrée sur la figure
ci-dessous et à toutes les cuisinières à gaz de puissance totale jusqu’à 12,25 kW.
El modelo descrito, es adecuado para las cocinas de gas con las características máximas descritas
en la figura de abajo y es válido para su uso en todas las cocinas de gas con la potencia total no
superior a 12,25kW.
Este modelo é adequado para Fogões a gás de uma máxima configuração, mostrados no desenho
abaixo, e é adequado para o uso em todos os Fogões a gás com uma capacidade total não superior a
12,25 kW
Het model in de onderstaande afbeelding is geschikt voor gasfornuizen met een maximale configuratie
en is geschikt voor alle gasfornuizen met een totaal vermogen van niet meer dan 12.25 kW.
Эта модель подходит для газовых плит с максимальной конфигурацией, которая указана на рисунке,
и может использоваться со всеми газовыми плитами общей мощностью до 12,25 кВт.
Denne model er velegnet til gaskomfur med. En maksimal konfiguration vist i billede nedenfor. Og er
velegnet til brug med alle gaskomfurer med en samlet effekt på højst 12,25kW.
Tämä malli sopii kaasuliesiin, joiden enimmäisvarustus on kuten alla olevassa kuvassa on esitetty ja
sopii käytettäväksi kaikkien kaasuliesien kanssa, joiden yhteenlaskettu teho on enintään 12,25 kW.
Denna modell lämpar sig för gasspisar som enligt ritningen nedan är maximalt konfiguerade och kan
användas med alla gasspisar med maximalt 12,25 kW (totalkraft).
Ôï ðáñüí ìïíôÝëï åßíáé êáôÜëëçëï ãéá ôéò åóôßåò áåñßïõ ìå ôï ìÝãéóôï óõó÷çìáôéóìü ðïõ áíáöÝñåôáé
óôçí ðáñáêÜôù åéêüíá êáé åßíáé êáôÜëëçëï ãéá ÷ñÞóç óå óõíåñãáóßá ìå üëåò ôéò åóôßåò áåñßïõ ìå ôç
óõíïëéêÞ éó÷ý [ðïõ äåí õðåñâáßíåé ôçí ôéìÞ 12,25 kW.
Acest model se potriveşte pentru maşina de gătit cu gaz cu configuraţie maximă prezentată în desenul
de mai jos şi se poate utiliza cu toate maşinile de gătit cu gaz cu o putere maximă totală de 12,25 KW
Tento model je odpovídající pro plynové sporáky s maximální konfigurací, která je představena na níže
uvedeném výkresu a je vhodná k pou•ívání se všemi plynovými sporáky s celkovým výkonem 12,25 kW.
Tento model je odpovedajúci pre plynové sporáky s maximálnou konfiguráciou, ktorá je predstavená na
dole uvedenom výkresu a je vhodná k pou•ívaniu so všetkými plynovými sporákmi s celkovým výkonom
12,25 kW.
IT
E N
D E
FR
ES
PT
NL
R U
D K
FI
SV
G R
R O
CZ
SK
English
! The appliance must be installed by a qualified
person in compliance with the instructions
provided.
!
Wear gloves when carrying out installation and
maintenance operations.
If the supply cord is damaged, it must be replaced by
the manufacturer, its service agent or similarly
qualified persons in order to avoid a hazard.
Warning: Failure to install the screws or fixing device
in accordance with these instructions may result in
electrical hazards.
AIR VENT
(for ducting versions)
! Prepare the hole and the air vent duct (150 mm
diameter).
! Use a duct of the minimum indispensible length.
! Use a duct with as few elbows as possible
(maximum elbow angle: 90°).
! Avoid drastic changes in the duct cross-section.
! Use a duct with an as smooth as possible inside.
! The duct must be made of certified material.
! Do not connect the hood to smoke exhaust ducts for
the products of combustion (boilers, fireplaces,
stoves, etc).
! For the air vents comply with the provisions laid
down by the competent authorities.
In addition, the air must not be evacuated through a
hole in the wall unless specifically intended for this
purpose.
! Fit air intakes in the room to prevent the hood from
creating a negative pressure in the room (which must
not exceed 0.04 mbar); if the hood is used at the
same time as non-electrical equipment (gas-, oil- and
charcoal-fired stoves, etc.) the exhaust gas may be
sucked in by the heat source.
FILTERING OR DUCTING VERSION ?
The hood may be in filtering or in ducting version.
Decide from the outset which type is to be installed.
For better efficiency, we recommend installing the
hood in the ducting version (if possible).
Ducting version
Version with external motor
The hood purifies the air and evacuates it to the
outside through an exhaust duct (diameter 150 mm).
Filtering version
The hood purifies the air and recycles the clean air
back into the room.
Only for hoods equipped with electronic control:
The 4th speed (intensive) is automatically lowered to
3rd speed after 5 minutes of operation to optimise
energy consumption.
- If the hood is left on (lights and/or motor), after 10
hours in the absence of commands from the user, it
will automatically switch to OFF condition with all
services switched off.
- The Buzzer emits a “beep” each time that a
command is set from the keyboard or remote control
(optional).
- In the event of interruption of power during the hood,
if you restore the hood in the OFF state, then the
engine must be reactivate manually.
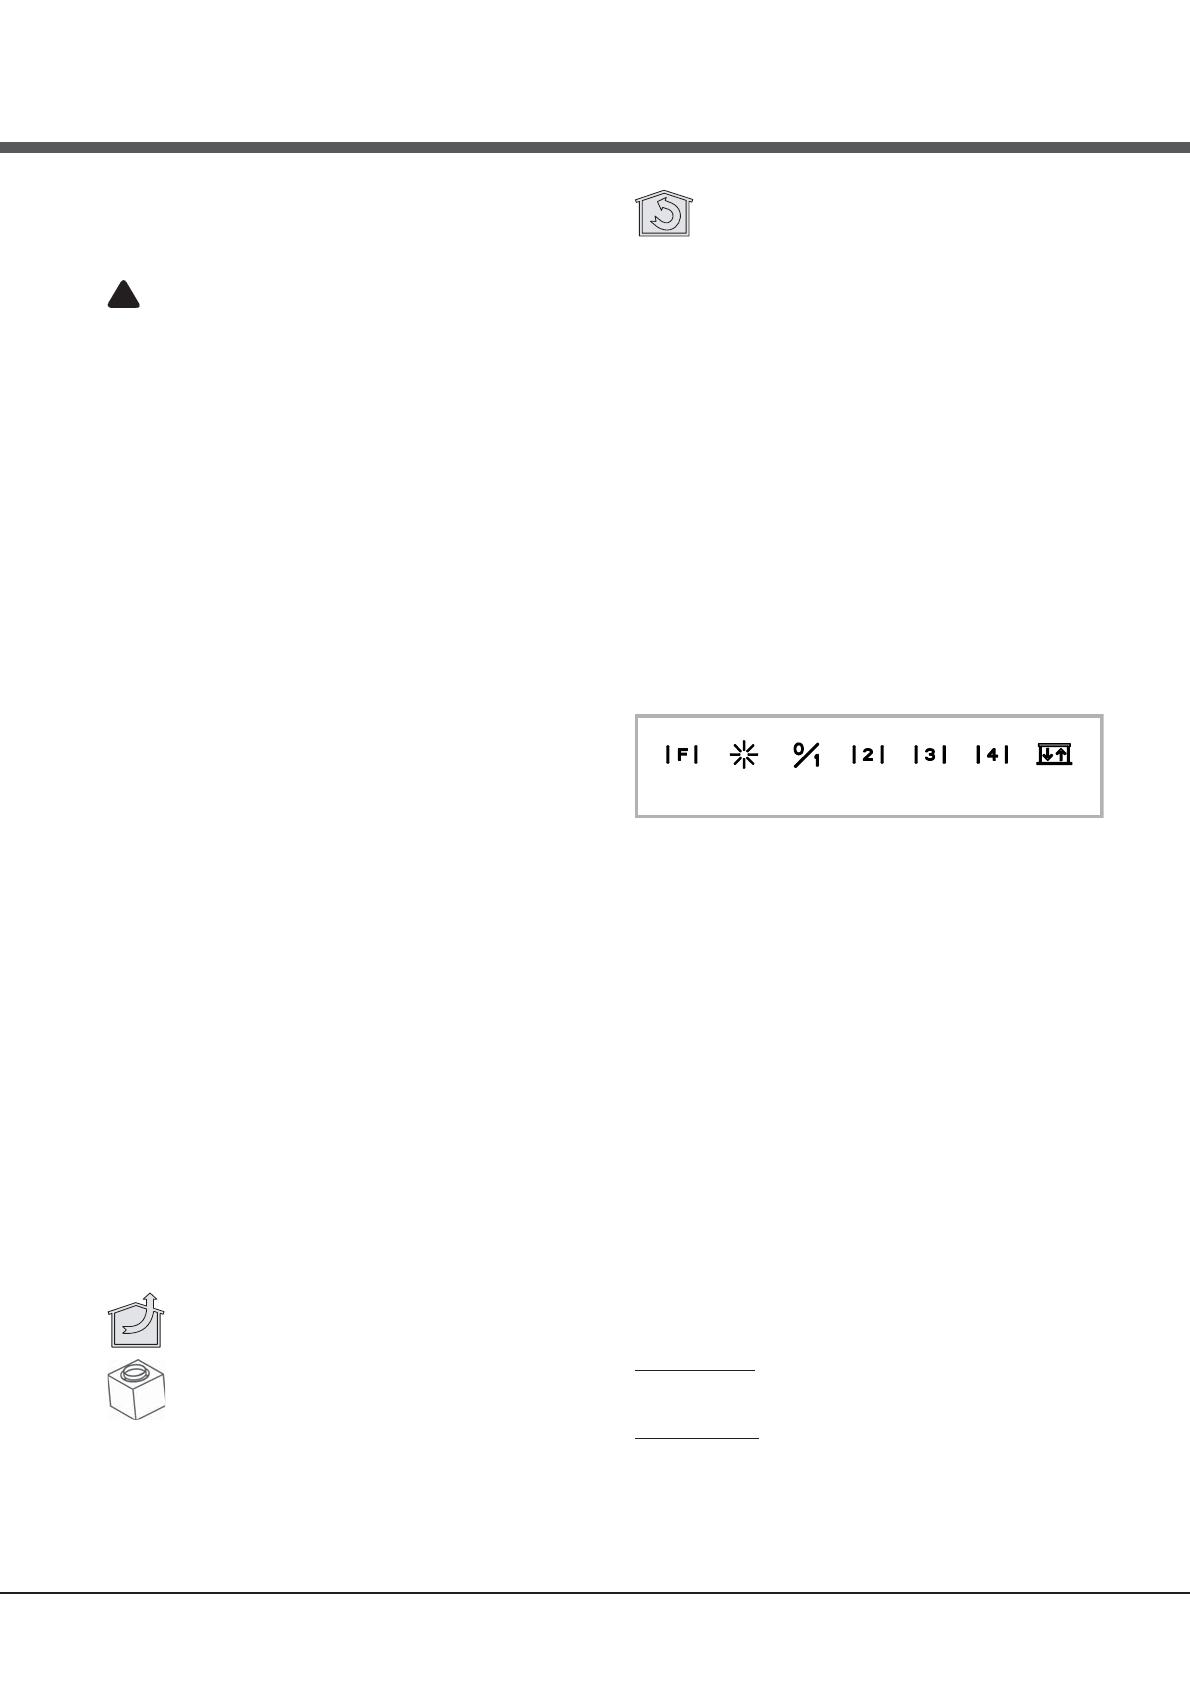
CONTROLS
P1 P2 P3 P4 P5 P6 P7
P1: Filter alarm reset
P2: LED on/off - (only certain models: holding the
button down you can change the LED intensity
to High or Low).
Note: LED activation is displayed by P2 only when
the lift panel is completely open.
P3: Motor on/off - 1st speed
P4: 2nd speed
P5: 3rd speed
P6: 4th speed
P7: Lift panel up/down (during opening the panel can
be stopped at the desired height by pressing the
button a second time).
5' Timer function:
Holding the buttons P3, P4, P5 or P6 pressed down
(>2") the 5' Timer function is activated. When the time
has run out, the motor turns off and the lift closes. The
LEDs change from High to Low intensity. When the
function is active, the LED corresponding to the current
motor speed blinks.
Filter alarm display:
Grease filters: After 30h of motor operation, the LED of
the P1 button comes on for 30'' every time the motor
turns off.
Charcoal filter: After 120h of motor operation, the LED
of the P1 button blinks for 30'' every time the motor
turns off.
CONTROLS
P1: Filter alarm reset
P2: Motor on/off - 1st speed
P3: 2nd speed
P4: 3rd speed
P5: 4th speed
P6: Lift panel up/down (during opening the panel can
be stopped at the desired height by pressing the
button a second time).
5' Timer function:
Holding the buttons P2, P3, P4 or P5 pressed down
(>2") the 5' Timer function is activated. When the
time has run out, the motor turns off and the lift
closes. The LEDs change from High to Low intensity.
When the function is active, the LED corresponding
to the current motor speed blinks.
Filter alarm display:
Grease filters: After 30h of motor operation, the LED
of the P1 button comes on for 30'' every time the
motor turns off.
Charcoal filter: After 120h of motor operation, the LED
of the P1 button blinks for 30'' every time the motor
turns off.
CONTROLS
P1: Motor on/off - 1st speed
P2: 2nd speed
P3: 3rd speed
P4: 4th speed
P5: Lift panel up/down (during opening the panel can
be stopped at the desired height by pressing the
button a second time).
5' Timer function:
When the motor is on, holding the keys P1-P4
pressed down (depending on the speed set), the 5'
timer function is activated. When this function is
active, the LED corresponding to the speed (L1-L4)
blinks. When the 5' have elapsed, the motor turns off
and the carriage closes.
Filter alarm display:
After 30 hours of motor operation, the LEDs L1-L5
come on for 30'' each time the motor is turned off.
After 120 hours of motor operation, the LEDs L1-L5
blink for 30'' each time the motor is turned off.
To reset the alarm, press any one of the keys P1-P5
for 2" during alarm display.
!
ATTENTION
SAFETY SYSTEMS
In order to function correctly the product is equipped
with a series of safety devices which are also
intended to prevent any injury caused by
inappropriate use.
In any case be very careful in using the product,
above all the parts in motion.
ALARM ON CONTROL (all models)
1. All LEDs flashing: this means that the telescopic
trolley is locked. Wait 30” and then press the UP/
DOWN button to release the trolley
2. UP/DOWN button LED flashing: this means that
the front panel of the filters is not closed properly.
Reposition it correctly.
MAINTENANCE
! Before cleaning or maintenance cut the power.
If the light spot is damaged, it must be replaced only
by the manufacturer, its service agent or similarly
qualified persons in order to avoid a hazard
Cleaning the hood
WHEN TO CLEAN IT: clean it at least every 2
months to prevent the risk of fire.
EXTERNAL CLEANING: use a cloth moistened in
lukewarm water and neutral detergent (for painted
hoods); use specific products for steel, copper or brass
hoods.
INTERNAL CLEANING: use a cloth (or brush) soaked
in denatured ethyl alcohol.
WHAT NOT TO DO: do not use abrasive or corrosive
products (e.g. metal sponges, brushes, too hard
brushes, very aggressive detergents, etc.)
Cleaning the grease filters
WHEN TO CLEAN IT: clean it at least every 2 months
to prevent the risk of fire.
HOW TO REMOVE THE FILTERS: push the catch
near the handle towards the rear of the hood and pull
the filter downwards
HOW TO CLEAN THE FILTERS: hand wash or in the
dishwasher using a neutral detergent. If washing in
the dishwasher, possible discoloration of the filters
does not in any way compromise their functioning.
Replacing the charcoal filter (P)
(for filtering version only)
WHEN TO REPLACE IT: replace it at least every 6
months.
HOW TO REMOVE IT: position the charcoal filter
inside the hood and fit the 2 filter clips (M).
MALFUNCTIONS
If something appears not to be working properly, do
the following simple checks before calling Technical
Service:
If the hood is not working:
Check that:
- The power has not been disconnected.
- A speed has been selected.
If the hood performs inefficiently:
Check that:
- The motor speed selected is sufficient for the
amount of smoke and vapours released.
- The kitchen is sufficiently ventilated to allow air
intake.
- The charcoal filter is not worn (hood in filtering
version).
If the hood has turned off during normal functioning:
Check that:
- The power has not been disconnected.
- the omnipolar disconnection device has not tripped.
Components not provided with the product
  • Page 1 1
  • Page 2 2
  • Page 3 3
  • Page 4 4
  • Page 5 5
  • Page 6 6
  • Page 7 7
  • Page 8 8
  • Page 9 9
  • Page 10 10
  • Page 11 11
  • Page 12 12
  • Page 13 13
  • Page 14 14
  • Page 15 15
  • Page 16 16
  • Page 17 17
  • Page 18 18
  • Page 19 19
  • Page 20 20
  • Page 21 21
  • Page 22 22
  • Page 23 23
  • Page 24 24
  • Page 25 25
  • Page 26 26
  • Page 27 27
  • Page 28 28
  • Page 29 29
  • Page 30 30
  • Page 31 31
  • Page 32 32
  • Page 33 33
  • Page 34 34
  • Page 35 35
  • Page 36 36
  • Page 37 37
  • Page 38 38
  • Page 39 39
  • Page 40 40
  • Page 41 41
  • Page 42 42
  • Page 43 43
  • Page 44 44
  • Page 45 45
  • Page 46 46
  • Page 47 47
  • Page 48 48
  • Page 49 49
  • Page 50 50
  • Page 51 51
  • Page 52 52

Gorenje BPDDM00L00E06 User manual

Category
Cooker hoods
Type
User manual

Ask a question and I''ll find the answer in the document

Finding information in a document is now easier with AI