Eizo FDH3601 Owner's manual

Category
TVs & monitors
Type
Owner's manual
English Deutsch Français
中文
Setup Manual
Important: PleasereadthisSetupManualandtheUser’sManualstored(ontheCD-
ROM)carefullytofamiliarizeyourselfwithsafeandeffectiveusage.Please
retainthismanualforfuturereference.
Installationshandbuch
Wichtig: LesenSiediesesHandbuchzurEinrichtungunddasBenutzerhandbuch
(aufderCD-ROM)aufmerksamdurch,umsichmitdersicherenund
efzientenBedienungvertrautzumachen.BewahrenSiediesesHandbuch
zumspäterenNachschlagenauf.
Manuel d’installation
Important : VeuillezlireattentivementceManueld’installationainsiqueleManuel
d’utilisation(inclussurleCD-ROM)andevousfamiliariseravecce
produitetdel’utiliserefcacementetentoutesécurité.Veuillezconserver
cemanuelpourréférenceultérieure.
设定手册
重要事项: 请仔细阅读本设定手册和用户手册(储存在光盘上),以便掌握如何安全、
有效地使用本产品。请保留本手册,以备日后参考。
Compatible Resolutions
Kompatible Auösungen
Résolutions compatibles
分辨率
The monitor supports the following resolutions.
Der Monitor unterstützt die folgenden Auösungen.
Ce moniteur prend en charge les résolutions suivantes.
示器支持下列分辨
√:Supported
Resolution
Applicable
signal
Dot Clock:
Vertical
Scan
Frequency
4096×2160
Mode
4096×2048
Mode
3840×2160
Mode
DVI
Display
Port
DVI
Display
Port
DVI
Display
Port
640×480 VGA
DVI:310MHz
(Max.)
DisplayPort:
290MHz
(Max.)
60Hz
720×400 VGATEXT 70Hz
800×600 VESA 60Hz
1024×768 VESA 60Hz
1280×1024 VESA 60Hz
1601200 VESA 60Hz
1920×1200 VESACVTRB 60Hz
*3
*3
*3
1920×1200 VESACVT 60Hz
*4
*4
*4
1920×2160 VESACVTRB 30Hz - - - -
*3
-
1920×2160 VESACVTRB 60Hz - - - -
*4
*2
2048×2048 VESACVTRB 30Hz - -
*3
- - -
2048×2048 VESACVTRB 60Hz - -
*4
*2
- -
2048×2160 VESACVTRB 30Hz
*3
- - - - -
2048×2160
*1
DP 60Hz - - - - -
2048×2160
*1
VESACVTRB 60Hz
*4
- - - - -
*1
Recommendedresolution.
*1
EmpfohleneAuösung.
*1
Résolutionrecommandée
*1
推荐的分辨率
*2
Itisalsoappropriateforthe10bit.
*2
Esistauchfür10Bitgeeignet.
*2
Ilestaussiappropriépourle10bits.
*2
同样适合 10
*3
SingleLink
*4
DualLink
AgraphicsboardinconformancewiththeVESAstandardsisrequired.
EineGrakkarteisterforderlich,dieAnforderungenderStandardsVESAerfüllt.
UnecartevidéoconformeauxnormesVESAestrequise.
需要符合 VESA 标准的
1
English
SAFETY SYMBOLS
This manual and this product use the safety symbols below. They denote critical information. Please read them
carefully.
WARNING
Failure to abide by the information in a
WARNING may result in serious injury and
can be life threatening.
CAUTION
Failure to abide by the information in a CAUTION
may result in moderate injury and/or property or
product damage.
Indicates an attention to be required. For example, the symbol illustrates the hazard type such as “the
risk of electric shock.
Indicates a prohibited action. For example, the symbol illustrates a particular prohibited action such as
“Do not disassemble”.
Indicates a mandatory action that must be followed. For example, the symbol illustrates the notication
of general prohibition such as “Grounding the unit.
No part of this manual may be reproduced, stored in a retrieval system, or transmitted, in any form or by any means,
electronic, mechanical, or otherwise, without the prior written permission of EIZO Corporation. EIZO Corporation
is under no obligation to hold any submitted material or information condential unless prior arrangements are made
pursuant to EIZO Corporations receipt of said information. Although every effort has been made to ensure that this
manual provides up-to-date information, please note that EIZO monitor specications are subject to change without
notice.
2
WARNING
If the unit begins to emit smoke, smells like something is burning, or makes strange noises, disconnect all
power connections immediately and contact your dealer for advice.
Attempting to use a malfunctioning unit may result in re, electric shock, or equipment damage.
Do not open the cabinet or modify the unit.
Opening the cabinet or modifying the unit may result in re, electric shock, or burn.
Do not turn the bushing for xing the AC adapter power cable.
Not doing so may result in re, electric shock, or equipment damage.
Refer all servicing to qualied service personnel.
Do not attempt to service this product yourself as opening or removing covers may result in re, electric shock, or equipment
damage.
Keep small objects or liquids away from the unit.
Small objects accidentally falling through the ventilation slots into the cabinet or spillage into the cabinet
may result in re, electric shock, or equipment damage. If an object or liquid falls/spills into the cabinet,
unplug the unit immediately. Have the unit checked by a qualied service engineer before using it again.
Place the unit at the strong and stable place.
A unit placed on an inadequate surface may fall and result in injury or equipment damage. If the unit falls,
disconnect the power immediately and ask your dealer for advice. Do not continue using a damaged unit.
Using a damaged unit may result in re or electric shock.
PRECAUTIONS
IMPORTANT
• To personal safety and proper maintenance, please read carefully this section and the caution statements on
the monitor.
Location of the Caution Statements
3
English
WARNING
Use the unit in an appropriate location.
Not doing so may result in re, electric shock, or equipment damage.
• Donotplaceoutdoors.
• Donotplaceinatransportationsystem(ship,aircraft,train,automobile,etc.)whereitmaybeaffected
bystrongvibrationorshock.
• Donotplaceinadustyorhumidenvironment.
• Donotplaceinalocationwherewaterissplashedonthescreen(bathroom,kitchen,etc.).
• Donotplaceinalocationwherethesteamcomesdirectlyonthescreen.
• Donotplacenearheatgeneratingdevicesorahumidier.
• Donotplaceinalocationwheretheproductissubjecttodirectsunlight.
• Donotplaceinaninammablegasenvironment.
To avoid danger of suffocation, keep the plastic packing bags away from babies and children.
Use the enclose AC adapter.
The enclosed AC adapter (PSA-064) is for use with this product only. Do not use the AC adapter with other equipment. Connecting
to power sources that do not match the power ratings of the AC adapter may result in re or electric shock.
Use the enclosed power cord and connect to the standard power outlet of your country.
Be sure to remain within the rated voltage of the power cord. Not doing so may result in re or electric shock.
Power supply: 100-240Vac 50/60Hz
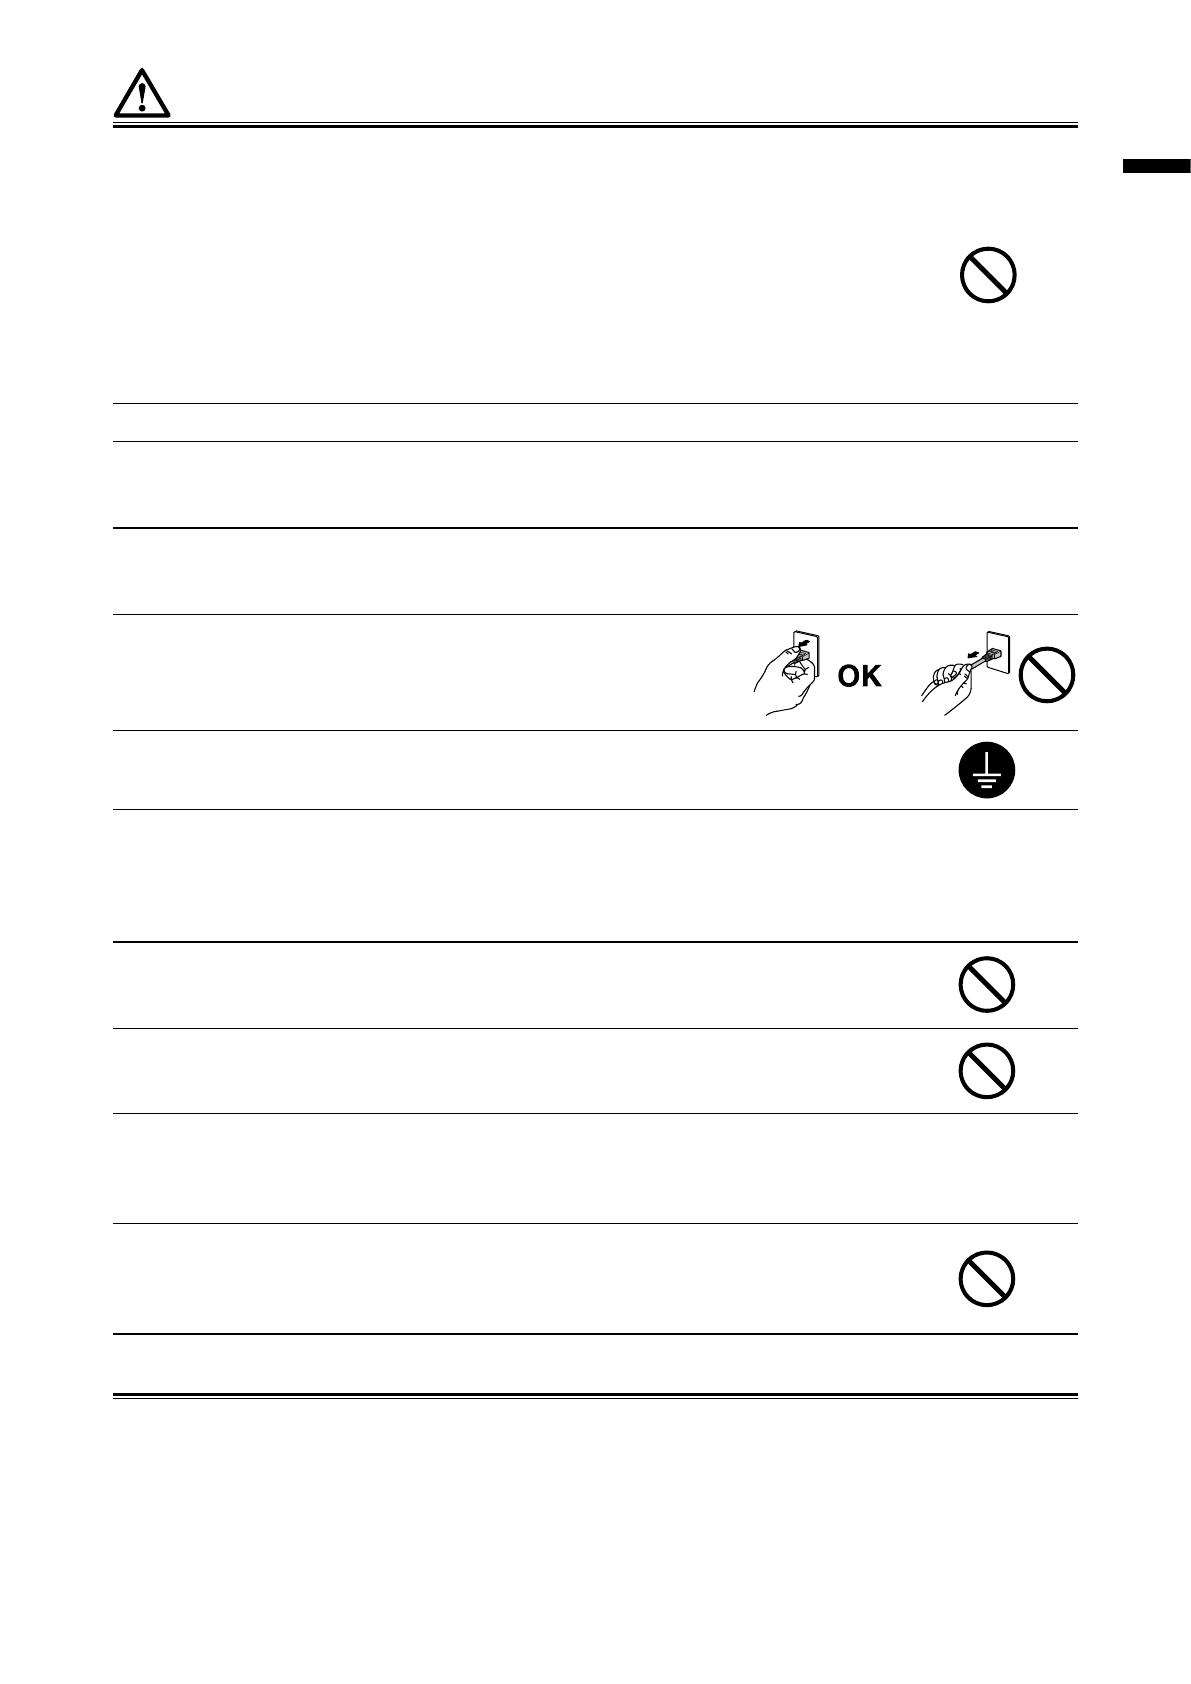
To disconnect the power cord or adapter power cable, grasp the plug
rmly and pull.
Tugging on the cord or cable may damage and result in re or electric shock.
The equipment must be connected to a grounded main outlet.
Failure to do so may result in re or electric shock.
Use the correct voltage.
• Theunitisdesignedforusewithaspecicvoltageonly.ConnectiontoanothervoltagethanspeciedinthisUser’sManualmay
causere,electricshock,orequipmentdamage.
Powersupply:100-240Vac50/60Hz
• Donotoverloadyourpowercircuit,asthismayresultinreorelectricshock.
Handle the power cord and AC adapter with care.
Do not place heavy objects on, pull or tie the power cord or the AC adapter. Use of a damaged cord or
AC adapter may result in re or electric shock.
Never touch the plug, AC adapter or power cord during a thunderstorm.
Touching them may result in electric shock.
When attaching an arm stand, please refer to the users manual of the arm stand and install the unit securely.
Not doing so may cause the unit to become unattached, which may result in injury or equipment damage. When the unit is dropped,
please ask your dealer for advice. Do not continue using a damaged unit. Using a damaged unit may result in re or electric shock.
When reattaching the tilt stand, please use the same screws and tighten them securely.
Do not touch a damaged LCD panel directly with bare hands.
The liquid crystal that may leak from the panel is poisonous if it enters the eyes or mouth. If any part of the
skin or body comes in direct contact with the panel, please wash thoroughly. If some physical symptoms
result, please consult your doctor.
Fluorescent backlight lamps contain mercury (the products that have LED backlight lamps contain no mer-
cury), dispose according to local, state or federal laws.
4
CAUTION
Handle with care when carrying the unit.
Disconnect the power cord and cables when moving the unit. Moving the unit with the cord attached is dangerous.
It may result in injury.
Carry or place the unit according to the correct specied methods.
• Whencarryingtheunit,graspandholdrmlyasshownintheillustrationbelow.
• Donotunpackorcarrytheunitonlybyasingleperson,sincethelargesizeunitissoheavy.
Dropping the unit may result in injury or equipment damage.
Do not block the ventilation slots on the cabinet.
• Donotplaceanyobjectsontheventilationslots.
• Donotinstalltheunitinaclosedspace.
• Donotusetheunitlaiddownorupsidedown.
Blocking the ventilation slots prevents proper airow and may result in re, electric shock, or equipment
damage.
Do not touch the plug or AC adapter with wet hands.
Doing so may result in electrical shock.
Use an easily accessible power outlet.
This will ensure that you can disconnect the power quickly in case of a problem.
Mind that the AC adapter becomes hot during use.
• DonotcoverorplaceanythingontopoftheACadapter.DonotplacetheACadapterontopofthingsthattrapheatsuchas
carpets,blankets,etc.KeeptheACadapterawayfromdirectsunlightandheatsourcessuchasheaters.Notdoingsomayresult
inre.
• Donottouchwithbarehands.Doingsomayresultinburns.
• Beforemovingthemonitor,besuretoturnoffthepowerswitch,disconnectthepowerplugfromthepoweroutlet,andwaituntilit
hascooledcompletely.
Do not suspend the AC adapter in midair.
Using it while suspended in midair may result in re or electric shock.
Periodically clean the area around the power plug and the ventilation slot of the AC adapter.
Dust, water, or oil on the plug may result in re.
Unplug the unit before cleaning it.
Cleaning the unit while it is plugged into a power outlet may result in electric shock.
If you plan to leave the unit unused for an extended period, disconnect the power cord from the wall socket
after turning off the power switch for the safety and the power conservation.
5
English
Package Contents
Checkthatallthefollowingitemsareincludedinthepackagingbox.Ifanyitemsaremissingordamaged,contact
yourlocaldealer.
Note
Please keep the packaging box and materials for future movement or transport of the monitor.
• Monitor
• Powercord
• Digitalsignalcable(DisplayPort):PP200×2pcs.
• Digitalsignalcable(DualLink):DD200-DL×2pcs.
• EIZOUSBcable:MD-C93
• ACadapter(PSA-064)
• EIZOLCDUtilityDisk(CD-ROM)
• SetupManual(thismanual)
• VESAMountingScrews:M6×16:4pcs.
• Powercordholder
• RecyclingInformation
Controls and Functions
Monitor
12 13
1 2 3 4 5 6
7 8 11109
15
14
Adjustmentmenu*
1. EcoView Sense sensor Detectsthemovementofapersoninfrontofthemonitor.
2.
button
Switchesinputsignalsfordisplay.
3.
button
Cancelsthesetting/adjustmentandexitstheAdjustmentmenu.
4.
button Choosesandincreases/decreasesadjustmentsettingsforadvancedadjustment
usingtheAdjustmentmenu.
5.
button
DisplaystheAdjustmentmenu,determinesanitemonthemenuscreen,andsaves
valuesadjusted.
6.
button
• Turnsthepoweronoroff.
• Indicatesthemonitor’soperationstatus.
Green:Operating,Orange:Powersavingmode,Off:ACadaptermainpower/
poweroff
7. USB port (Up) ConnectstheUSBcabletouseUSBHubfunction.
8. USB port (Down) ConnectsaperipheralUSBdevice.
9. Input signal connector DVI-Dconnector
10. DC5V Output Supplieselectricalpowertotheexternaldevices.
11. Input signal connector DisplayPortconnector
12. Security lock slot ComplieswithKensington’sMicroSaversecuritysystem.
13. Stand Usedtoadjusttheheightandangleofthemonitorscreen.
14. Power connector UsedtoconnecttheACadapterpowercable.
15. Cable holder Coversthemonitorcables.
*
Forinstructionsforuse,refertotheUsersManual(ontheCD-ROM).
6
AC adapter (PSA-064)
21 3 4
1. Power cord holder
attachment hole
Usedtoattachthepowercordholder.
2. Power connector Connectsthepowercord.
3. Main power switch Turnsthemainpoweronoroff.
4. Power cable Connectswiththepowerconnectoronthemonitor.
Connecting Cables
Attention
Check that the monitor and the PC are powered off.
When replacing the current monitor with this monitor, be sure to change the PC settings for resolution and vertical scan
frequency to those that are available for this monitor. Refer to the compatible resolution table (back of cover page) before
connecting the PC.
Note
When connecting multiple PCs to this product, refer to the User’s Manual (on the CD-ROM).
1.
Connect the signal cables to the input signal connectors and PC.
Check the shape of the connectors, and connect the cables.
After connecting the signal cable, tighten the screws of the connectors to secure the coupling.
Digitalconnection
(DisplayPort)
PP200
Digitalconnection
(DVI)
DD200-DL
or
7
English
2.
Connect the AC adapter power cable to the power connector on the monitor.
Attention
Do not remove or connect the cable while the AC adapter main power is on.
Do not install the AC adapter in the wrong orientation. The side with the EIZO logo should face up.
Check the shape of the monitor connector, and connect the power cable.
Tighten the screw for xing the power cable to secure the power cable.
ConnectingtotheMonitor
3.
Plug the power cord into a power outlet and the power connector on the AC
adapter.
Adjusting the Screen Height and Angle
Hold left and right edge of the monitor with both hands, and adjust the screen height, tilt and swivel of the screen to the
best condition for working.
Attention
Be sure that the cables are correctly connected.
8
Attaching a Power Cord Holder
Attach the power cord holder to prevent the power cord from falling off.
Attention
Be sure to attach the power cord holder when the main power to the AC adapter is off or before the power cable is plugged
into the power outlet.
1.
Attach the supplied power cord holder to the power cord attachment hole on
the AC adapter.
2.
Adjust the position to secure the power cord holder referring to the gure
shown below.
(1)Lowerthepowercordholderlever.
(2)Adjustthesecuringposition.
3.
Secure the power cord holder to prevent the power cord from falling off.
*Checkthatthepowercordholderissecured.
9
English
Displaying Screens
1.
Turn on the AC adapter main power.
-: On, ○: Off
2.
Press to turn on the monitor.
The monitor’s power indicator lights up green.
3.
Turn on the PC.
The screen image appears.
If an image does not appear, refer to “No picture” (page 10) for additional advice.
Attention
Turn off the monitor and PC after using them.
For the maximum power saving, it is recommended that the Power button be turned off. Turning off the AC adapter main
power switch or unplugging the power cord completely shuts off power supply to the monitor.
Showing Button Guide
Press the front buttons (except button), the button guide appears above the button.
Note
The button guide will continue to appear while the Adjustment menu is showing.
The button guide is displayed differently depending on the selected menu or status.
10
No picture
If a problem still remains after applying the suggested remedies, contact your local dealer.
Problem Possible cause and remedy
1. No picture
• Powerindicatordoesnotlight.
• Checkwhetherthepowercordandtheadapterpower
cableareconnectedproperly.
• TurntheACadaptermainpowerswitchon.
• Press
.
• TurnofftheACadaptermainpower,andthenturniton
againafewminuteslater.
• Powerindicatorislightinggreen. • Increase“Brightness”,“Contrast,or“Gain”inthe
Adjustmentmenu.
• Powerindicatorislightingorange.
• Switchtheinputsignalwith
.
• Operatethemouseorkeyboard.
• CheckwhetherthePCisturnedon.
• WhentheEcoViewSensesensorissetatavaluefrom
Level-1”to“Level-4”,themonitormayhaveshiftedtothe
powersavingmode.Comeneartothemonitor.
• Powerindicatorashesorangeandgreen. • ThereisaprobleminthedevicethatusesDisplayPort
connection.Solvetheproblem,turnoffthemonitor,and
thenturnitonagain.Refertotheusersmanualofthe
devicethatusesDisplayPortconnectionfordetails.
2. The message below appears. Thismessageappearswhenthesignalisnotinputcorrectly
evenwhenthemonitorfunctionsproperly.
• Thismessageappearswhennosignalis
input.
Example:
• Themessageshownleftmayappear,becausesomePCs
donotoutputthesignalsoonafterpower-on.
• CheckwhetherthePCisturnedon.
• Checkwhetherthesignalcableisconnectedproperly.
• Switchtheinputsignalwith
.
• Themessageshowsthattheinputsignalisout
ofthespeciedfrequencyrange.(Suchsignal
frequencyisdisplayedinmagenta.)
Example:
fD: Dotclock
fH: Horizontalscanfrequency
fV: Verticalscanfrequency
• CheckwhetherthePCisconguredtomeettheresolution
andverticalscanfrequencyrequirementsofthemonitor
(see“CompatibleResolutions”).
• RebootthePC.
• Selectanappropriatedisplaymodeusingthegraphics
board’sutility.Refertothemanualofthegraphicsboard
fordetails.
Printed in Japan.
http://www.eizo.com
Copyright © 2011-2013 EIZO Corporation All rights reserved.
中国苏州市苏州工业园区展业路8号中新科技工业坊5B
Phone: +86 512 6252 0100 Fax: +86 512 6252 1508
Helmut-Grashoff-Strasse 18, 41179 Mönchengladbach, Germany
Phone: +49 2161 8210210 Fax: +49 2161 8210150
153 Shimokashiwano, Hakusan, Ishikawa 924-8566 Japan
Phone: +81 76 277 6792 Fax: +81 76 277 6793
3rd Edition-April, 2013
00N0L708C1
(U.M-SUMFDH3601-4)
  • Page 1 1
  • Page 2 2
  • Page 3 3
  • Page 4 4
  • Page 5 5
  • Page 6 6
  • Page 7 7
  • Page 8 8
  • Page 9 9
  • Page 10 10
  • Page 11 11
  • Page 12 12
  • Page 13 13
  • Page 14 14
  • Page 15 15
  • Page 16 16
  • Page 17 17
  • Page 18 18
  • Page 19 19
  • Page 20 20
  • Page 21 21
  • Page 22 22
  • Page 23 23
  • Page 24 24
  • Page 25 25
  • Page 26 26
  • Page 27 27
  • Page 28 28
  • Page 29 29
  • Page 30 30
  • Page 31 31
  • Page 32 32
  • Page 33 33
  • Page 34 34
  • Page 35 35
  • Page 36 36
  • Page 37 37
  • Page 38 38
  • Page 39 39
  • Page 40 40
  • Page 41 41
  • Page 42 42
  • Page 43 43

Eizo FDH3601 Owner's manual

Category
TVs & monitors
Type
Owner's manual

Ask a question and I''ll find the answer in the document

Finding information in a document is now easier with AI