User's Manual
10
Parameter Description
Transmit through Repeater The status of whether the siren forwards accessory messages to
the hub through the repeater.
Program Version The program version of the siren.
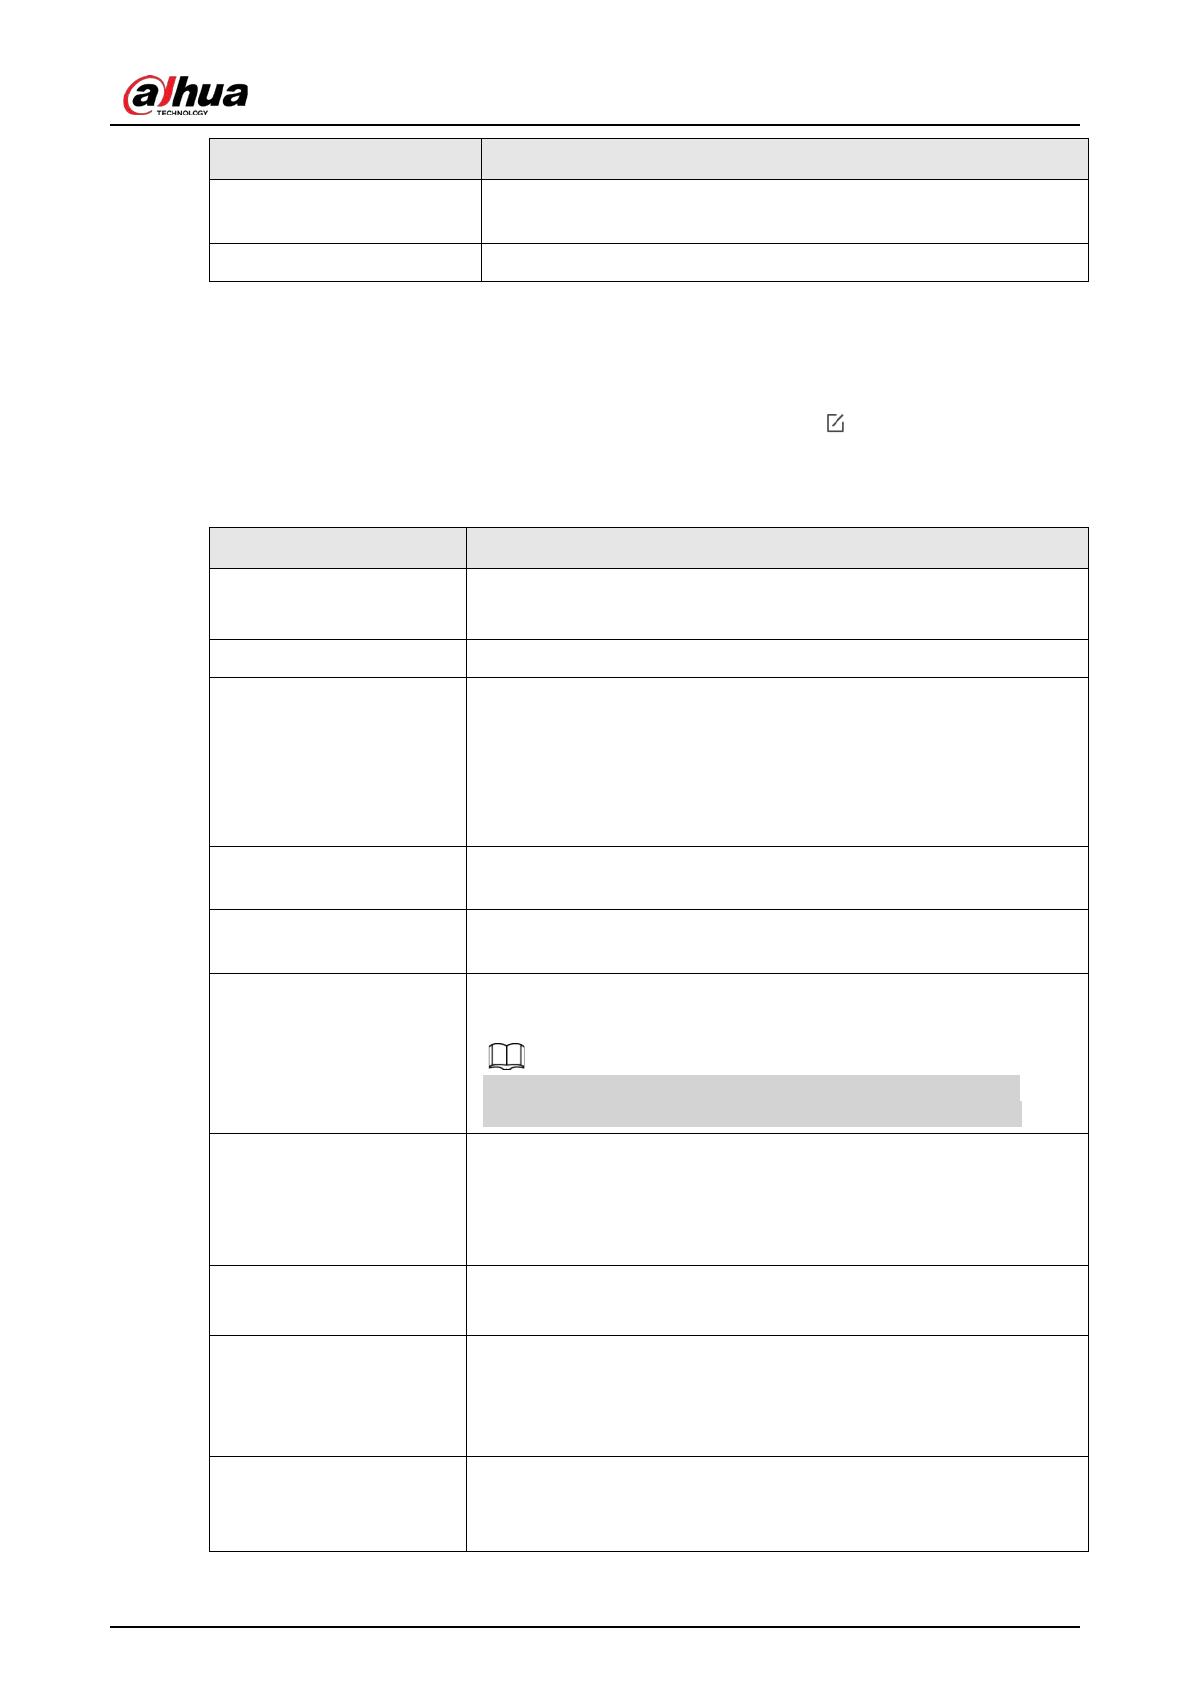
7.2 Configuring the Siren
On the Hub screen, select a siren from the accessory list, and then tap to configure the
parameters of the siren.
Table 7-2 Siren parameter description
Parameter Description
Device Configuration
●View siren name, type, SN and device model.
●Edit siren name, and then tap Save to save your configurations.
Area Select the area to which the siren is assigned.
Temporary Deactivate
●Tap Enable, and then the function of the siren will be enabled.
Enable is set by default.
●Tap Only Disable Tamper Alarm, and then the system will only
ignore tamper alarm messages.
●Tap Disable, and then the function of the siren will be disabled.
Control Permissions Select areas to which the siren will be linked when an alarm is
triggered.
External Power Detection If External Power Detection is enabled, power failure alarm
messages will be pushed to the DMSS.
LED Indicator
LED Indicator is enabled by default. For details on indicator
behavior, see "3.1 Appearance".
If LED Indicator is disabled, the LED indicator will remain off
regardless of whether the siren is functioning normally or not.
Sound Settings
●Configure volume level of the alarm sound.
Select from low, medium, and high.
●Enable or disable the function of beep during arming and
disarming, and enter and exit delay.
Alarm Duration
●Configure the duration of the alarm sound.
●Select from 3 seconds through 80 seconds.
Alarm Status Indication
If Alarm Status Indication is enabled, the LED indicator will turn on
when an alarm is triggered in an armed area.
The LED indicator will flash twice every minute if an area has not
been disarmed, and an alarm event ended 30 seconds before.
Beep Volume
Set beep volume during arming and disarming, and enter and exit
delay.
Select from High, Medium and Low.


