OPTIONS
MULTITAB FUNCTION
Activate this function only when you
use the combi detergent tablets.
This function deactivates the flow of
rinse aid and salt. The related indicators
are off.
The programme duration can increase.
Activating the multitab function
Activate or deactivate the multi-
tab function before the start of a
programme. You cannot acti-
vate or deactivate this function
when a programme operates.
1. Press the on/off button to activate
the appliance.
2. Make sure that the appliance is in
setting mode. Refer to ‘SETTING
AND STARTING A PROGRAMME'.
3. Press the multitab touchpad, the
multitab indicator comes on.
The function stays on until you
deactivate it. Press the multitab
touchpad, the multitab indicator
goes off.
If you stop to use the combi
detergent tablets, before you start
to use separately detergent, rinse aid
and dishwasher salt, do these steps:
1. Deactivate the multitab function.
2. Set the water softener to the high-
est level.
3. Make sure that the salt container
and the rinse aid dispenser are full.
4. Start the shortest programme with a
rinsing phase, without detergent
and without dishes.
5. Adjust the water softener to the wa-
ter hardness in your area.
6. Adjust the released quantity of rinse
aid.
ÖKO PLUS
This function decreases the tempera-
ture in the drying phase. The energy
consumption decreases by 25%.
The dishes can be wet at the end of the
programme. We recommend that you
keep the door ajar and let the dishes
dry.
EXTRAHYGIENE
This function gives better results for the
hygiene. During the rinsing phase, the
temperature stays at 70 °C for 10 to 14
minutes.
ACOUSTIC SIGNALS
The acoustic signals operate in these
conditions:
• The programme is completed.
• The level of the water softener is ad-
justed electronically.
• The appliance has a malfunction.
Factory setting: on. You can de-
activate the acoustic signals.
Deactivating the acoustic signals
1. Press the on/off button to activate
the appliance.
2. Make sure that the appliance is in
setting mode. Refer to ‘SETTING
AND STARTING A PROGRAMME’.
3. Press and hold touchpads (4) and
(5) at the same time until the indica-
tors of touchpads (3), (4), (5) and (6)
flash.
4. Press touchpad (5),
• The indicators of touchpads (3),
(4) and (6) go off.
• The indicator of touchpad (5)
continues to flash.
• The display shows the setting of
the acoustic signals.
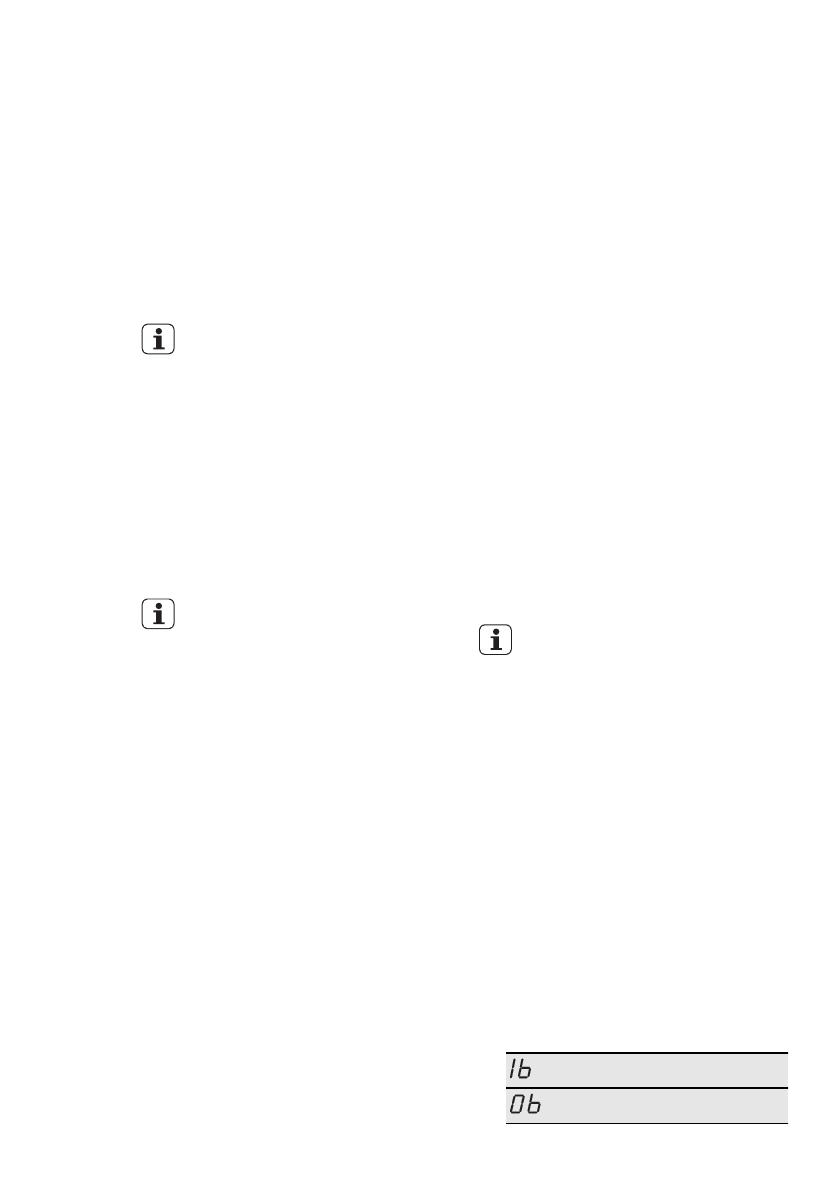
On
Off
10


