2
5. Connect the ground wire from the housing to the
ground wire from the back cover using the push-in
connector. Wires can be inserted into any of the open
positions in the connector. Ensure that no exposed
wire extends past the connector body.
6. Strip supply wires 3/8 in. and connect the house
black wire to the fixture black wire, the house white
wire to the fixture white wire, and the ground wire to
the fixture ground wires using the push-in
connectors. Ensure that no exposed wire extends
past the connector body.
7. Install the housing to the back cover, making sure
all wires remain inside the fixture and away from the
sealing surfaces. Tighten the housing screw
(Fig. 4a/4b). DO NOT OVERTIGHTEN.
8. Remove protective film from lens and side of the
housing.
9. Turn on power at main fuse/breaker box.
TROUBLESHOOTING
All returned products must be accompanied by a Return Goods Authorization Number issued
by the Company and must be returned freight prepaid. Any product received without a Return
Goods Authorization Number from the Company will be refused. Eaton is not responsible for
merchandise damaged in transit. Repaired or replaced products shall be subject to the terms
of this warranty and are inspected when packed. Evident or concealed damage that is made
in transit should be reported at once to the carrier making the delivery and a claim filed with
them.
Reproductions of this document without prior written approval of Eaton are strictly prohibited.
Printed in China
ARTICLES REQUIS :
(à acheter séparément)
• Tournevis cruciforme
• Calfeutrage en silicone étanche pour l’extérieur
IMPORTANTES INSTRUCTIONS DE SÉCURITÉ
Des précautions de base doivent être suivies lors de l’utilisation de ce produit, incluant :
• Le respect de tous les avertissements incluant les avertissements ci-dessous ET ceux
indiqués sur le produit.
• Conservez ces instructions et ces avertissements.
• Les cULus FIGURANT DANS LA LISTE sont conçus pour usage extérieur, dans des
endroits humides dont la température ambiante n’excède pas 40˚C.
• Le démontage de l’appareil annule la garantie.
• L’appareil est câblé et assemblé à l’avance pour faciliter son installation.
• Lisez et suivez ces instructions.
• Risque d’incendie ou de décharge électrique. Si vous n’êtes pas qualifié, consultez un
électricien.
• Coupez l’alimentation électrique depuis le fusible ou le disjoncteur avant l’installation
ou l’entretien.
MISE EN GARDE
• Raccordez le luminaire à une source d’alimentation de 120 V, 60 Hz. Tout autre
raccordement annule la garantie.
• L’appareil d’éclairage doit être installé par des personnes ayant l’expérience du
câblage domestique ou par un électricien qualifié. Le système électrique et la méthode
de raccordement électrique de l’appareil d’éclairage doivent être conformes au Code
national de l’électricité et aux codes locaux du bâtiment.
• Luminaire destiné à être installé sur un mur uniquement par fixation à une boîte de
jonction encastrée. Le luminaire doit être installé sur une boîte de jonction standard
mise à la terre et conçue pour des endroits humides.
• Prévu pour une installation à 1,2 m (4 pi) au-dessus du sol.
• Le luminaire doit être mis à la terre seulement lorsqu’il est utilisé avec un jeu
d’accessoires à tourillon optionnels, code du catalogue WPFLD-TRN
(vendu séparément).
• Ce dispositif est conforme à la section 15 des règlements de la FCC. Son
fonctionnement est assujetti aux deux conditions suivantes: 1)cet appareil ne
doit pas provoquer d’interférences nuisibles et 2)cet appareil doit accepter toutes
les interférences reçues, même celles qui pourraient provoquer un fonctionnement
indésirable.
AVERTISSEMENT : Les réglementations de la FCC mentionnent que toute
modification ou altération apportée à cet équipement n’étant pas expressément
approuvée par le fabricant peut annuler le droit de l’utilisateur à faire
fonctionner cet équipement.
CONSERVEZ CES INSTRUCTIONS.
POUR DES RÉSULTATS OPTIMAUX
• N’installez pas de luminaire près des surfaces
réfléchissantes comme les fenêtres, les murs
blancs, les surfaces blanches et l’eau.
• Lors d’une installation sur un mur, assurez-vous
que le luminaire se trouve à 17,78 cm (7 po) du
centre de l’avant-toit et à 33,02 cm (13 po) du
centre du coin intérieur du mur extérieur (Fig. 1).
MONTAGE ET CÂBLAGE DE L’APPAREIL D’ÉCLAIRAGE
AVERTISSEMENT : Risque de décharge électrique. Coupez l’alimentation électrique
au fusible ou au disjoncteur avant l’installation ou l’entretien.
REMARQUE : Le couvercle arrière peut se poser sur les types de boîtes de jonction
encastrées suivants: boîtes carrées de 10,2 cm (4 po), boîtes rondes de 10,2 cm (4 po),
boîtes octogonales de 10,2 cm (4 po), boîtes carrées ou octogonales de 8,9 cm (3 po 1/2), en
maçonnerie, boîtes avec trous de 7 cm (2 po 3/4) et prise secteur multiple.
FRENCH
5-YEAR LIMITED WARRANTY
THE FOLLOWING WARRANTY IS EXCLUSIVE AND IN LIEU OF ALL OTHER WARRANTIES,
WHETHER EXPRESS, IMPLIED OR STATUTORY INCLUDING, BUT NOT LIMITED TO, ANY
WARRANTY OF MERCHANTABILITY OR FITNESS FOR ANY PARTICULAR PURPOSE.
Eaton warrants to customers that, for a period of five years from the date of purchase, Eaton
products will be free from defects in materials and workmanship. The obligation of Eaton
under this warranty is expressly limited to the provision of replacement products. This
warranty is extended only to the original purchaser of the product. A purchaser’s receipt or
other proof of date of original purchase acceptable to Eaton. This is required before warranty
performance shall be rendered. This warranty does not apply to Eaton products that have been
altered or repaired that have been subjected to neglect, abuse, misuse or accident
(including shipping damages). This warranty does not apply to products not manufactured by
Eaton which have been supplied, installed, and/or used in conjunction with Eaton products.
Damage to the product caused by replacement bulbs or corrosion or discoloration of brass
components are not covered by this warranty.
LIMITATION OF LIABILITY:
IN NO EVENT SHALL EATON BE LIABLE FOR SPECIAL, INDIRECT, INCIDENTAL, OR CONSEQUEN-
TIAL DAMAGES (REGARDLESS OF THE FORM OF ACTION, WHETHER IN CONTRACT, STRICT
LIABILITY, OR IN TORT INCLUDING NEGLIGENCE), NOR FOR LOST PROFITS; NOR SHALL THE
LIABILITY OF EATON FOR ANY CLAIMS OR DAMAGE ARISING OUT OF OR CONNECTED WITH
THESE TERMS OR THE MANUFACTURE, SALE, DELIVERY, USE, MAINTENANCE, REPAIR OR
MODIFICATION OF EATON PRODUCTS, OR SUPPLY OF ANY REPLACEMENT PARTS THEREFORE,
EXCEED THE PURCHASE PRICE OF EATON PRODUCTS GIVING RISE TO A CLAIM. NO LABOR
CHARGES WILL BE ACCEPTED TO REMOVE OR INSTALL FIXTURES.
To obtain warranty service, please contact Eaton at 1-800-334-6871, press option 2 for
information:
• Name, address and telephone number
• Date and place of purchase
• Catalog and quantity purchase
• Detailed description of problem
AVERTISSEMENT
Problem Cause / Solution
Light does not
come ON.
No power to the fixture.
• Check if circuit breaker tripped.
• Confirm wall switch is ON.
Dusk to Dawn: Fixture is sensing daylight.
• Cover light sensor. Unit will switch ON immediately.
TURN OFF POWER BEFORE CONTINUING
Wiring to the unit is loose.
• Confirm wiring is properly secured.
* If light still does not come on after checking wiring
connections, contact Customer Service.
Light stays ON.
Dusk to Dawn: Light sensor is in a shaded area.
• Shine a flashlight into the light sensor. If the light turns off, the
fixture is mounted in an area that does not allow enough light to
enter the light sensor.
If light sensor is not in a shaded area, light sensor could be faulty.
• Contact Customer Service.
Light cycles
ON and OFF
continuously.
Dusk to Dawn: Light sensor is sensing reflected light.
• Relocate light fixture where it no longer cycles on and off.
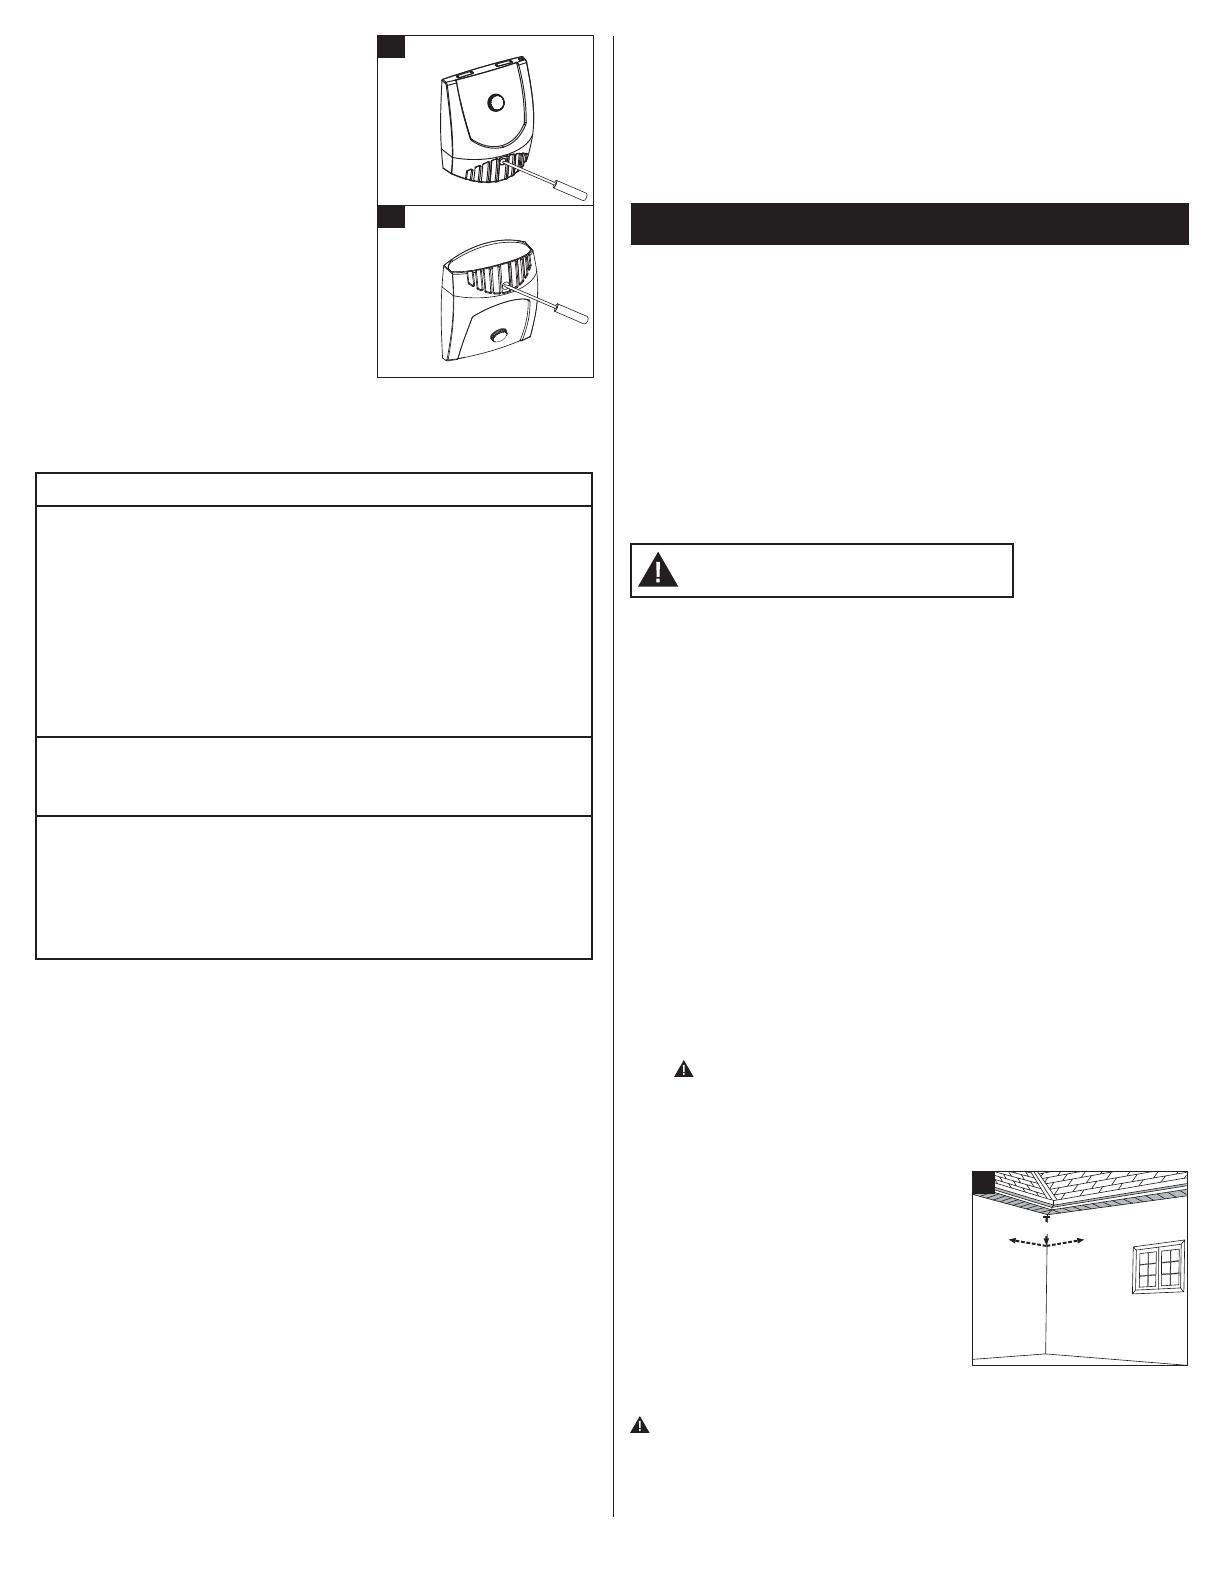
18cm
33cm
1
33cm
Downlight
Uplight
4b
4a

